Walk-In Cooler Temperature Requirements and Food Safety in Canada

A walk-in cooler running at the wrong temperature is a liability problem, not just a food quality problem. In Canada, provincial health codes are enforced by public health inspectors who check refrigeration temperatures during routine and unannounced inspections. A walk-in running above 4 C (40 F) can result in orders to discard inventory, potential fines, or a temporary closure until the issue is corrected. This guide covers what Health Canada and provincial food safety codes require, the correct temperatures for each food category, and the practical steps for keeping your walk-in compliant. If you’re looking at walk-in cooler options or replacement units, consulting with a reliable commercial refrigeration supplier will help you find the right equipment for your kitchen’s specific needs.

What Health Canada requires for refrigerated food storage

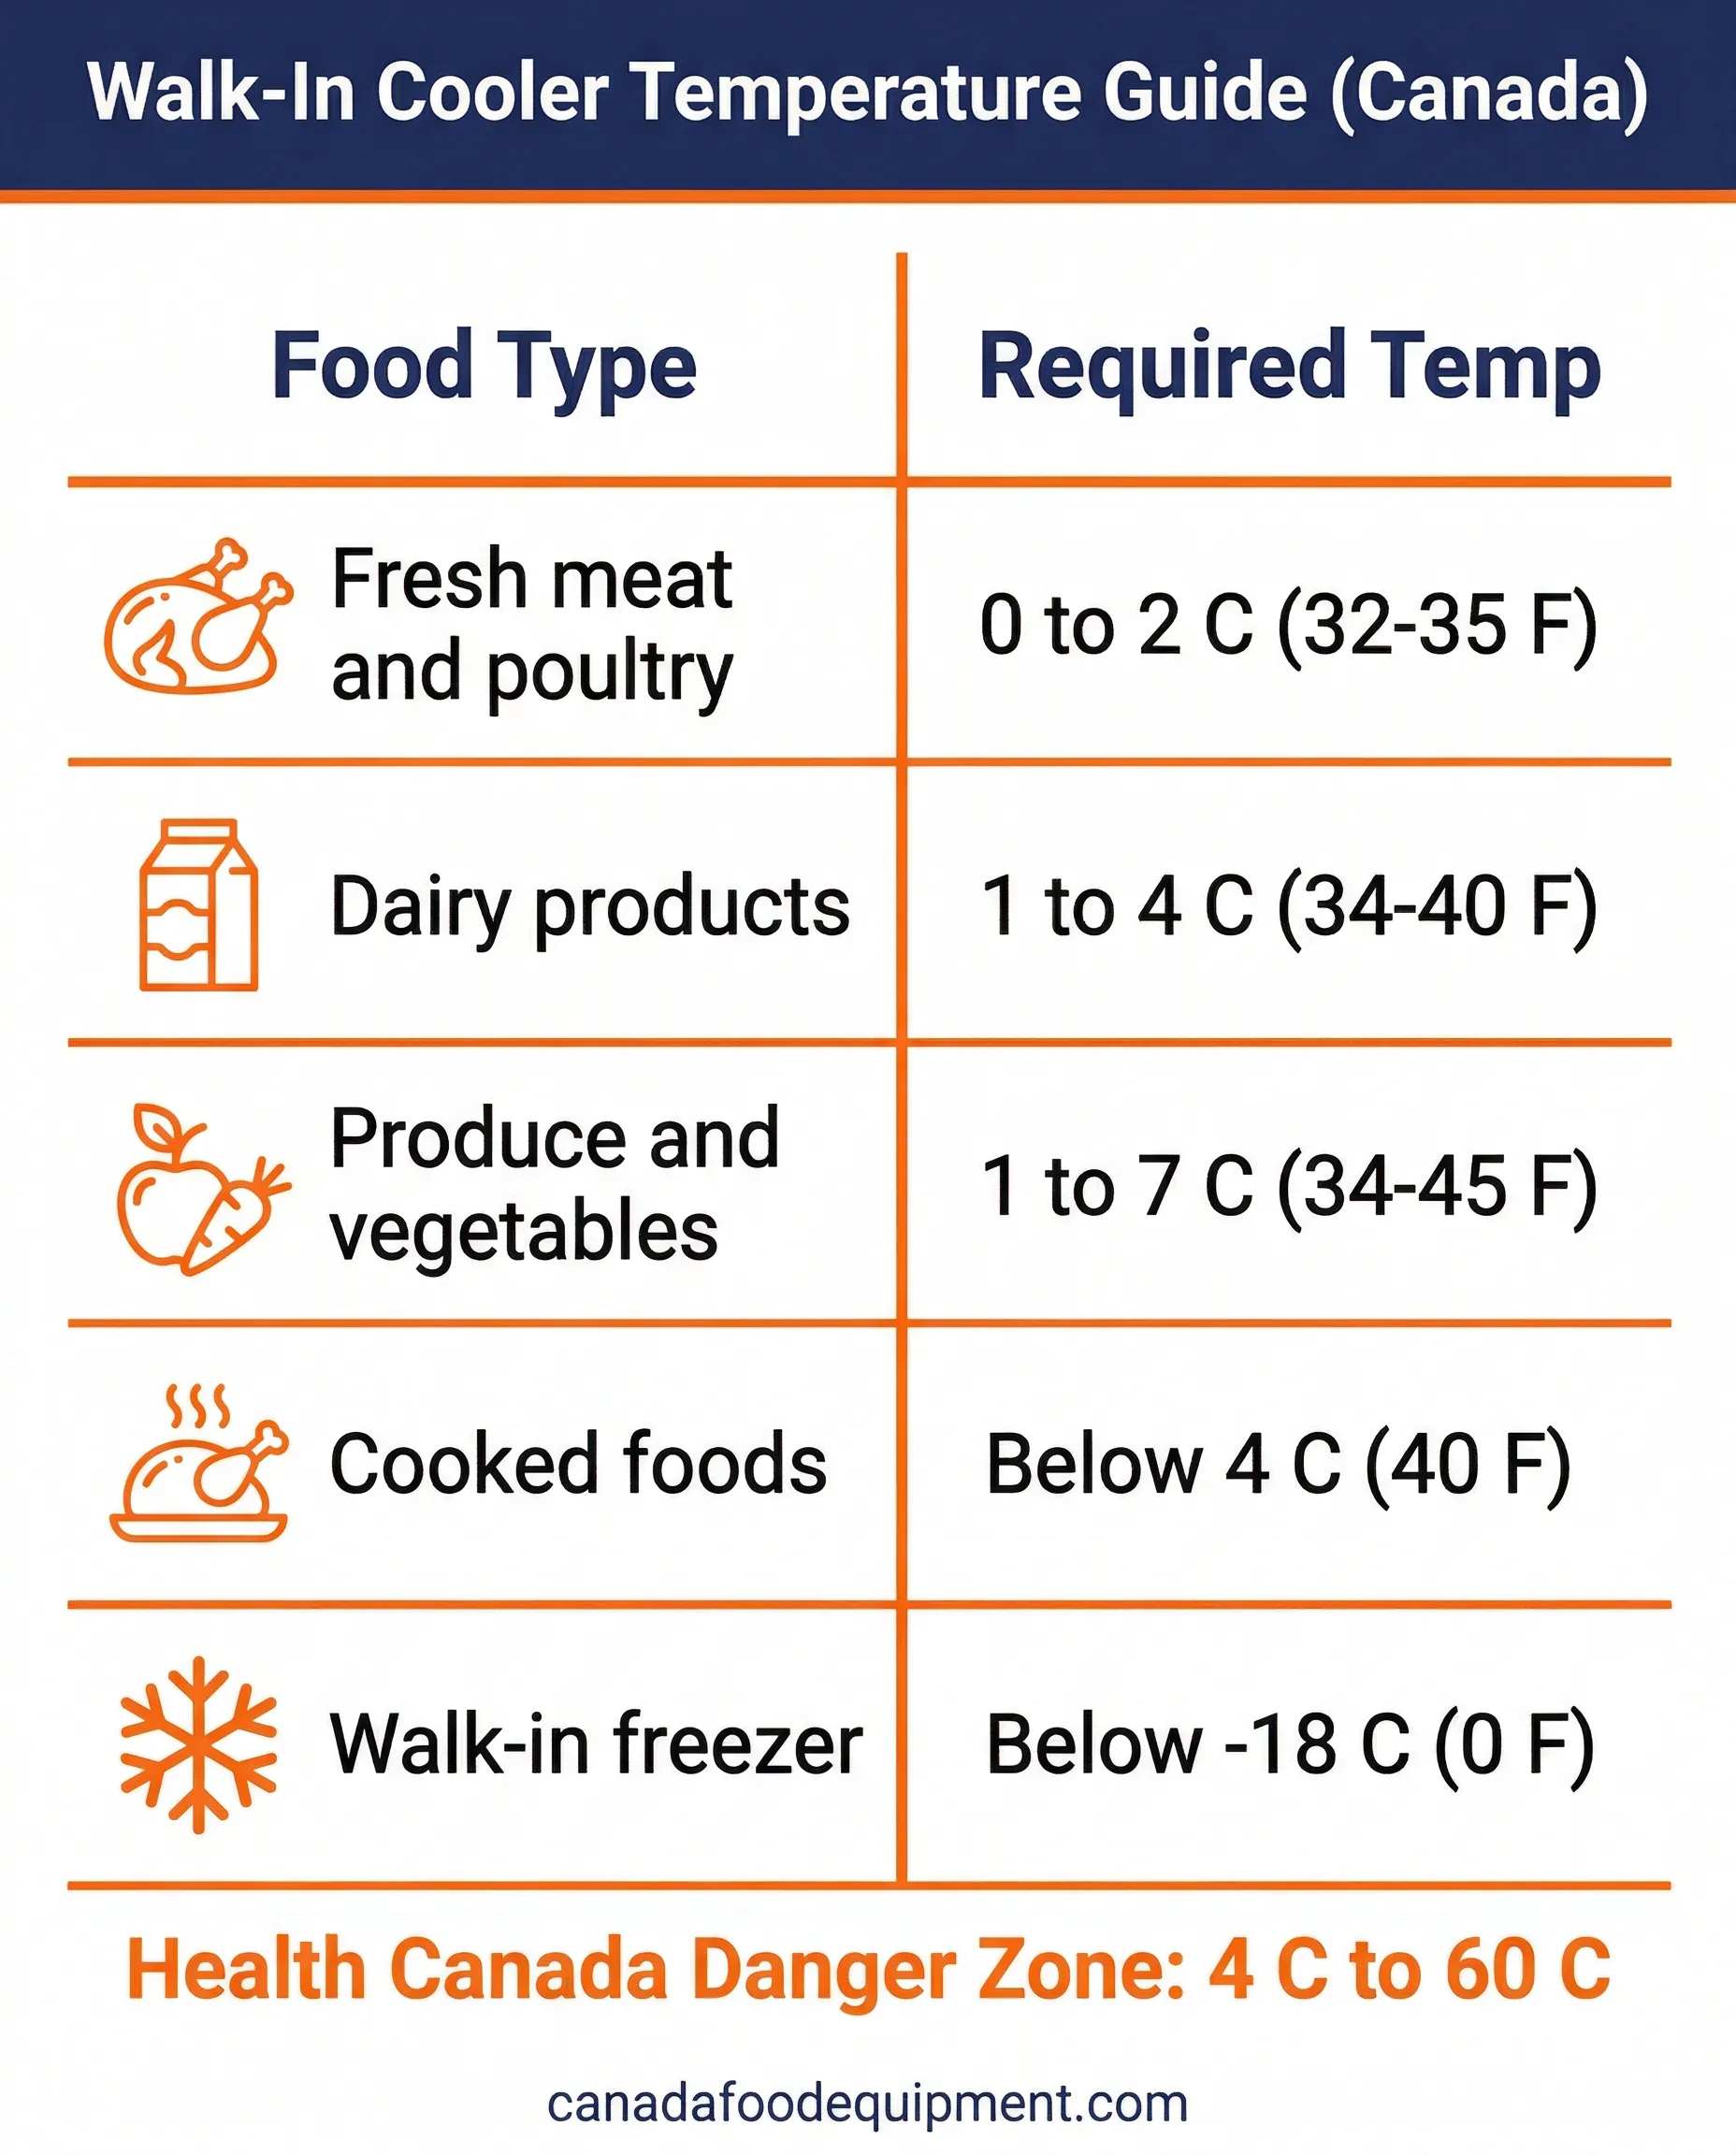
Health Canada establishes the national baseline: refrigerators and cold storage units must hold potentially hazardous foods at 4 C (40 F) or below. The danger zone in Canadian food safety code is 4 C to 60 C (40 F to 140 F). In that range, bacteria double roughly every 20 minutes under ideal conditions.

In practice, 4 C is the ceiling, not the target. Most food safety professionals recommend setting your walk-in thermostat to 1-2 C (34-35 F) to give yourself a buffer. Walk-in coolers are opened repeatedly during service, and every door opening lets warm air in. If the thermostat is set exactly at 4 C, the ambient temperature regularly spikes above it during busy periods. Setting the unit to run colder means the average temperature stays comfortably below the limit even with frequent access.

Provincial codes in Ontario (Ontario Food Premises Regulation O. Reg. 493/17), British Columbia, Alberta, and Quebec all align with the federal 4 C standard, though some provinces have additional specifics around monitoring and logging requirements. The Canadian Food Inspection Agency (CFIA) provides guidance specifically for food businesses and is the authority referenced during commercial inspections.
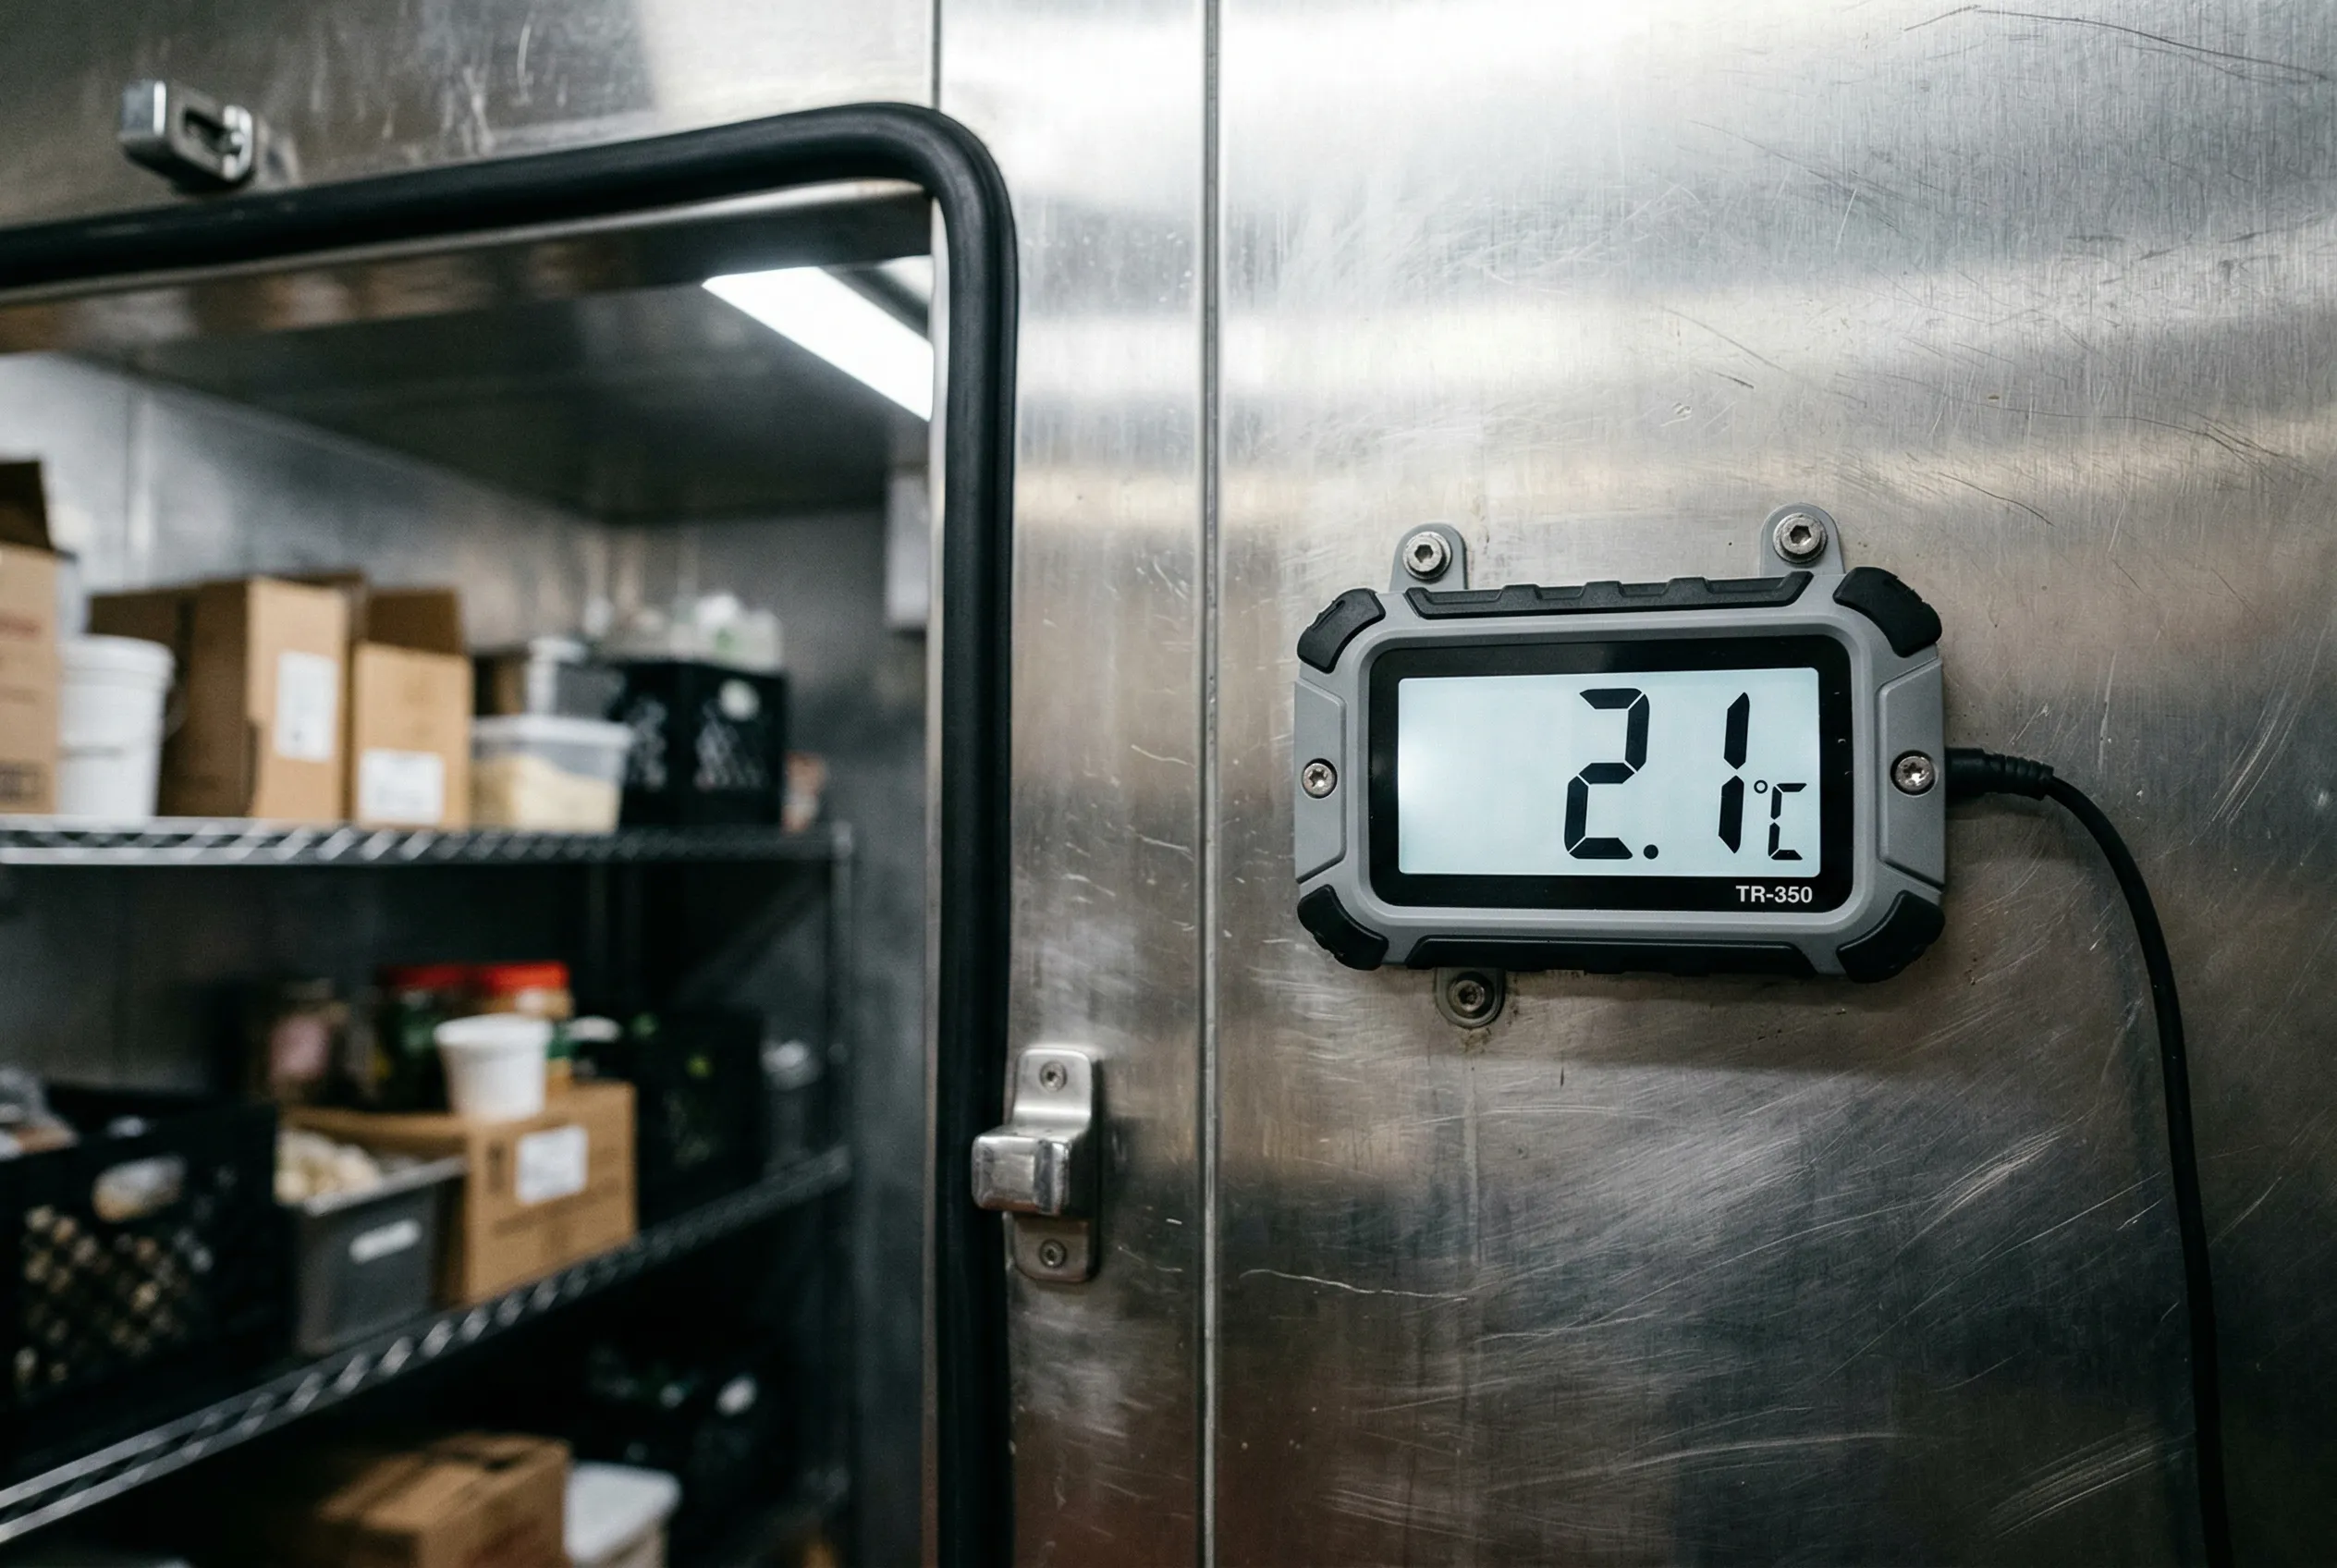
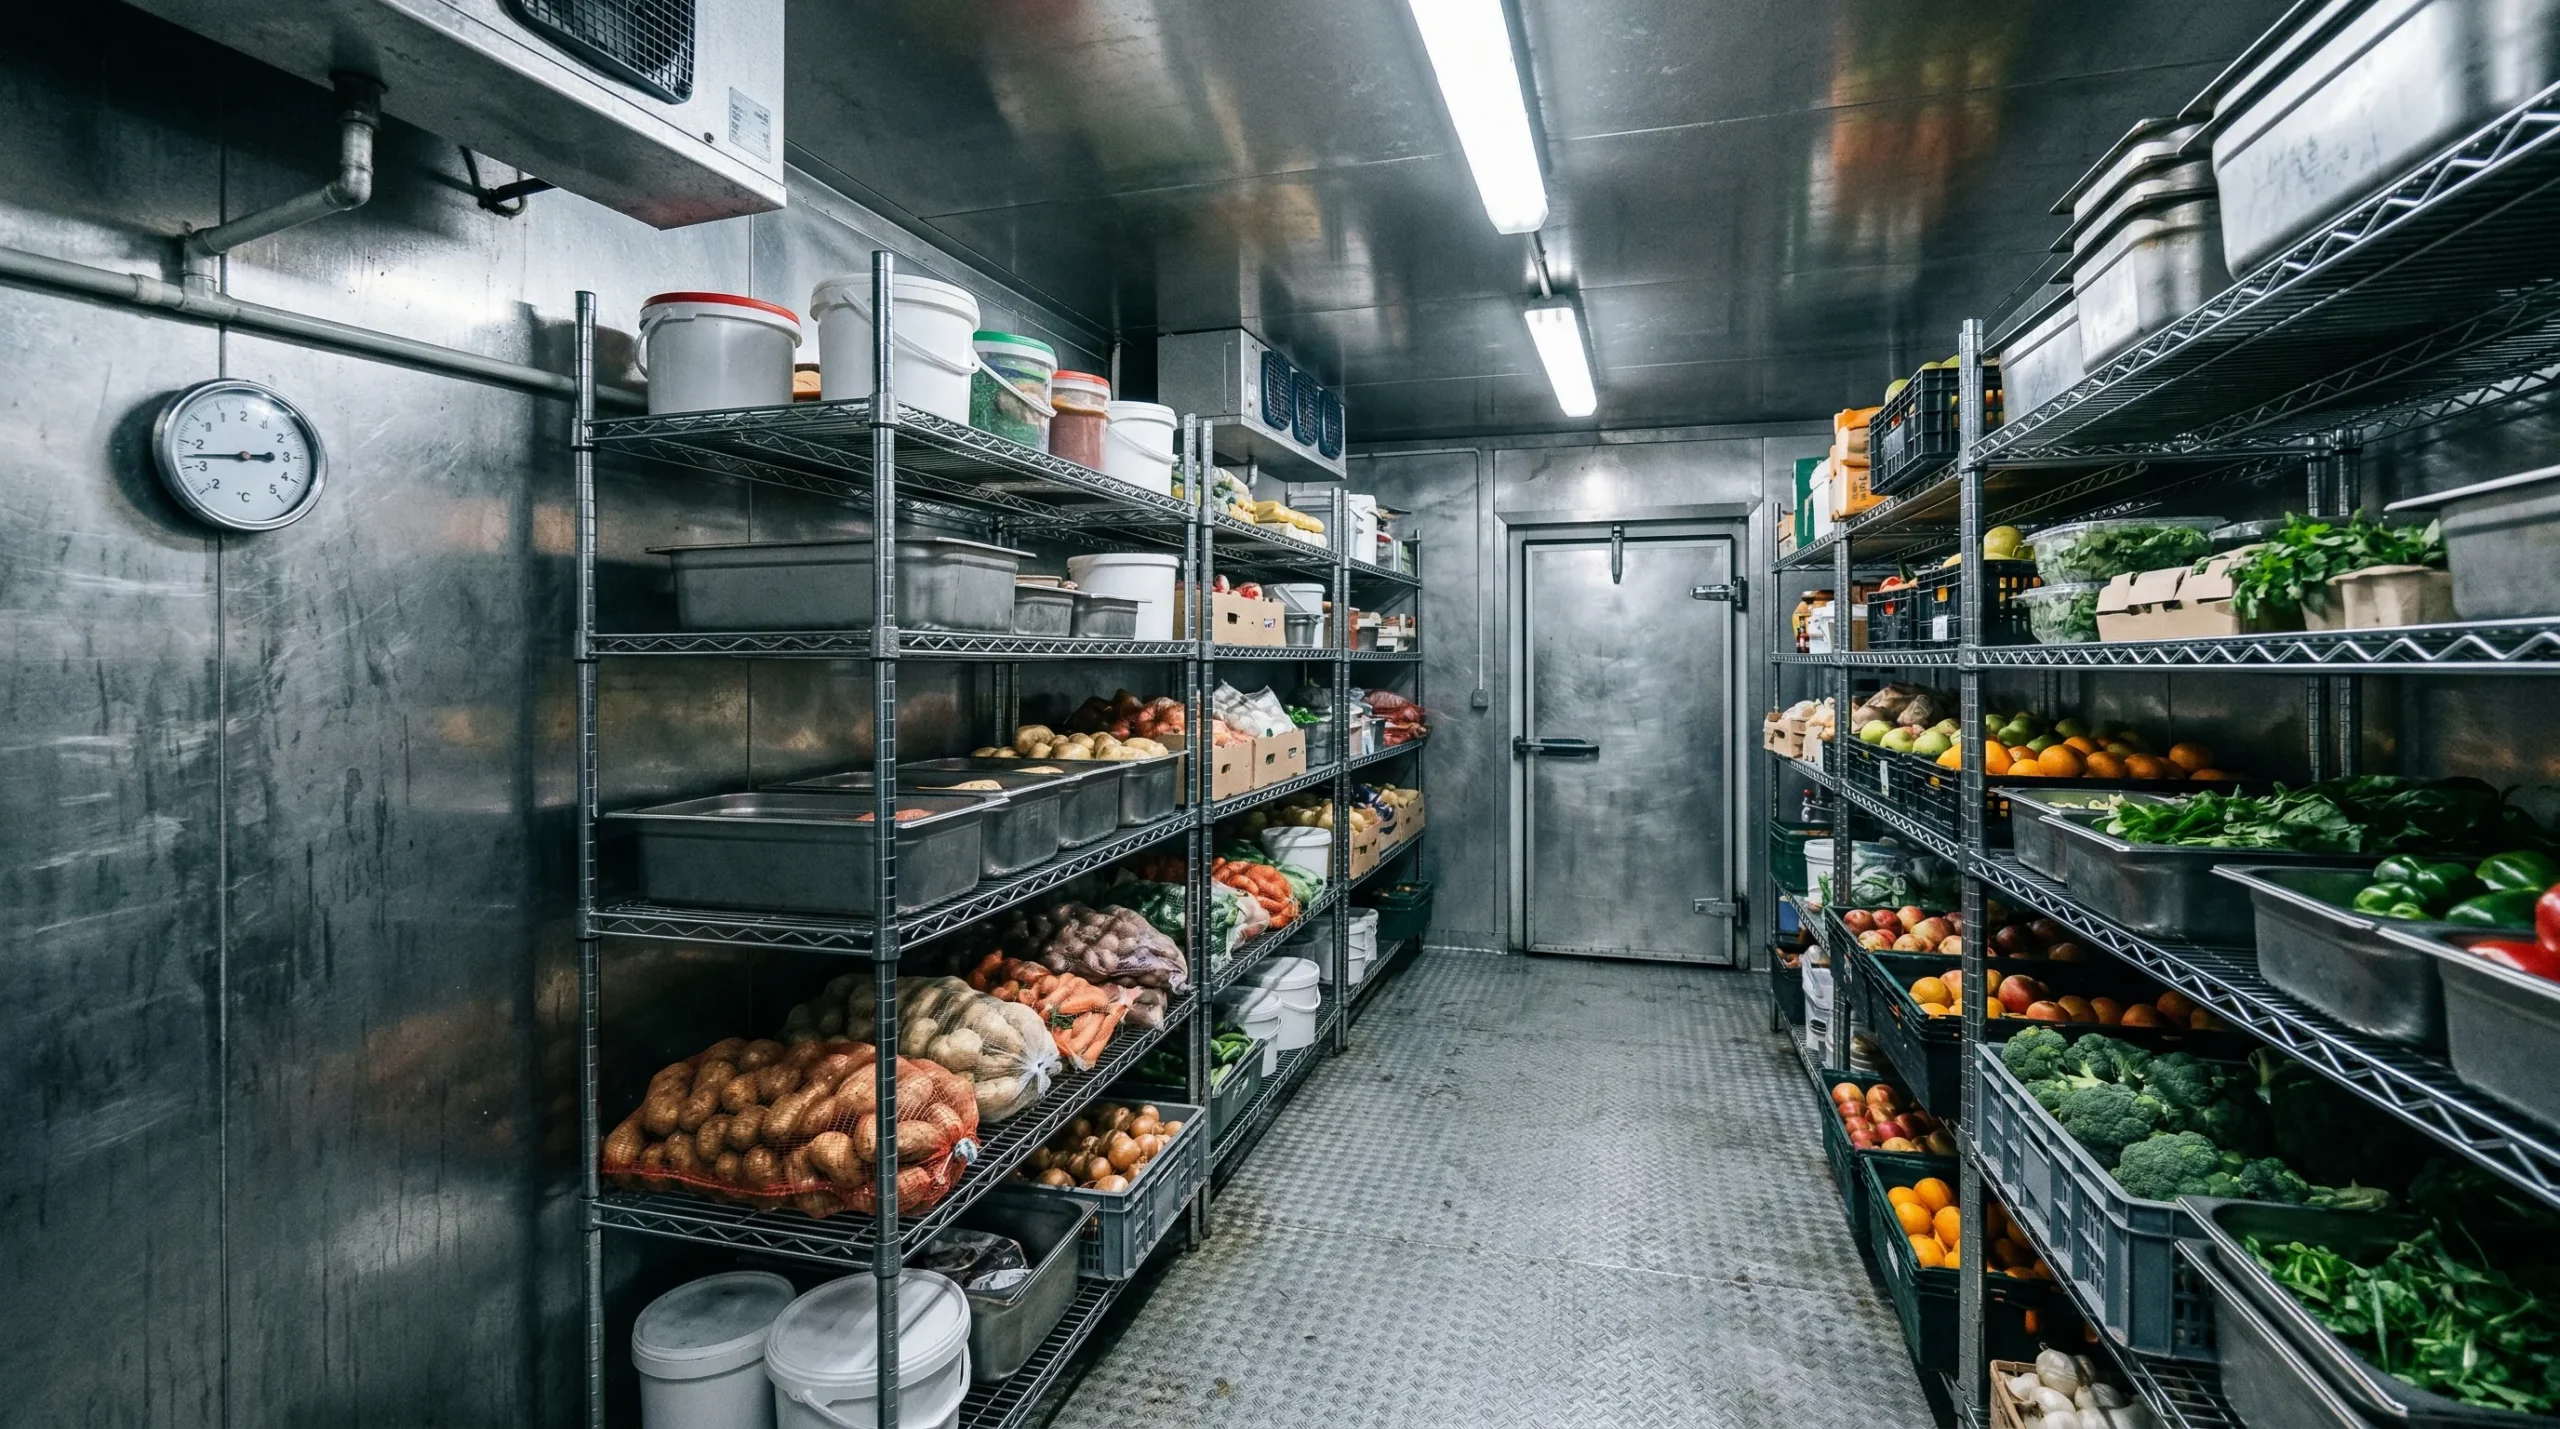
Digital thermometer mounted on walk-in cooler wall showing temperature reading near 2 degrees Celsius

Required temperatures by food category

Not all refrigerated foods need the same temperature. This matters both for food safety and for food quality. Storing delicate produce at meat temperatures causes damage; storing raw proteins at produce temperatures risks pathogen growth.

Food Category Celsius Fahrenheit Storage notes
Raw meat (beef, pork, lamb) 0 to 2 C 32-35 F Lowest shelf, away from produce
Raw poultry 0 to 2 C 32-35 F Lowest shelf, dedicated pan
Raw fish and seafood 0 to 2 C 32-35 F Separate from meat; on ice preferred
Dairy (milk, cream, cheese) 1 to 4 C 34-40 F Away from door; minimize temperature swings
Eggs (in shell) 4 C 40 F Store in original carton
Cooked and prepared foods Below 4 C Below 40 F Covered; labelled with date
Fresh produce (general) 1 to 7 C 34-45 F Varies significantly by item
Produce (cold-sensitive) 7 to 13 C 45-55 F Tomatoes, cucumbers, peppers, tropical fruits
Walk-in freezer (all frozen) -18 C or below 0 F or below Health Canada minimum for frozen storage
Important: Some produce is cold-sensitive and suffers quality damage at refrigerator temperatures. Tomatoes, cucumbers, zucchini, and most tropical fruits should not be stored at 0-4 C for extended periods. If your walk-in is the only cold storage available, store these items for the shortest time possible and keep them on upper shelves where temperatures are slightly warmer.

The vertical organization of your walk-in matters for safety, not just tidiness. The standard rule from the CFIA and provincial food safety codes: store raw proteins below ready-to-eat foods, always. Raw chicken on the top shelf above prepared salads is a textbook cross-contamination scenario that shows up in inspection reports regularly.

Common walk-in cooler problems that lead to temperature failure

Most walk-in temperature failures are mechanical problems that develop gradually. The first sign is usually inconsistent temperature: the unit reads correctly in the morning but runs warm by the afternoon. Here’s where to look.

Door gaskets: the foam and rubber seal around the door frame is the first thing to fail on most walk-ins. A leaking gasket lets warm, humid air in continuously, which forces the refrigeration system to work harder and may still not maintain temperature during peak hours. Check the gasket by placing a piece of paper between the door and frame and pulling: you should feel resistance. If the paper slides out easily, the gasket needs replacing. This is a low-cost fix that significantly impacts performance.

Evaporator coil frost buildup: the evaporator coil inside the walk-in removes heat from the air. If the defrost cycle fails or isn’t scheduled frequently enough, frost accumulates on the coil and insulates it, reducing its capacity to cool. You’ll notice this as a gradual temperature rise over days or weeks. The fix is either a manual defrost or a service call to check the defrost heater and timer.

Condenser coil contamination: the condenser unit (usually mounted outside or on the roof) exchanges heat with the outside air. In a restaurant kitchen environment, grease and dust accumulate on the condenser coil and block airflow. A dirty condenser works harder, runs hotter, and eventually fails. Cleaning the condenser coil is a quarterly maintenance task that most operators skip until something breaks.

Low refrigerant: a slow refrigerant leak causes the unit to lose cooling capacity gradually. This requires a licensed refrigeration technician to diagnose and repair, as handling refrigerants is regulated in Canada under the Canadian Environmental Protection Act.

Low-ambient operation in Canadian winters: this one is specific to Canada. Many walk-in condensing units are designed to operate in ambient temperatures above 4-7 C. If your condensing unit is mounted outside or in an unheated space (a common setup in many Ontario and Quebec restaurants), it may fail to operate correctly during cold months. A low-ambient kit or a head pressure control valve solves this problem, but it needs to be installed by a qualified refrigeration technician.
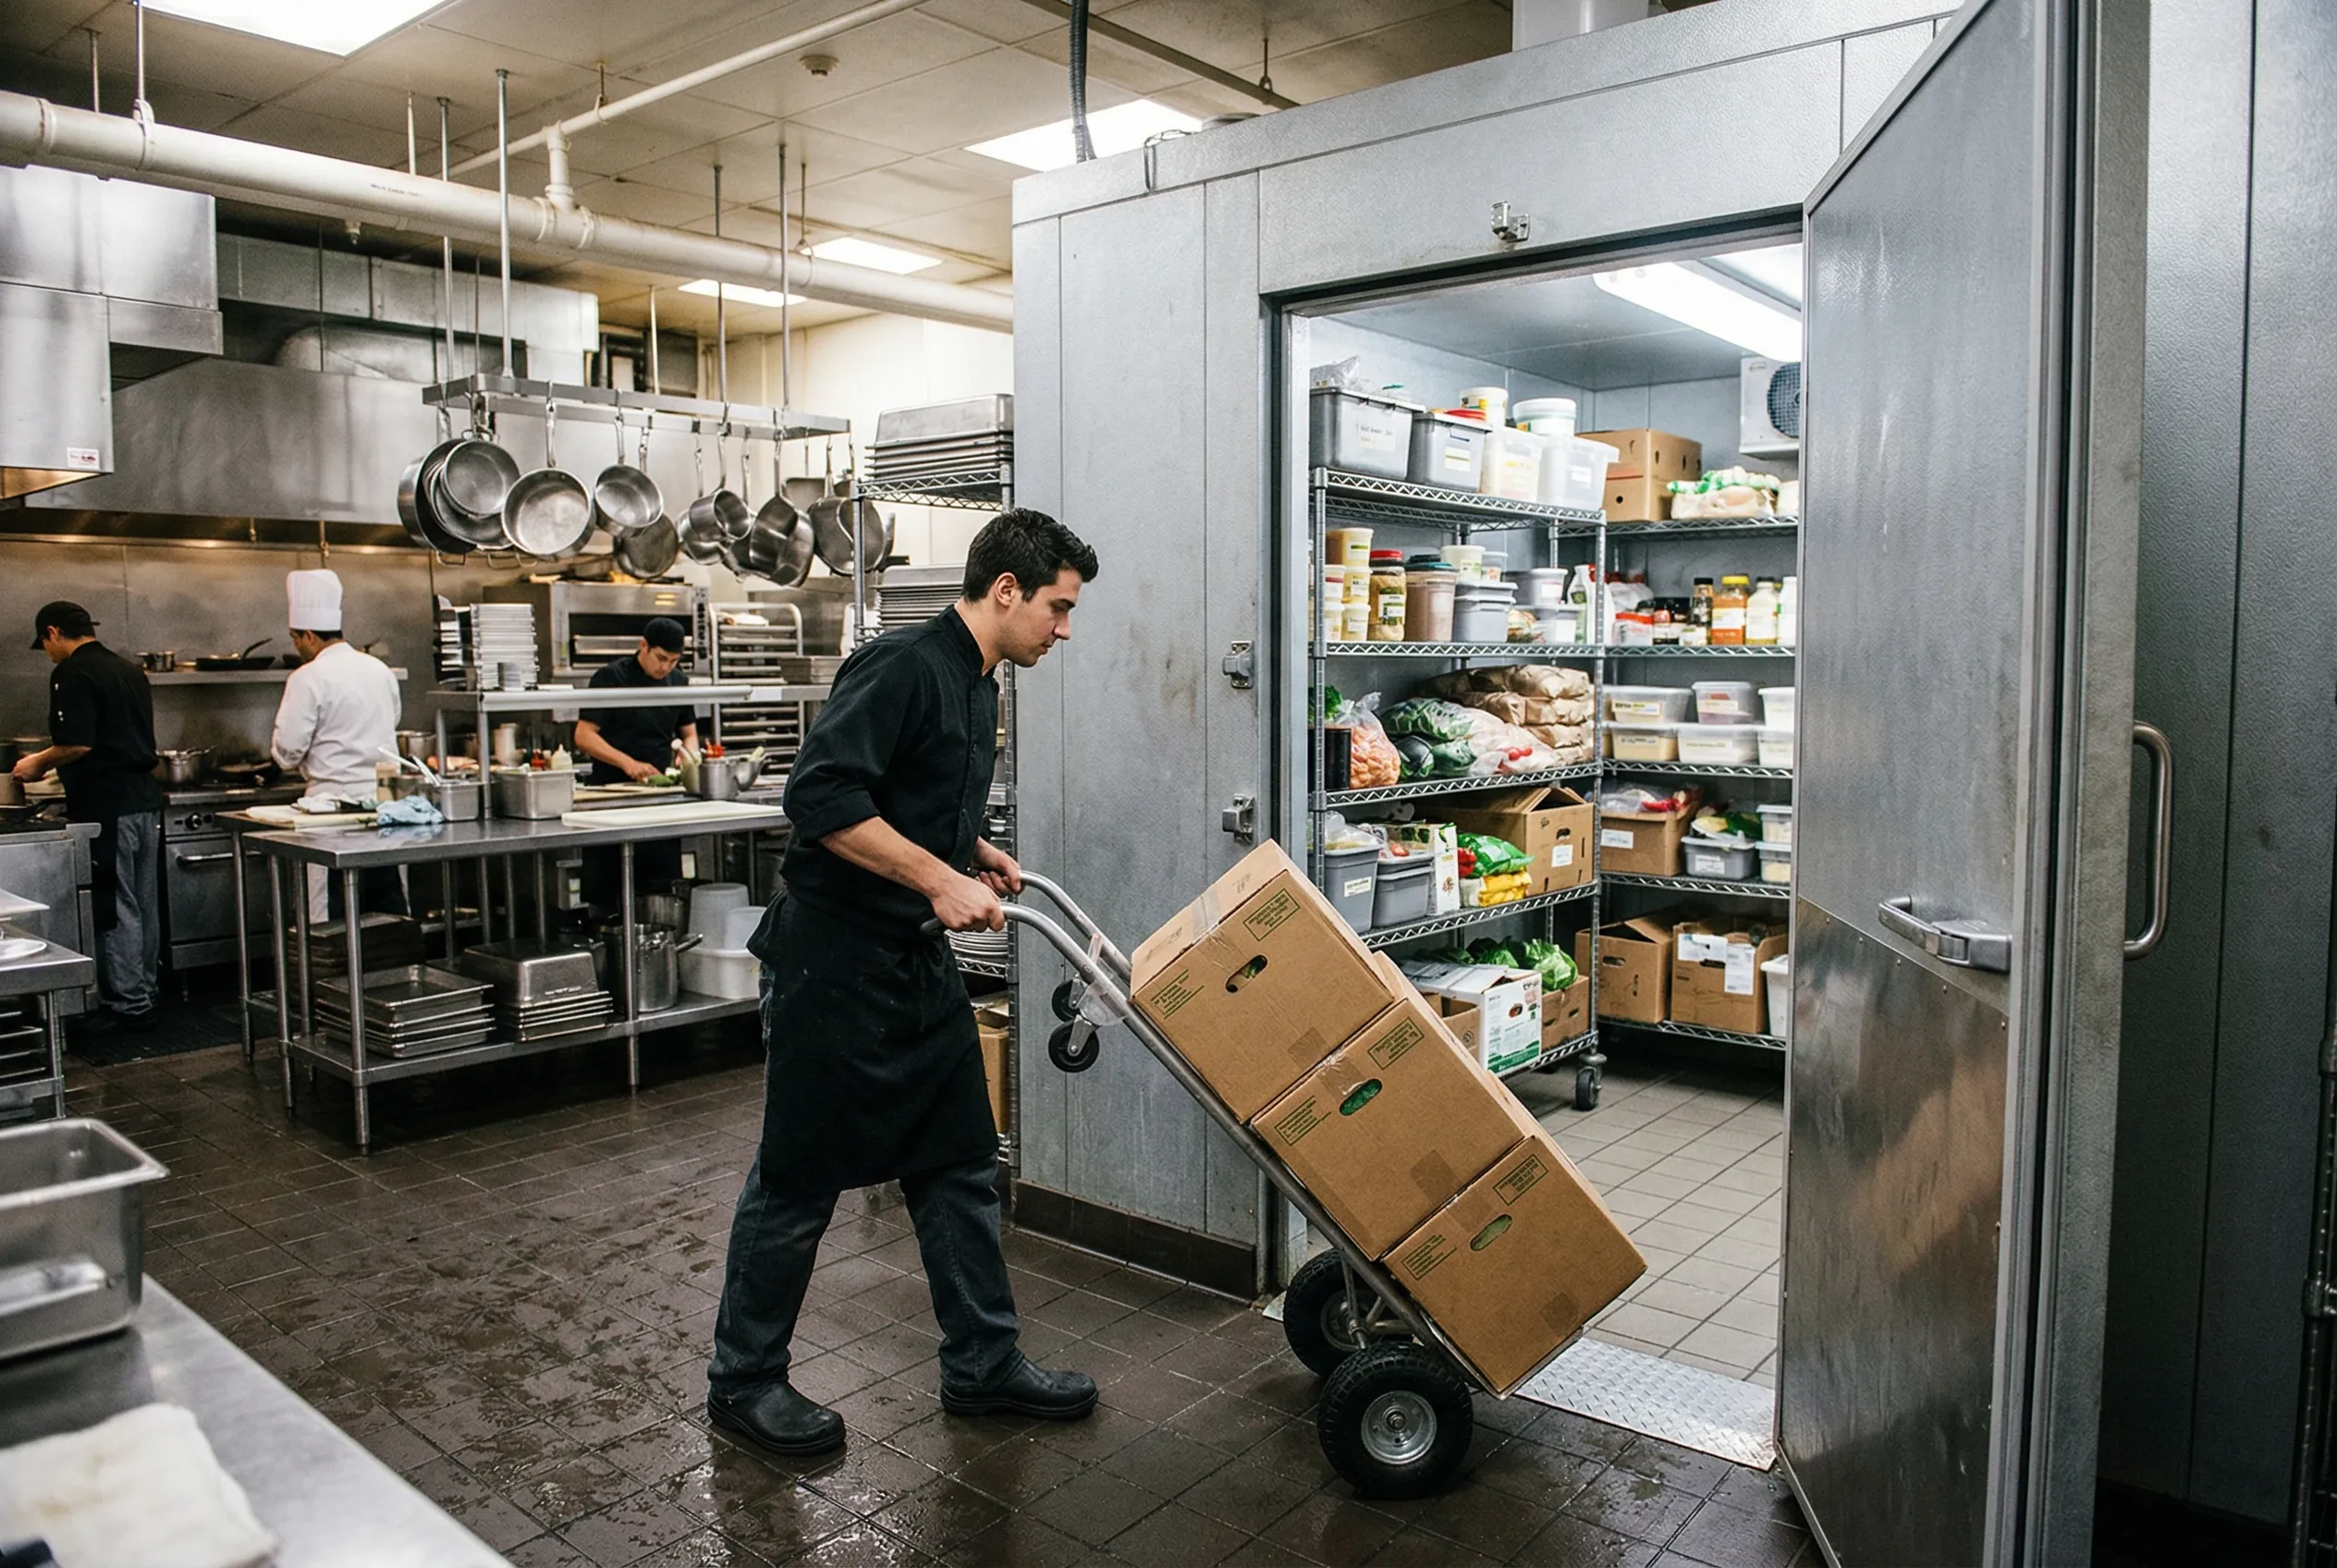
Restaurant worker bringing food supplies into a walk-in cooler entrance with heavy insulated door

Temperature monitoring and logging requirements

Knowing your cooler’s temperature in real time is different from having a record of what it was. Inspection bodies in Ontario, BC, and other provinces increasingly expect food operators to maintain written or digital temperature logs as part of their food safety plan.

At minimum, log walk-in temperatures twice daily: once at opening and once at the end of the service day. Record the date, time, temperature, and the name of the person checking. This creates a paper trail that demonstrates due diligence if a food safety incident is ever investigated.

Digital options have gotten affordable. Wireless temperature sensors with cloud logging can monitor your walk-in 24 hours a day and send alerts if the temperature rises above a set threshold. For a multi-location operation, remote monitoring is essentially table stakes now. For a single-location restaurant, even a simple USB temperature logger that records hourly and downloads to a spreadsheet is a worthwhile investment.
Thermometer calibration: the thermometer on your walk-in is only useful if it’s accurate. Calibrate it quarterly using ice water (should read 0 C) or boiling water at sea level (100 C). A thermometer reading 2 C high means food that appears to be at 3 C is actually at 5 C, outside the safe zone. Replace thermometers that drift and won’t calibrate.

Walk-in cooler temperature guide infographic showing required temperatures by food type including meat, dairy, produce, and freezer

FAQ: walk-in cooler temperature and compliance in Canada

What temperature does a walk-in cooler need to be in Canada?

Health Canada requires potentially hazardous foods to be stored at 4 C (40 F) or below. For walk-in coolers, most health inspectors want to see the ambient temperature at 4 C or colder during an inspection. Setting your thermostat to 1-2 C (34-35 F) gives you a practical buffer. Walk-in freezers must maintain -18 C (0 F) or colder.

How often do health inspectors check walk-in cooler temperatures in Ontario?

In Ontario, public health units conduct routine inspections of restaurants and food service operations at least once or twice per year, with additional inspections triggered by complaints. Temperature checks of all refrigeration units, including walk-ins, are standard during every inspection. Inspectors use calibrated probe thermometers to take actual food temperatures, not just ambient air readings.

What happens if my walk-in cooler fails during service?

You have a limited window. Food that has been above 4 C for less than 2 hours can generally be transferred to a functioning unit. Food above 4 C for more than 2 hours should be discarded if it’s a potentially hazardous food (meat, dairy, cooked foods). Document what was discarded and when. If you’re unsure, consult your provincial food safety authority before serving the food. The cost of discarding product is far lower than the liability of a foodborne illness incident.

Do I need a separate walk-in for meat and produce?

Separate walk-ins for different food categories are best practice in high-volume operations, but most restaurants operate with a single walk-in divided by shelving and organization protocols. What matters is consistent separation: raw proteins on the lowest shelves, ready-to-eat and produce on upper shelves, and clear labelling of everything. Some operations use a dedicated reach-in for raw proteins and the walk-in for everything else.

How do I know if my walk-in cooler is the right size?

A standard rule is 1 to 1.5 cubic feet of walk-in storage per meal served per day. A restaurant doing 200 covers daily needs roughly 200-300 cubic feet of walk-in space, accounting for shelving and circulation space. This is a starting point; if you receive large produce orders once or twice per week, you need more. If you order daily with tight par levels, you can work with less. Walk-in sizing is also influenced by your delivery schedule and menu complexity.

Walk-in cooler compliance in Canada is fairly straightforward as long as the equipment works properly and the temperature monitoring is consistent. The problems show up when maintenance gets deferred. Gaskets that don’t get replaced, condenser coils that don’t get cleaned, and thermometers that drift unnoticed are the most common reasons a walk-in fails an inspection. If your current walk-in is aging or struggling to hold temperature, or you’re outfitting a new location, consulting with a certified commercial kitchen planner or equipment dealer can help you size the right unit for your volume and building setup.
Download Temperature Reference Guide (PDF)

Commercial Dishwasher Types Compared: Which Is Right for Your Kitchen

The commercial dishwasher decision comes down faster than most operators expect. You measure the space, check your cover count, ask about installation requirements, and suddenly you’re trying to understand the difference between a high-temp and low-temp sanitising cycle. This guide cuts through it. There are three main types of commercial dishwashers used in Canadian restaurants, each designed for a different volume range and operational context. Getting the sizing wrong costs you in either throughput or unnecessary capital spend. If you’re ready to compare specific models, Canada Food Equipment’s dishwashing equipment section covers undercounter, door-type, and commercial-grade units for the Canadian market.

The three types: undercounter, door-type, and conveyor

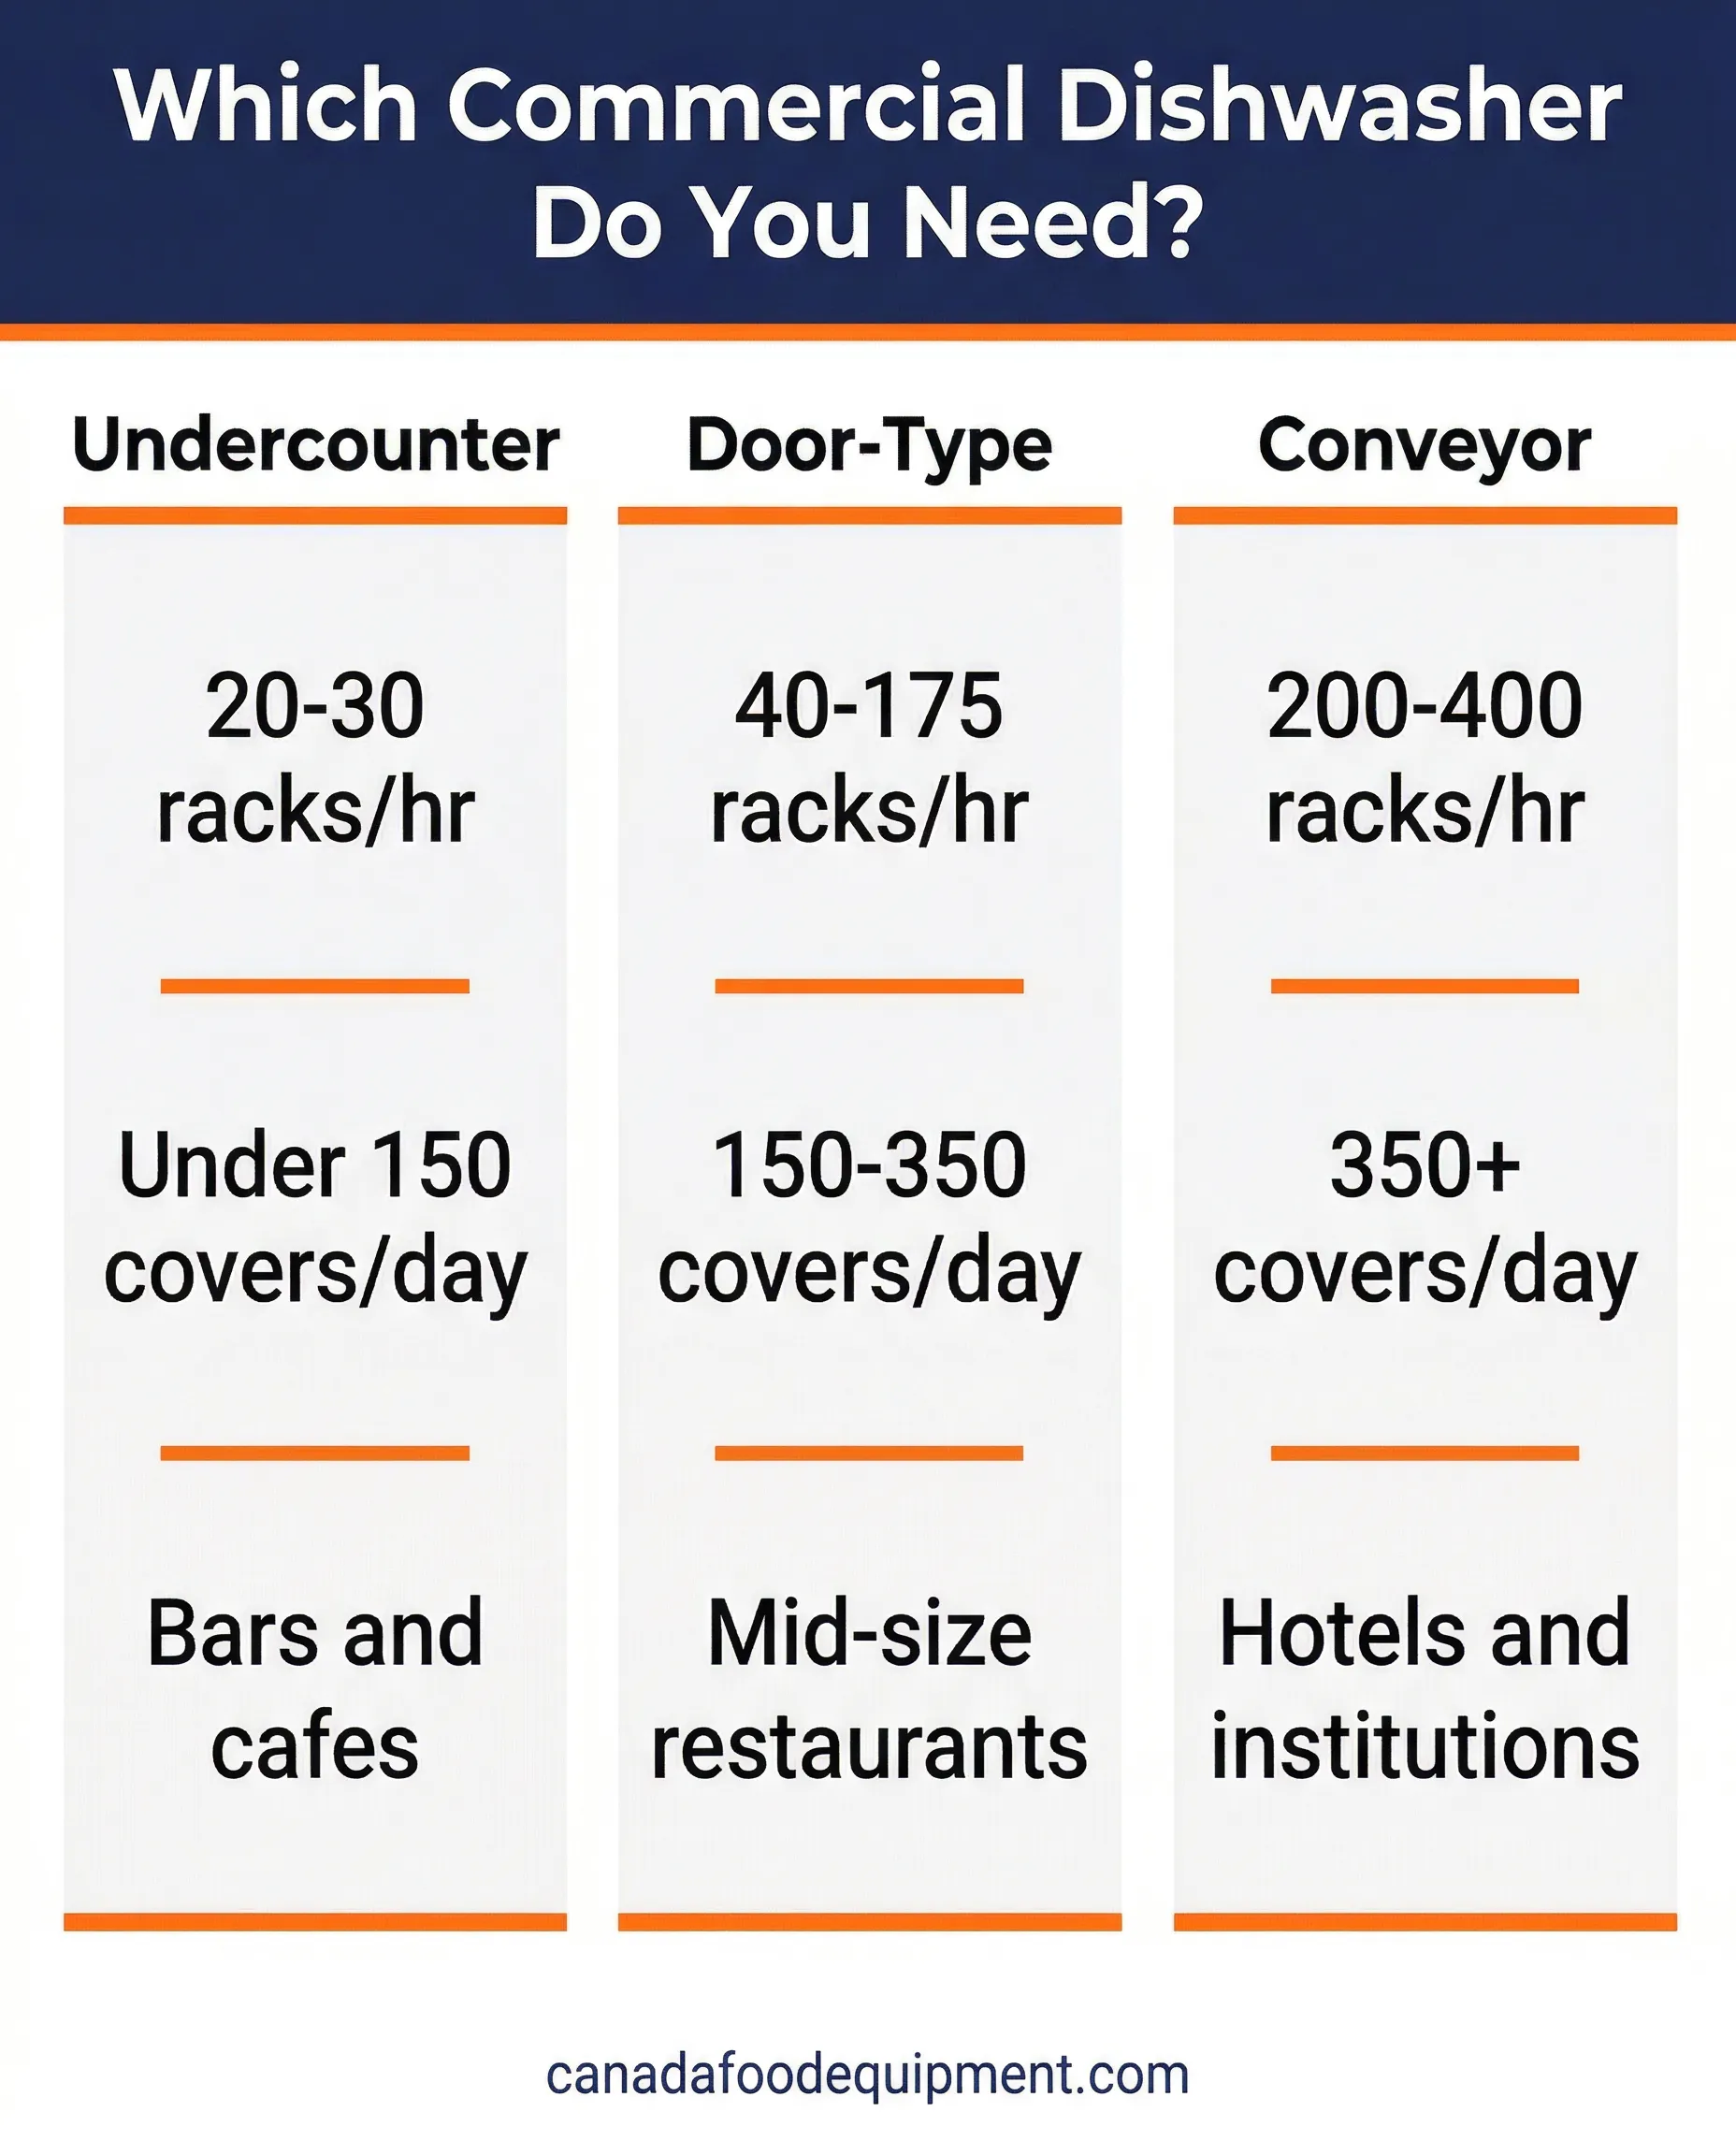
Each type fits a specific output range. The simplest way to choose is to know your daily cover count at peak, then size for 20% above that.

Undercounter dishwashers are compact units that sit below a counter surface and operate similarly to a residential dishwasher, but built for commercial use. They process one rack at a time, typically doing 20-30 racks per hour. A rack holds roughly 20-25 plates, so you’re looking at 400-750 plates per hour under ideal conditions. In practice, with loading and unloading time, figure around 150 covers per day as a realistic ceiling before you’re creating a bottleneck. These units are the right choice for bars, cafes, small diners, and hotel bars that need fast turnaround on glassware and light dishware.

Door-type dishwashers (also called pass-through or hood-type) lift from the top rather than swinging out like a standard door. A loaded rack slides in, the door drops, the cycle runs, and the rack comes out the other side. This design allows one person to load and unload continuously, which is why throughput is substantially higher: 40-175 racks per hour depending on the model and cycle time. This range covers most mid-size full-service restaurants operating up to 350 covers per day. They’re the most common choice for restaurants doing serious volume.

Conveyor dishwashers use a motorized belt to move racks through a series of wash zones automatically. One end takes dirty dishes; the other end delivers clean ones. They require more floor space (often 3 metres or more of linear run) and a larger utility hookup, but they process 200-400 racks per hour. These machines belong in high-volume environments: hotel restaurants, institutional kitchens, university cafeterias, and large catering operations doing 350+ covers daily.

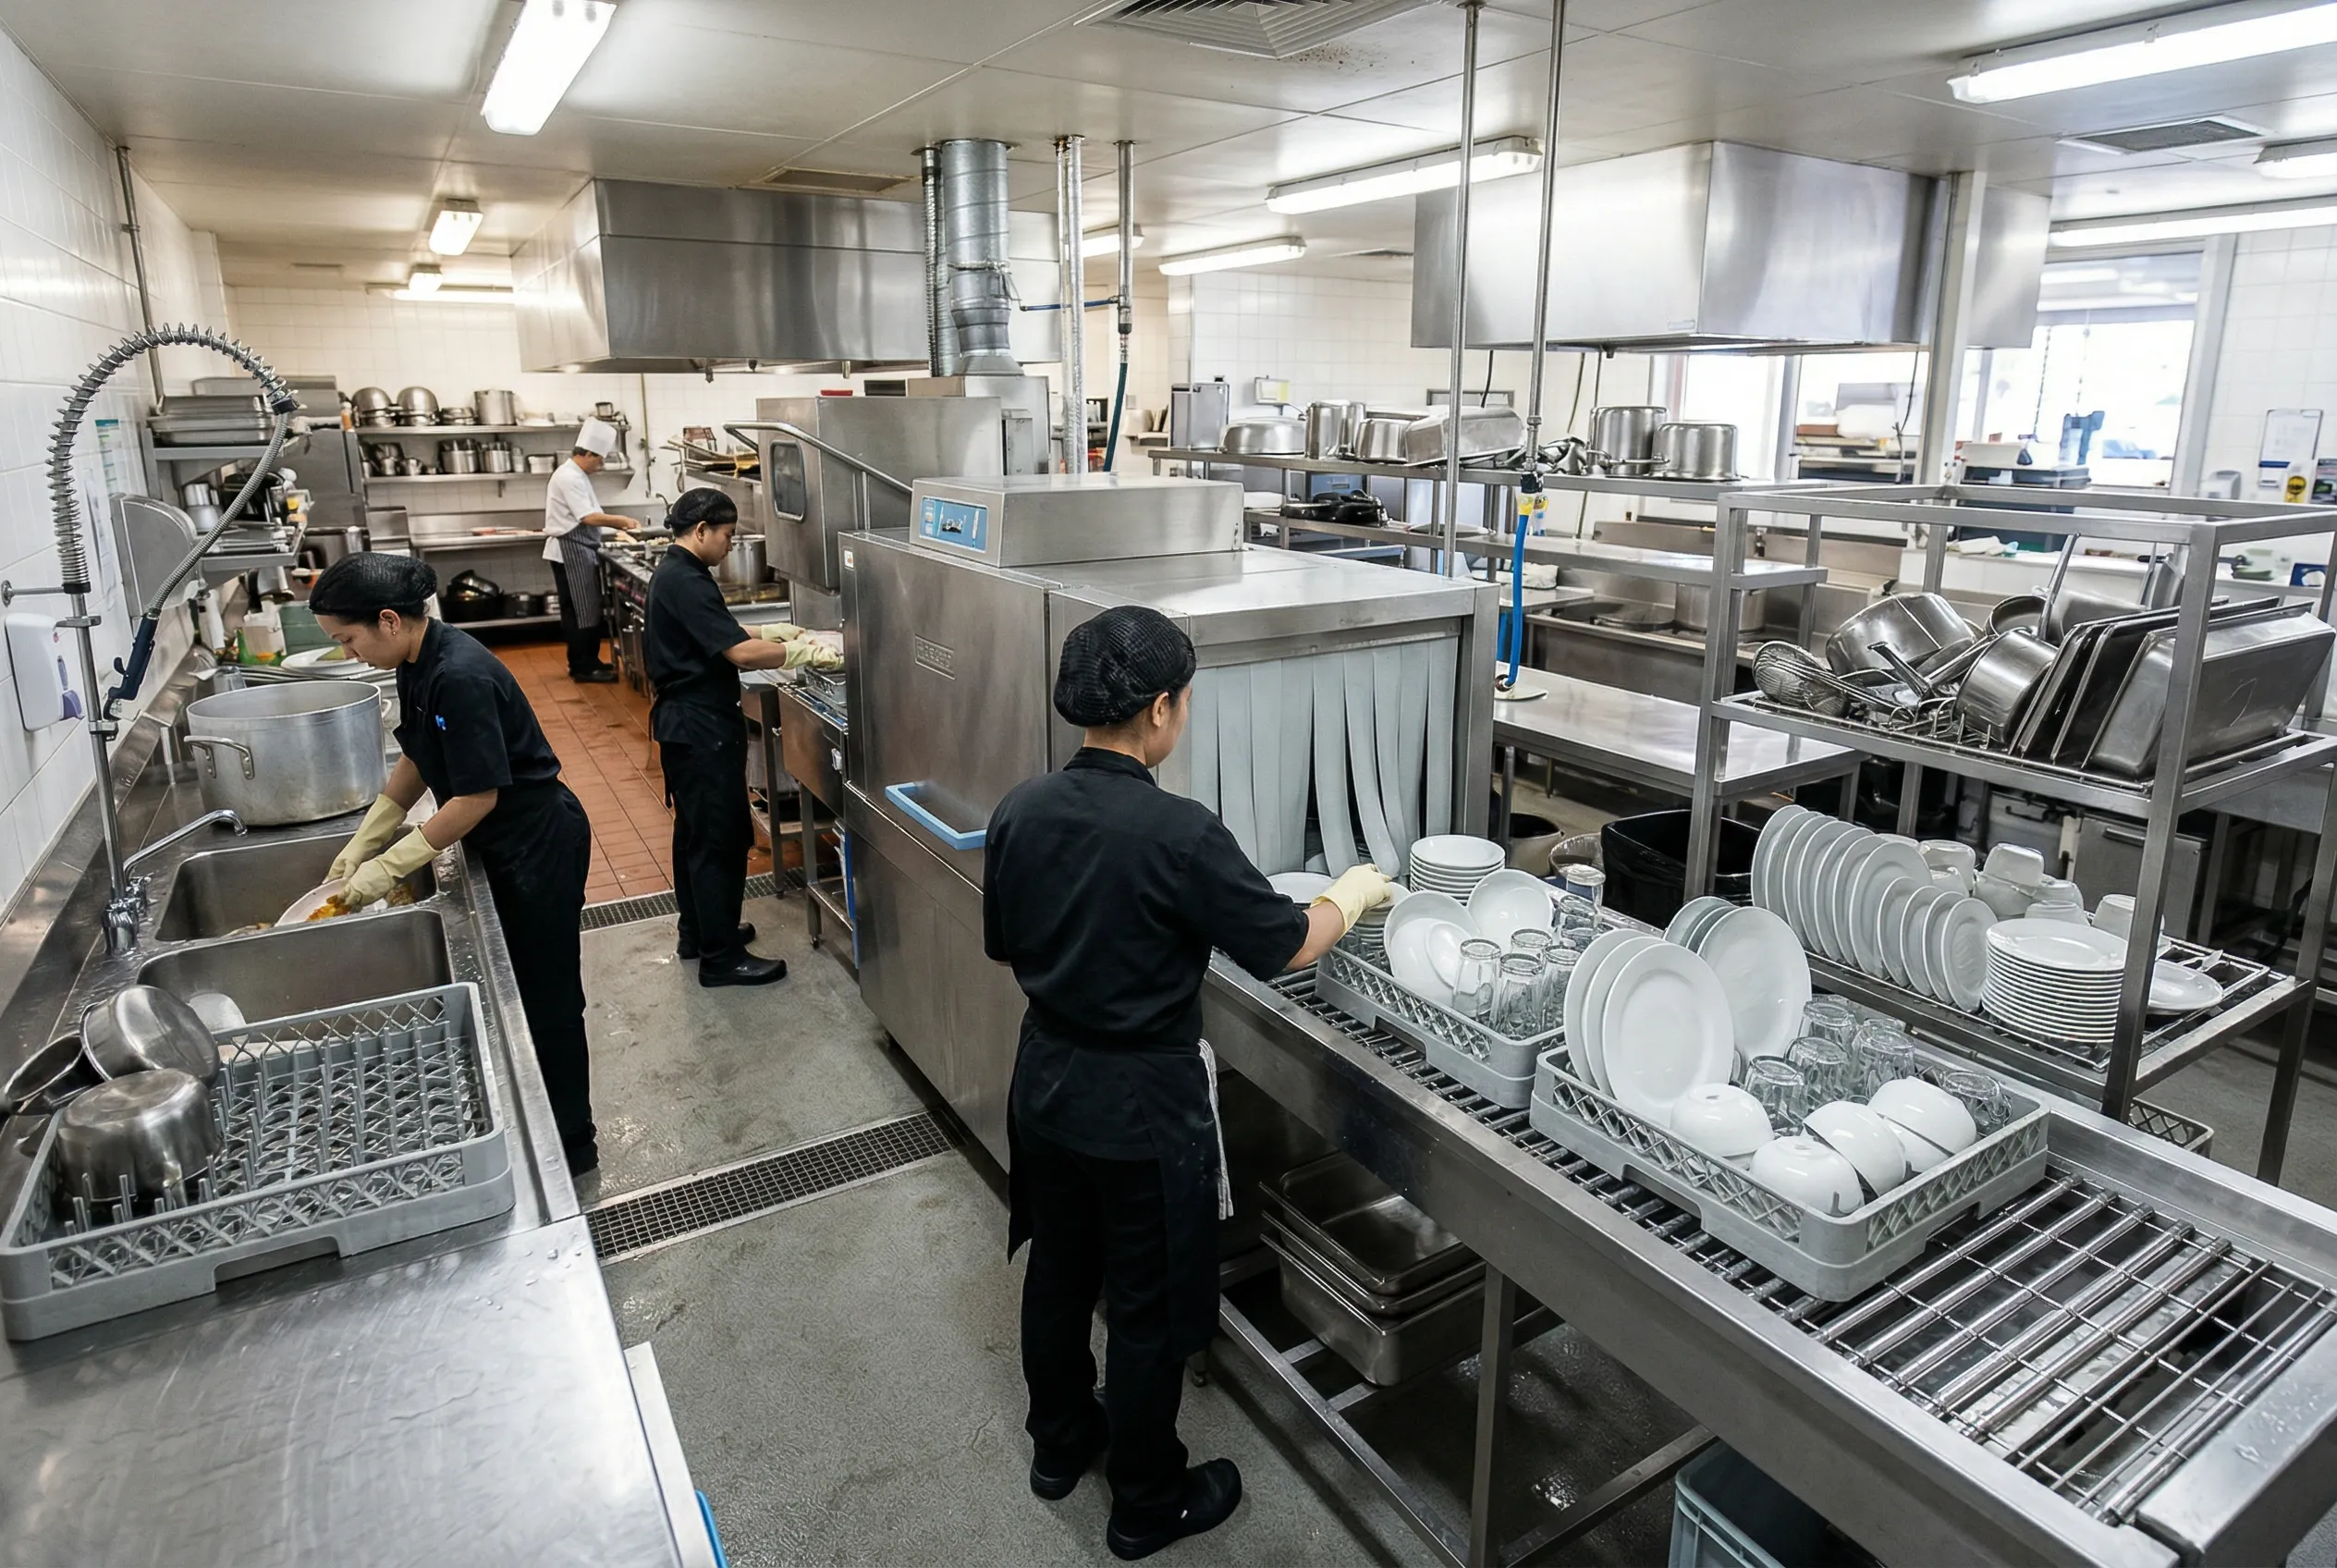
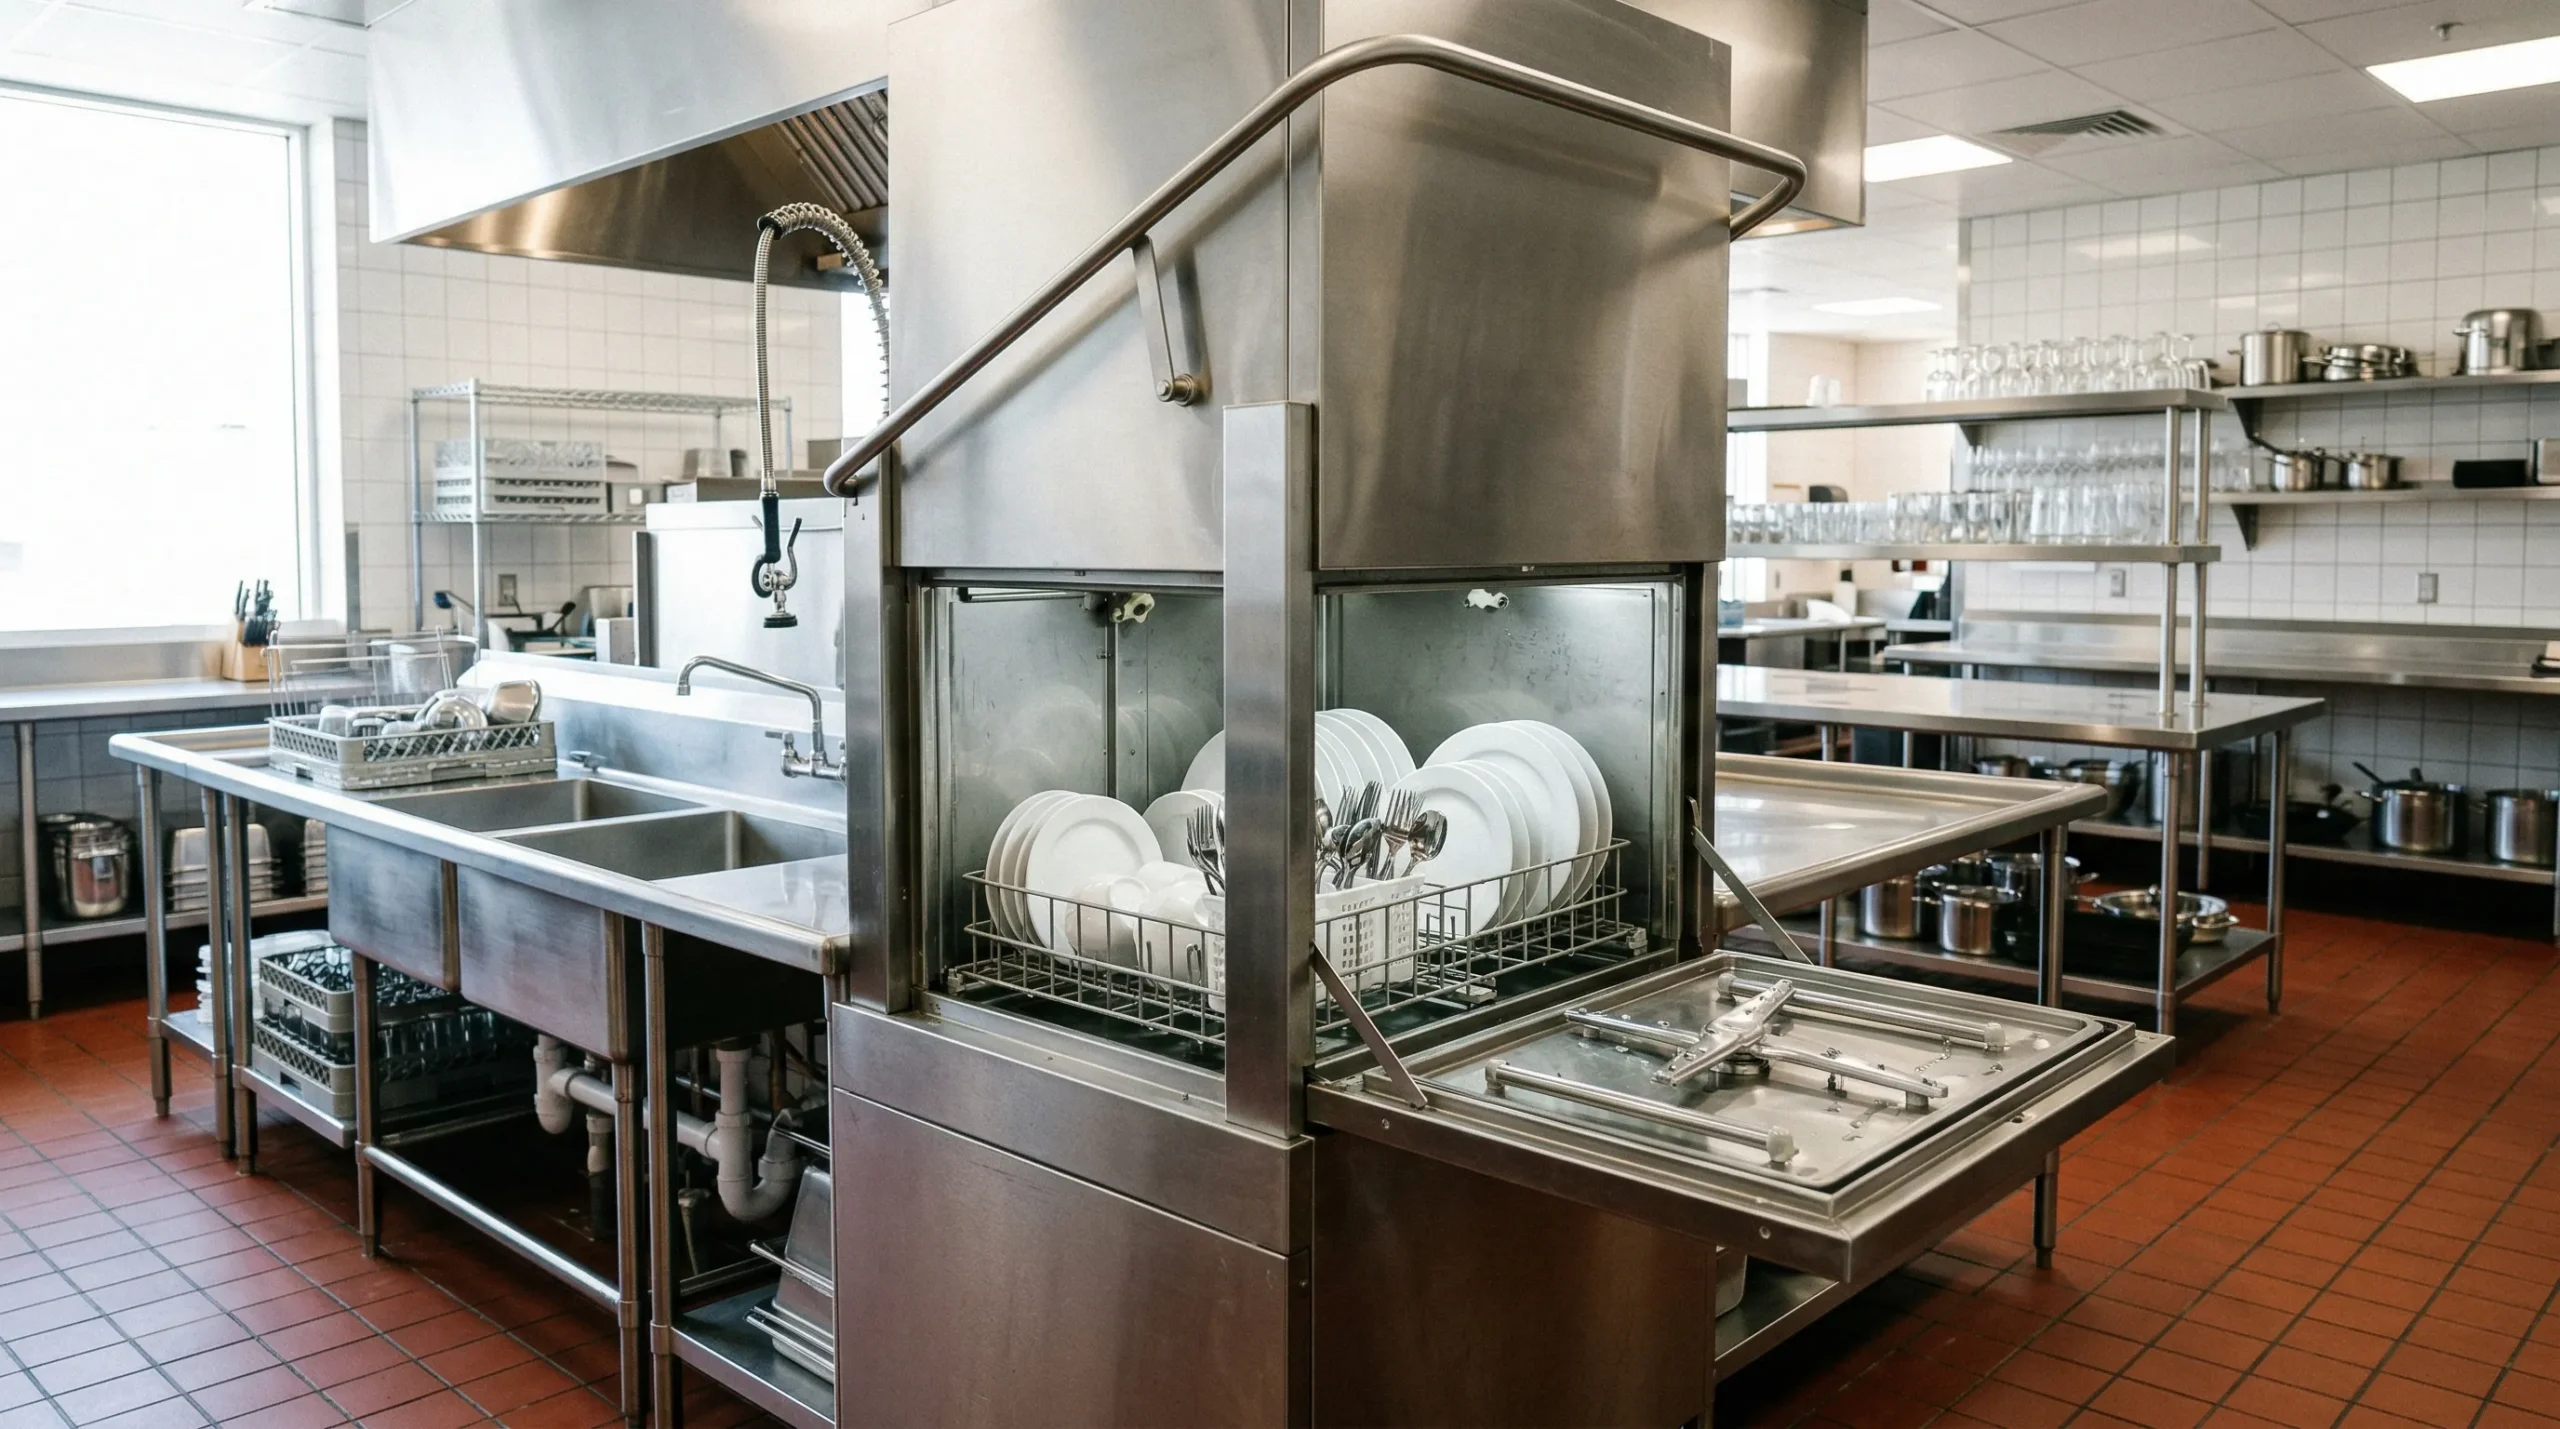
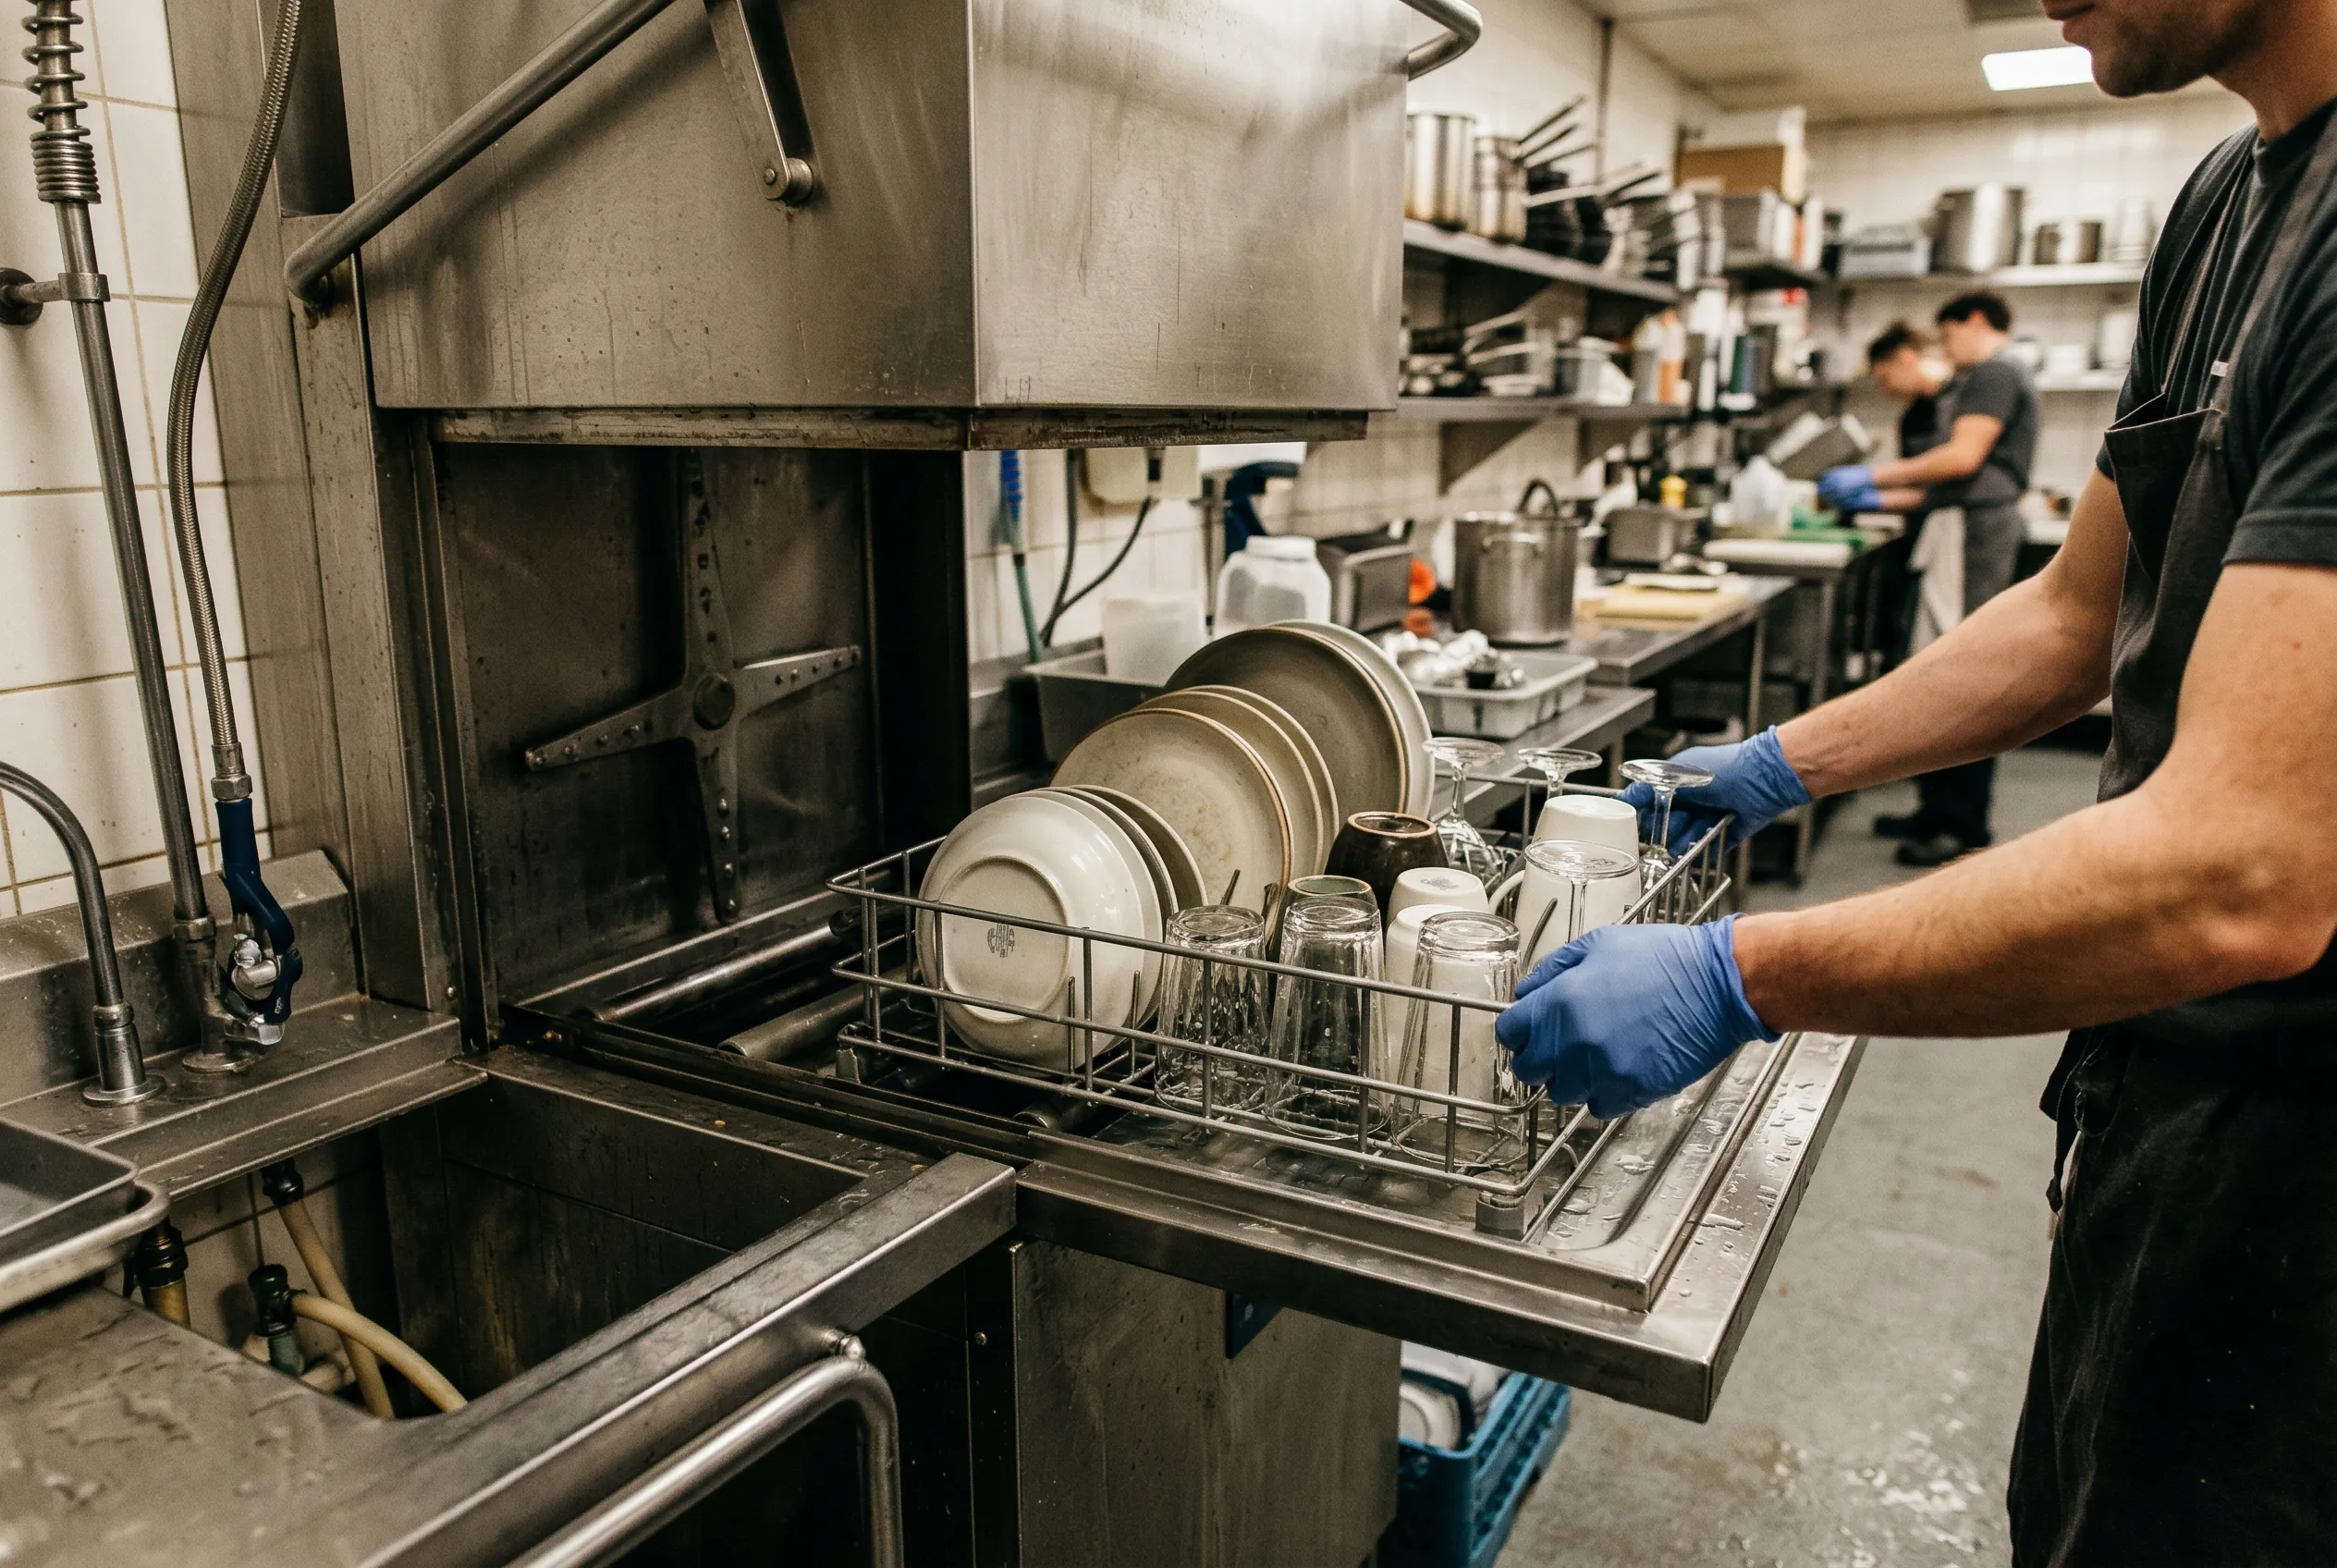
Dish rack being loaded into a commercial door-type dishwasher in a restaurant kitchen

Full comparison: specs that drive the decision

Feature Undercounter Door-Type Conveyor
Racks per hour 20-30 40-175 200-400
Covers per day (realistic) Up to 150 150-350 350+
Footprint ~60 cm wide 60-75 cm wide 3+ m linear
Min. water inlet temp 60 C (140 F) high-temp; 38 C (100 F) low-temp 60 C (140 F) 60 C (140 F)
Final rinse temp (high-temp) 82 C (180 F) 82 C (180 F) 82 C (180 F)
Chemical sanitising option Yes (low-temp models) Yes (some models) Yes (some models)
Water consumption per rack 3-5 litres 2-4 litres 1.5-3 litres
Typical price range (CAD) $2,500-$6,000 $5,000-$18,000 $20,000-$70,000+
NSF certification required NSF/ANSI 3 NSF/ANSI 3 NSF/ANSI 3
Canadian health code note: NSF/ANSI 3 certification is the standard required by provincial health authorities across Canada for commercial dishwashing equipment. It verifies sanitation performance at rated operating temperatures. Always confirm a unit carries this certification before purchase.

High-temp vs. low-temp sanitising: what’s the real difference?

This is where a lot of buyers get confused. Both methods meet Health Canada food safety standards when used correctly. The choice affects your operating costs more than it affects food safety outcomes.

High-temperature sanitising uses a final rinse at 82 C (180 F) to kill bacteria through heat. The advantages: no chemical cost for sanitiser, dishes air-dry faster because they come out hot, and the method is straightforward to verify. The disadvantages: you need a booster heater if your hot water supply doesn’t reach 60 C at the machine inlet, and the energy cost is higher.

Low-temperature sanitising uses chemical sanitiser (typically chlorine or iodine compounds) in the final rinse at a lower temperature. The advantages: lower energy consumption, no booster heater required, lower equipment cost. The disadvantages: ongoing chemical cost, dishes may need longer air-dry time, and chemical concentration needs regular testing to confirm efficacy. Chemical dispensing systems add complexity to the setup.

For most full-service restaurants in Canada, high-temp is the standard choice. Low-temp makes sense in locations where the water heating capacity is limited or where energy costs are a dominant concern. Bars that primarily wash glassware sometimes prefer low-temp because high heat can etch glass over time.

Conveyor dishwasher in operation at a large restaurant dishwashing station with clean dishes coming out

Installation requirements to sort out before you order

The dishwasher decision is connected to your kitchen’s utility infrastructure in ways that can catch you off guard if you don’t check in advance.

Hot water supply: high-temp machines need water inlet at minimum 60 C (140 F). Most commercial water heaters deliver this, but confirm. If you’re in a location with a shared or undersized water heater, you need either a booster heater or a low-temp unit.

Water pressure: most commercial dishwashers require 20-25 PSI at the inlet. Check your building’s supply pressure, especially in older buildings in cities like Montreal or Halifax where infrastructure varies.

Drain connection: confirm the drain type required by the unit (direct drain vs. standpipe) and that your kitchen floor drain can handle the discharge flow rate. Conveyor machines in particular discharge significant water volume during operation.

Electrical: undercounters typically run on 120V or 208/240V single phase. Door-type and conveyor machines usually require 208/240V three-phase. If your kitchen doesn’t have three-phase power, adding it is a real cost. Factor this into the total purchase budget.

Ventilation: all commercial dishwashers produce steam. A ventilation hood or exhaust fan above the dishwash area is standard practice and often required by code. Conveyor machines produce the most steam and typically require a dedicated exhaust setup.

Commercial dishwasher comparison infographic showing undercounter, door-type, and conveyor by racks per hour and covers per day

FAQ: commercial dishwashers for Canadian restaurants

What dishwasher does a 100-seat restaurant need?

A 100-seat restaurant doing full table turns at lunch and dinner can easily reach 300-400 covers per day. For that volume, a door-type dishwasher in the 100-175 racks per hour range is usually appropriate. If you’re running a quick-service format with faster turns, size up. If you run one dinner seating only, a door-type at the lower end of the range works fine. Calculate your covers first, then add the 20% buffer.

Do I need NSF certification for my commercial dishwasher in Canada?

Yes. NSF/ANSI 3 certification is required by health authorities across Canadian provinces for commercial dishwashing equipment used in licensed food service operations. The certification confirms the unit sanitises effectively at its rated temperature and throughput. Most health inspectors will ask for the model number and check certification status, so don’t buy a unit that lacks it.

How long does a commercial dishwasher cycle take?

For undercounter and door-type units, the wash-rinse-sanitise cycle itself takes 60-120 seconds. Add loading and unloading time and you’re looking at 2-3 minutes per rack in practice. Conveyor machines run continuously, so throughput is measured in racks per hour rather than per cycle. Cycle time is one reason the racks-per-hour number is more useful for planning than cycle length alone.

What are the most reliable commercial dishwasher brands in Canada?

When looking for reliable commercial dishwashers in Canada, the best choice often depends on local service availability and your specific volume needs. Instead of focusing solely on specific brand names, look for manufacturers that have a strong track record, offer comprehensive warranties, and—most importantly—have authorized service technicians and readily available replacement parts in your area. Working with an experienced supplier like Canada Food Equipment guarantees you get a reliable unit backed by proper support.

Can I use regular dish soap in a commercial dishwasher?

No. Commercial dishwashers require specific detergents formulated to work at high temperatures and concentrations. Consumer dish soap produces excessive foam that can damage the pump and contaminate the wash water. Most commercial dishwasher suppliers recommend specific chemical brands and can set up automatic dispensing systems to ensure correct dosage every cycle.

Getting the dishwasher right is one of the easier decisions in a commercial kitchen once you know your volume. The main mistake is undersizing to save money and creating a bottleneck at the most visible point in your service. If you’re between types or unsure which model fits your kitchen layout, Canada Food Equipment in Etobicoke can help you match the right unit to your cover count, space, and utility setup. They stock commercial dishwashers for kitchens of every size.

Download Buyer’s Guide (PDF)

Commercial Deep Fryer Maintenance: A Complete Guide

A commercial deep fryer is one of the hardest-working pieces of equipment in any kitchen. It runs at high temperature for hours at a stretch, processes food that breaks down oil gradually, and gets opened and closed hundreds of times per shift. Neglect it and you get degraded food quality, higher oil costs, and eventually a fryer that fails mid-service. The good news is that proper maintenance isn’t complicated; it’s mostly consistency. This guide covers the full maintenance cycle, from daily skimming to the boil-out procedure most kitchen managers either do wrong or skip entirely. If you’re in the market for a new or replacement fryer, you can browse Canada Food Equipment’s fryer selection before or after reading.

Why fryer maintenance matters more than most operators realize

Oil degradation is cumulative and invisible until it isn’t. Fresh frying oil is pale yellow and nearly odourless. Used oil that has broken down turns dark brown, smells acrid, and produces food with shortened shelf life and lower quality. The degradation happens through three mechanisms: oxidation from exposure to air, hydrolysis from moisture in food, and thermal polymerization from sustained high heat.

The practical consequence: if you’re not filtering and testing your oil regularly, you’re spending more money on oil than you need to and serving food that tastes worse than it should. A National Fire Protection Association (NFPA) study identified cooking equipment as the leading cause of restaurant fires in North America, with grease buildup in fryer components as a primary factor. That’s the other side of the maintenance argument: it’s not just about food quality and cost, it’s about fire safety compliance.

Health Canada’s food safety guidelines and provincial health codes require that frying equipment be kept clean and in good working order. Health inspectors check fryers during routine inspections, and a visibly degraded fryer with carbon buildup can result in orders to stop using the unit until it’s serviced.

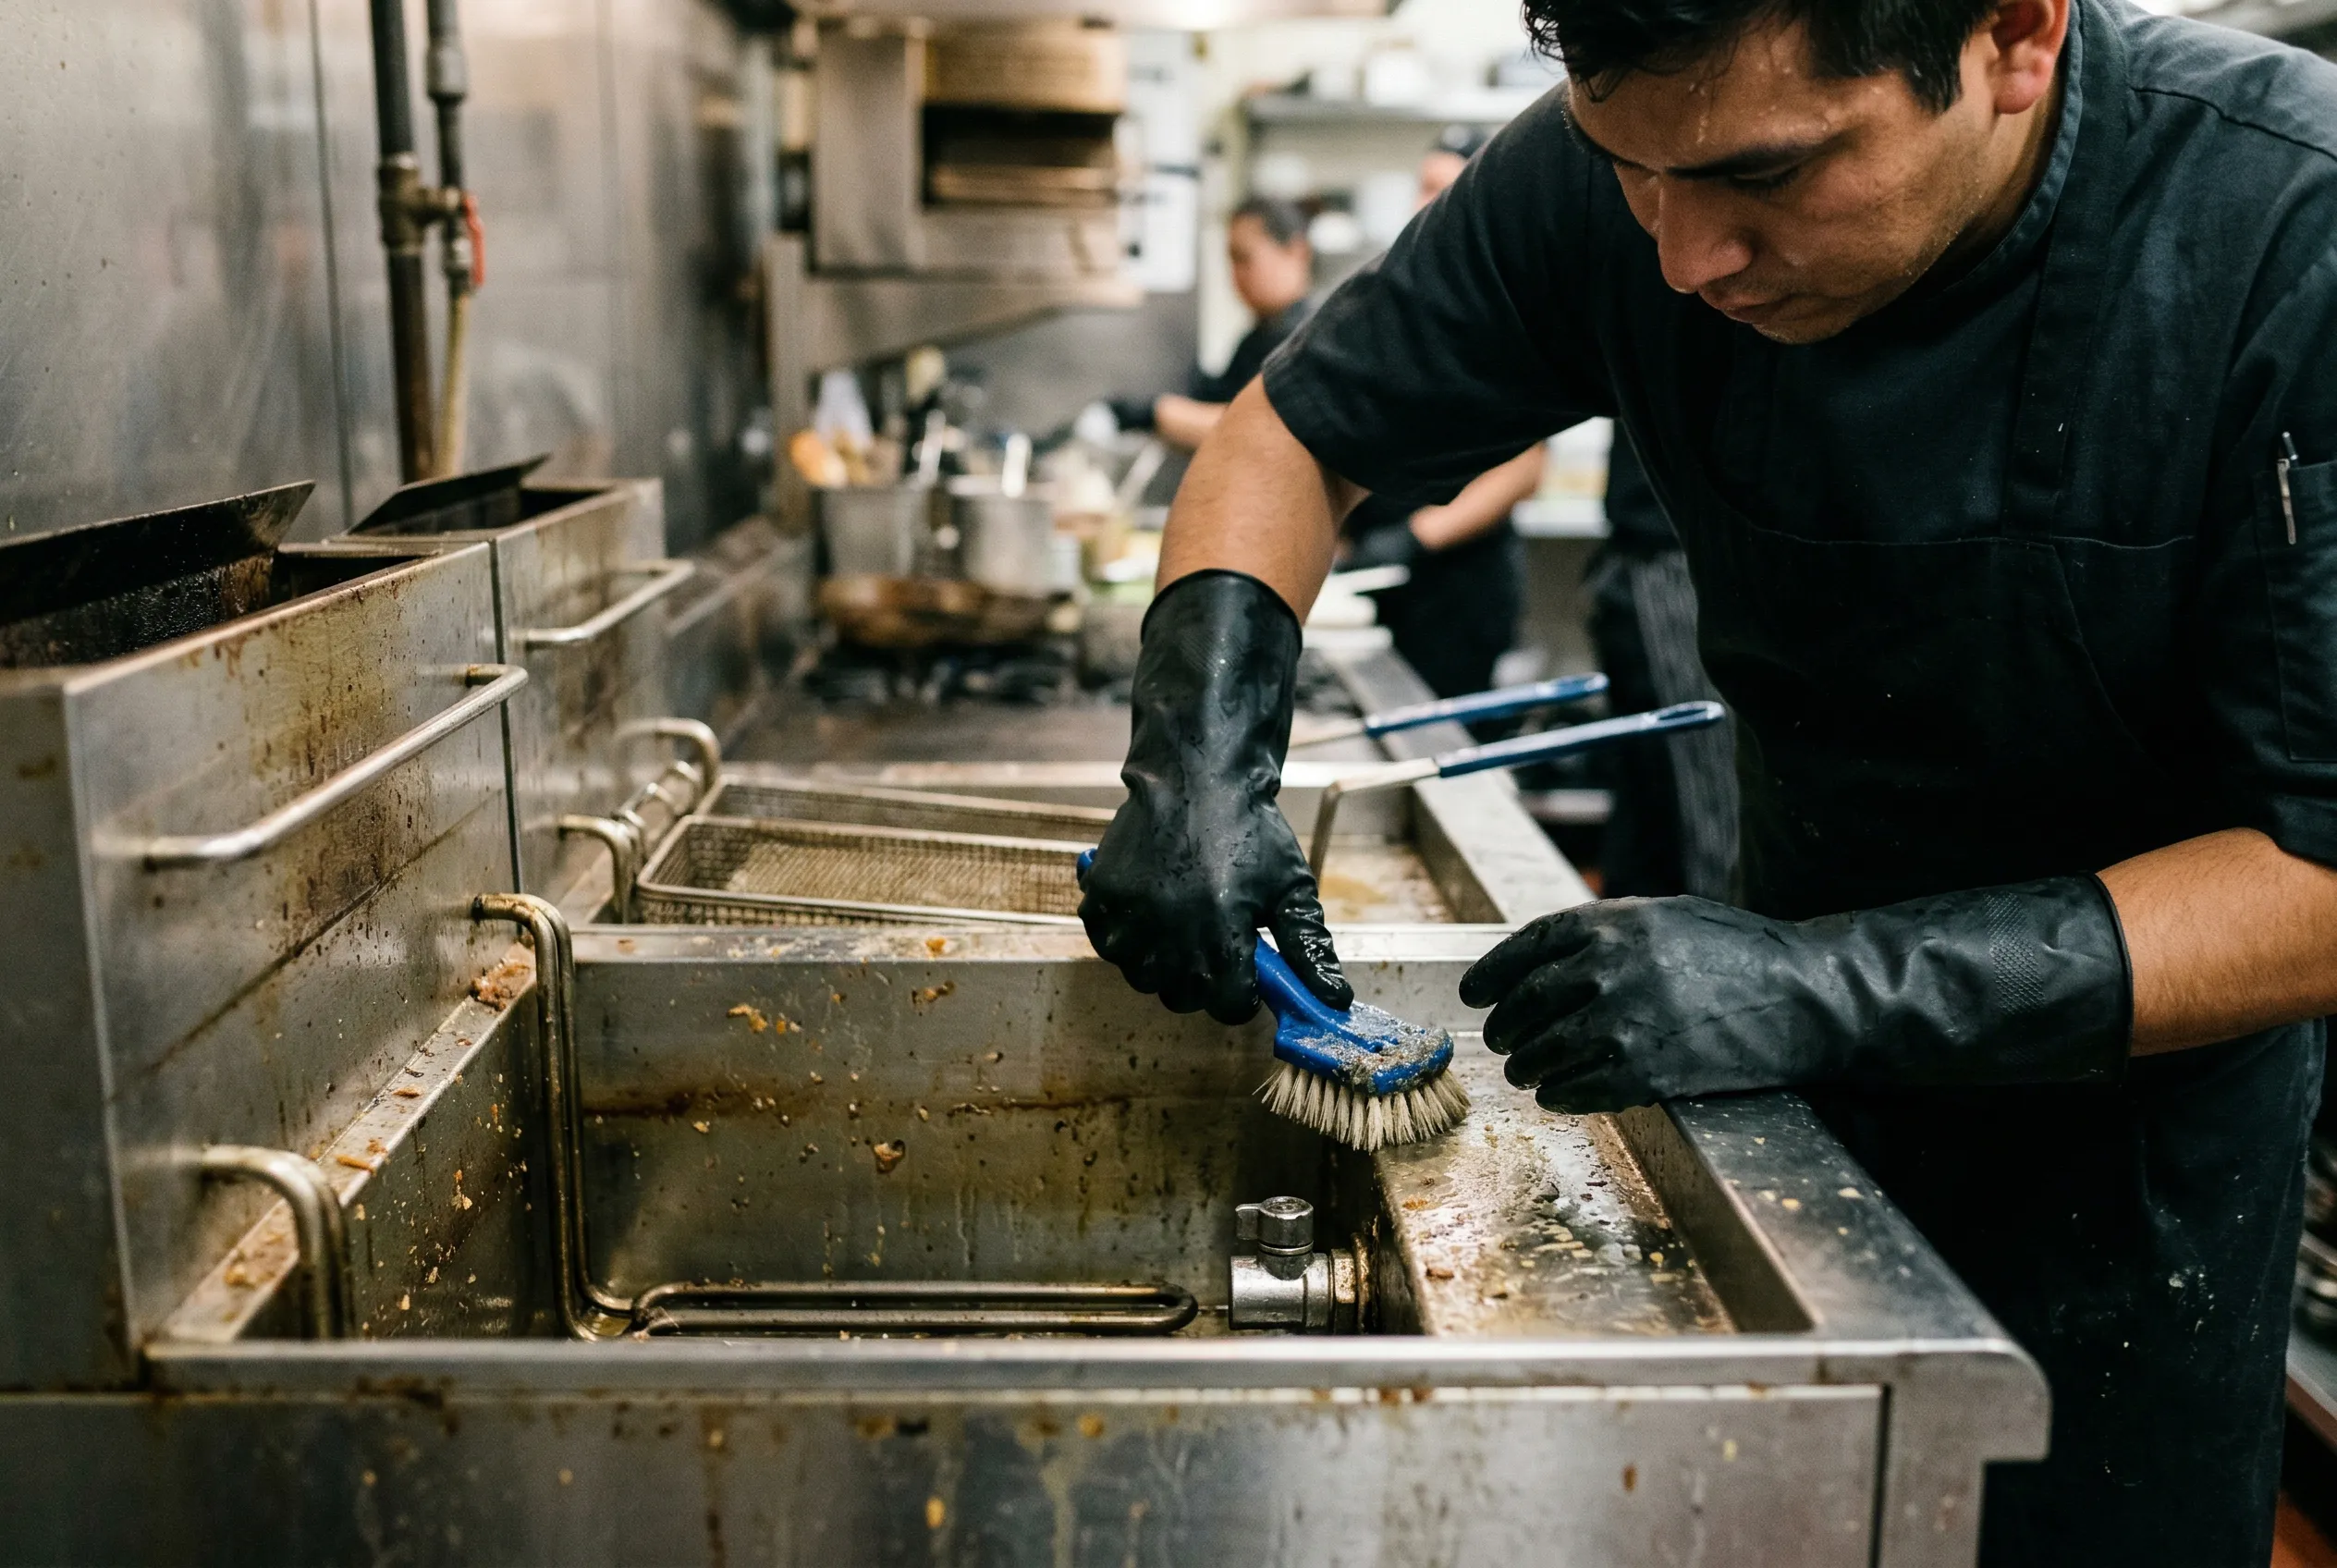
Kitchen worker cleaning a commercial deep fryer tank with protective gloves and cleaning brush

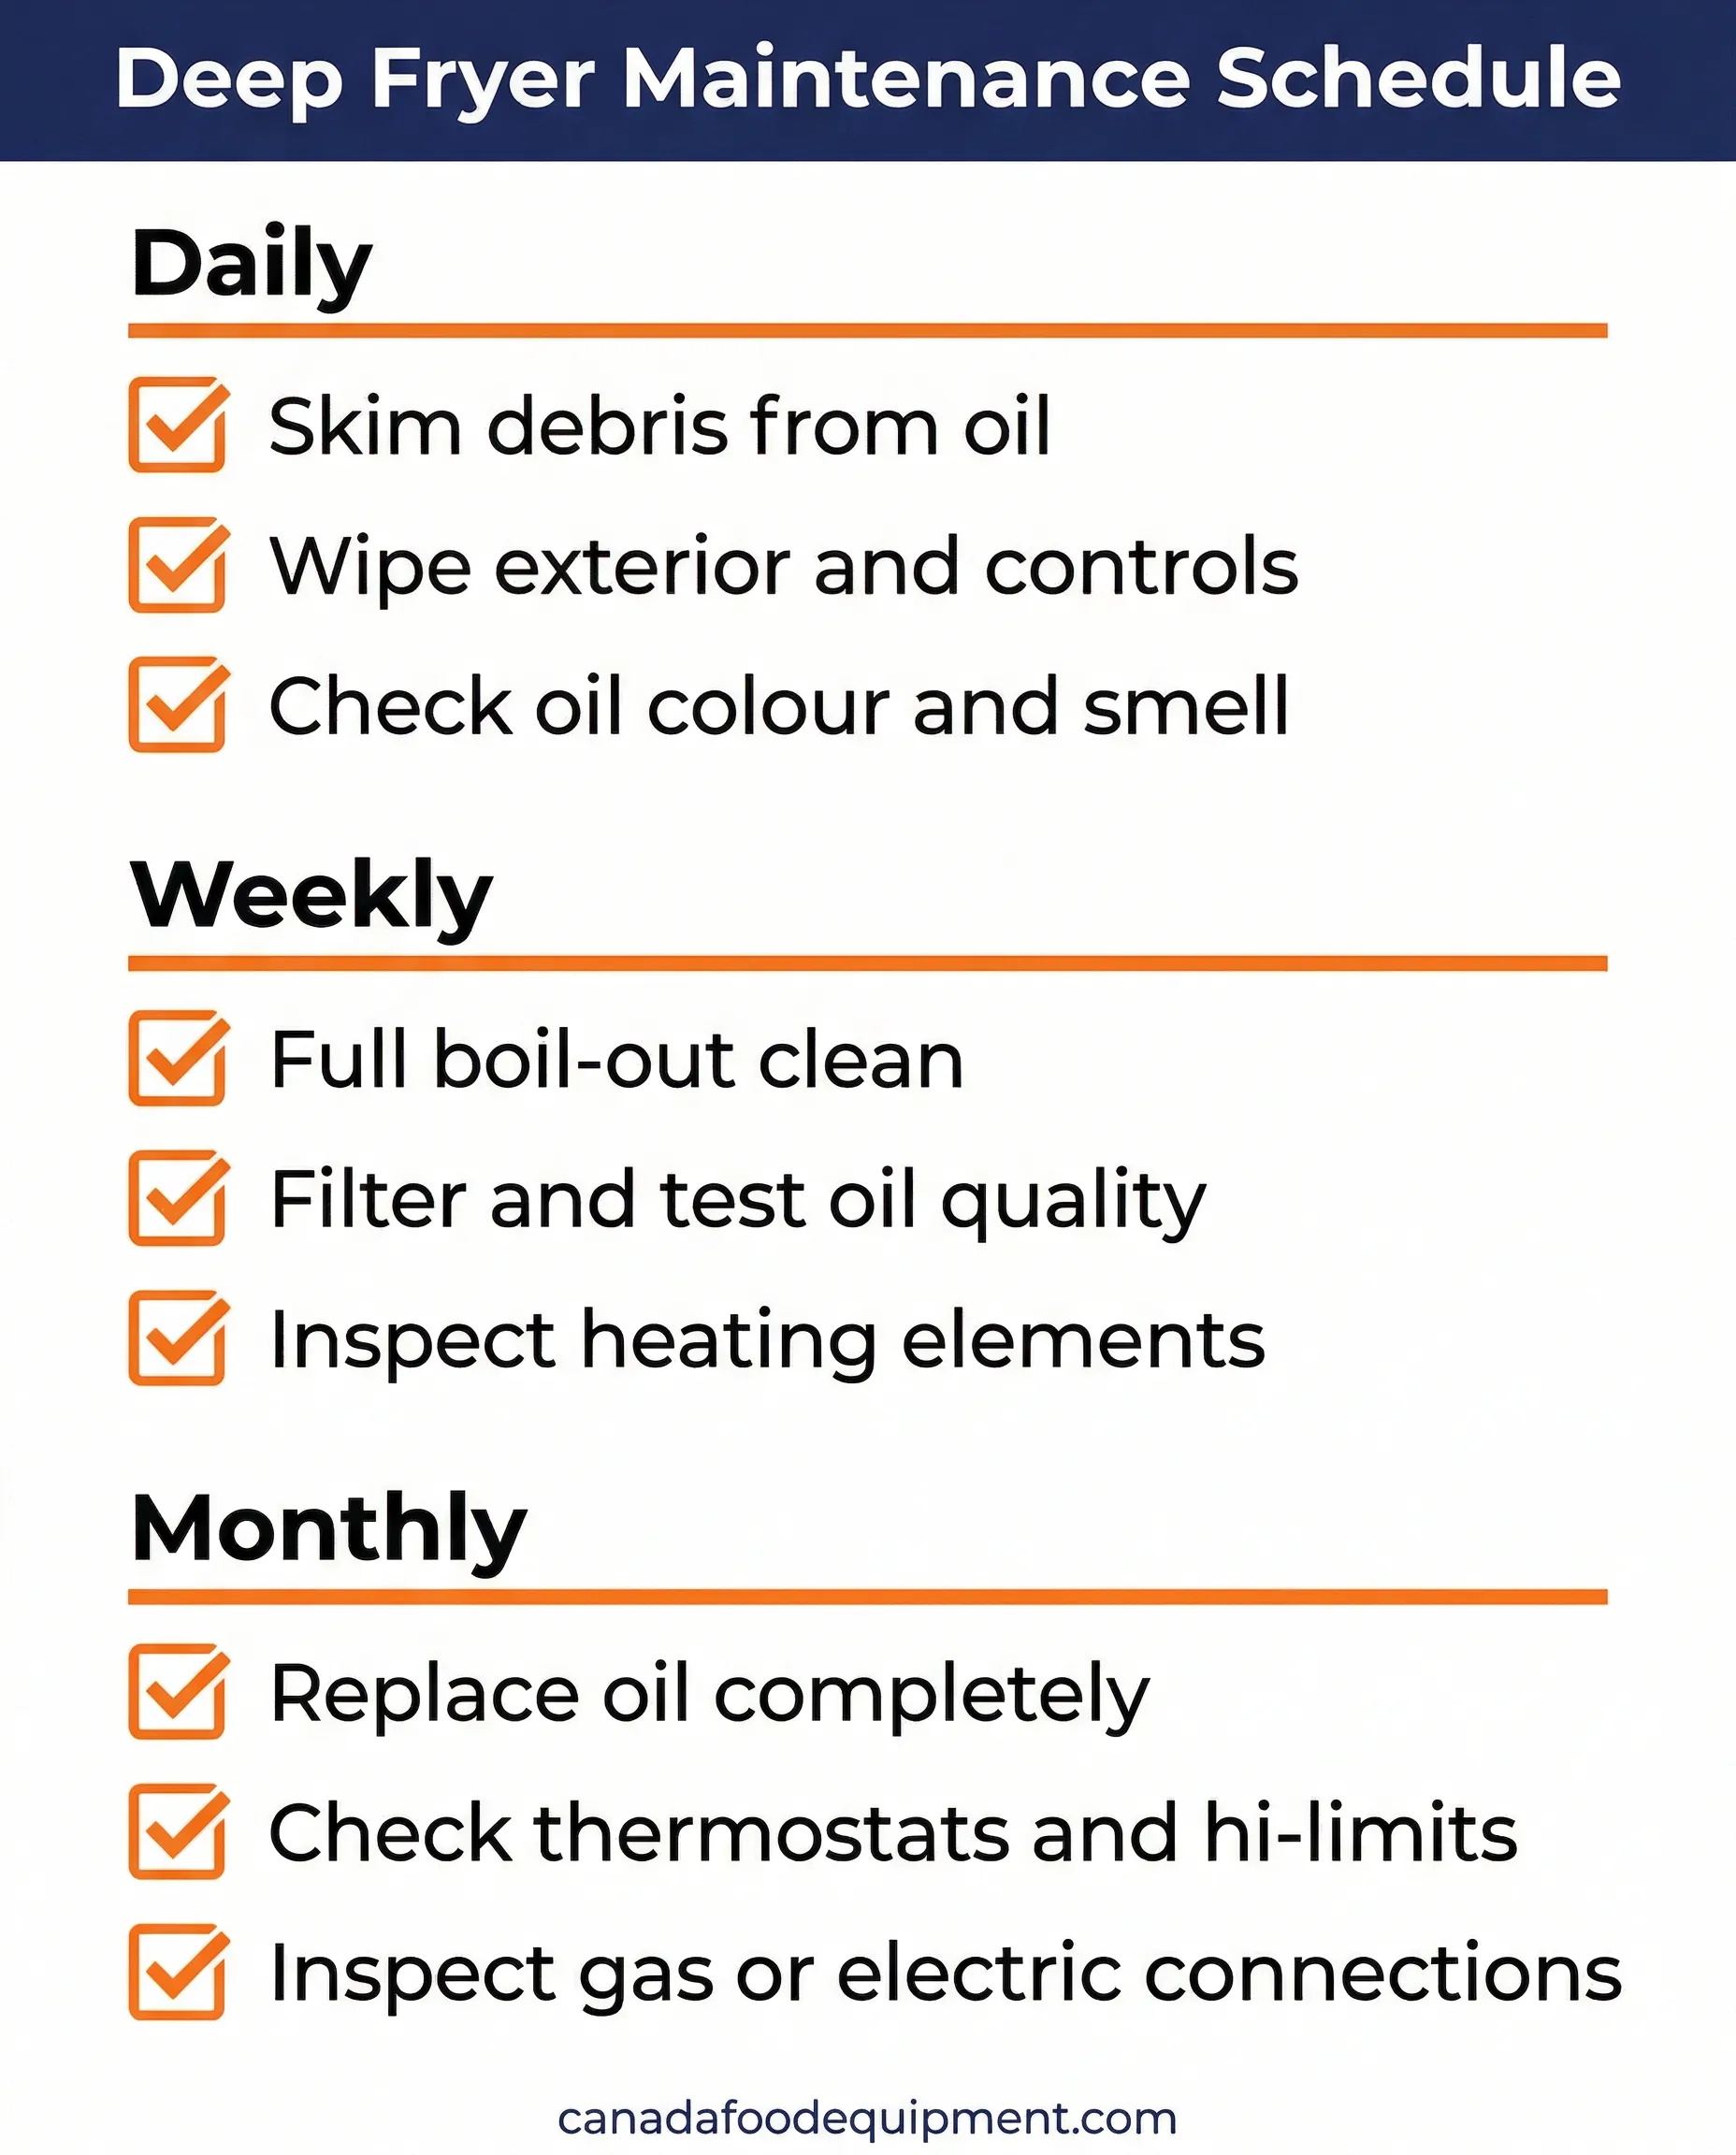
The maintenance schedule that actually works

The mistake most operations make is treating fryer maintenance as a weekly or monthly job rather than a daily one. The daily tasks are quick. Skipping them means the weekly tasks take three times as long.

Frequency Task Time Required
Daily (every shift) Skim food particles from oil surface with skimmer basket 5 min
Daily (end of shift) Filter oil through fryer filter machine or gravity filter 10-15 min
Daily (end of shift) Wipe down exterior panels, control knobs, and fry baskets 5-10 min
Daily Check oil colour and smell; record on log 2 min
Every 3-5 days (high volume) Full boil-out clean 45-60 min
Weekly (moderate volume) Full boil-out clean 45-60 min
Weekly Test thermostat accuracy with calibrated probe thermometer 10 min
Monthly Replace oil completely regardless of condition 20 min
Monthly Inspect heating elements or burners; check for carbon deposits 20 min
Monthly Inspect gas connections or electrical wiring (qualified person) 30 min
Annually Full service and calibration by certified technician 2-4 hrs

The frequency question comes down to volume. A fryer running 8 hours per day in a high-volume fish and chip shop needs a boil-out every 3 days. A fryer doing 3-4 hours of light use in a small cafe might go a full week between boil-outs without obvious quality loss. Develop the habit of checking oil colour before every service: if it looks darker than amber, it’s time to act.

How to do a proper boil-out

A boil-out is a deep clean of the fryer tank using water and a commercial fryer cleaner. Done correctly, it removes carbon deposits, polymerized oil residue, and mineral buildup from the tank walls and heating elements. Done incorrectly, it leaves cleaning chemical residue that contaminates the next batch of oil and produces off-flavours in food.

Safety first: Boil-out solutions are caustic and the hot water can cause serious burns. Always wear heat-resistant gloves and eye protection. Never heat the cleaning solution above 93 C (200 F), as it will foam aggressively and overflow. Have a fire suppression plan available.
  1. Drain the oil completely. If the oil is reusable, filter it into a clean container. Allow the tank to cool to a safe handling temperature before adding water.
  2. Fill with water to the manufacturer’s fill line. Do not overfill.
  3. Add boil-out cleaner following the product’s dosage instructions. Products like Frymaster boil-out tablets or equivalent commercial fryer cleaners are formulated for this use.
  4. Heat to 93 C (200 F) and hold for 15-20 minutes. Use the fryer brush to scrub tank walls, the bottom, and around any heating tubes during this time.
  5. Drain the cleaning solution carefully. Use the drain extension if your fryer has one to direct the hot liquid away from your feet.
  6. Rinse the tank twice with clean water. Drain between rinses.
  7. Vinegar rinse: fill with water plus 1 cup of white vinegar, heat briefly, then drain. This neutralizes any remaining alkaline cleaner residue.
  8. Dry the tank thoroughly before adding new oil. Any water left in the tank will cause violent foaming when the oil reaches temperature.
  9. Add fresh oil and heat slowly. Bring the temperature up over 20-30 minutes to condition the oil before service.

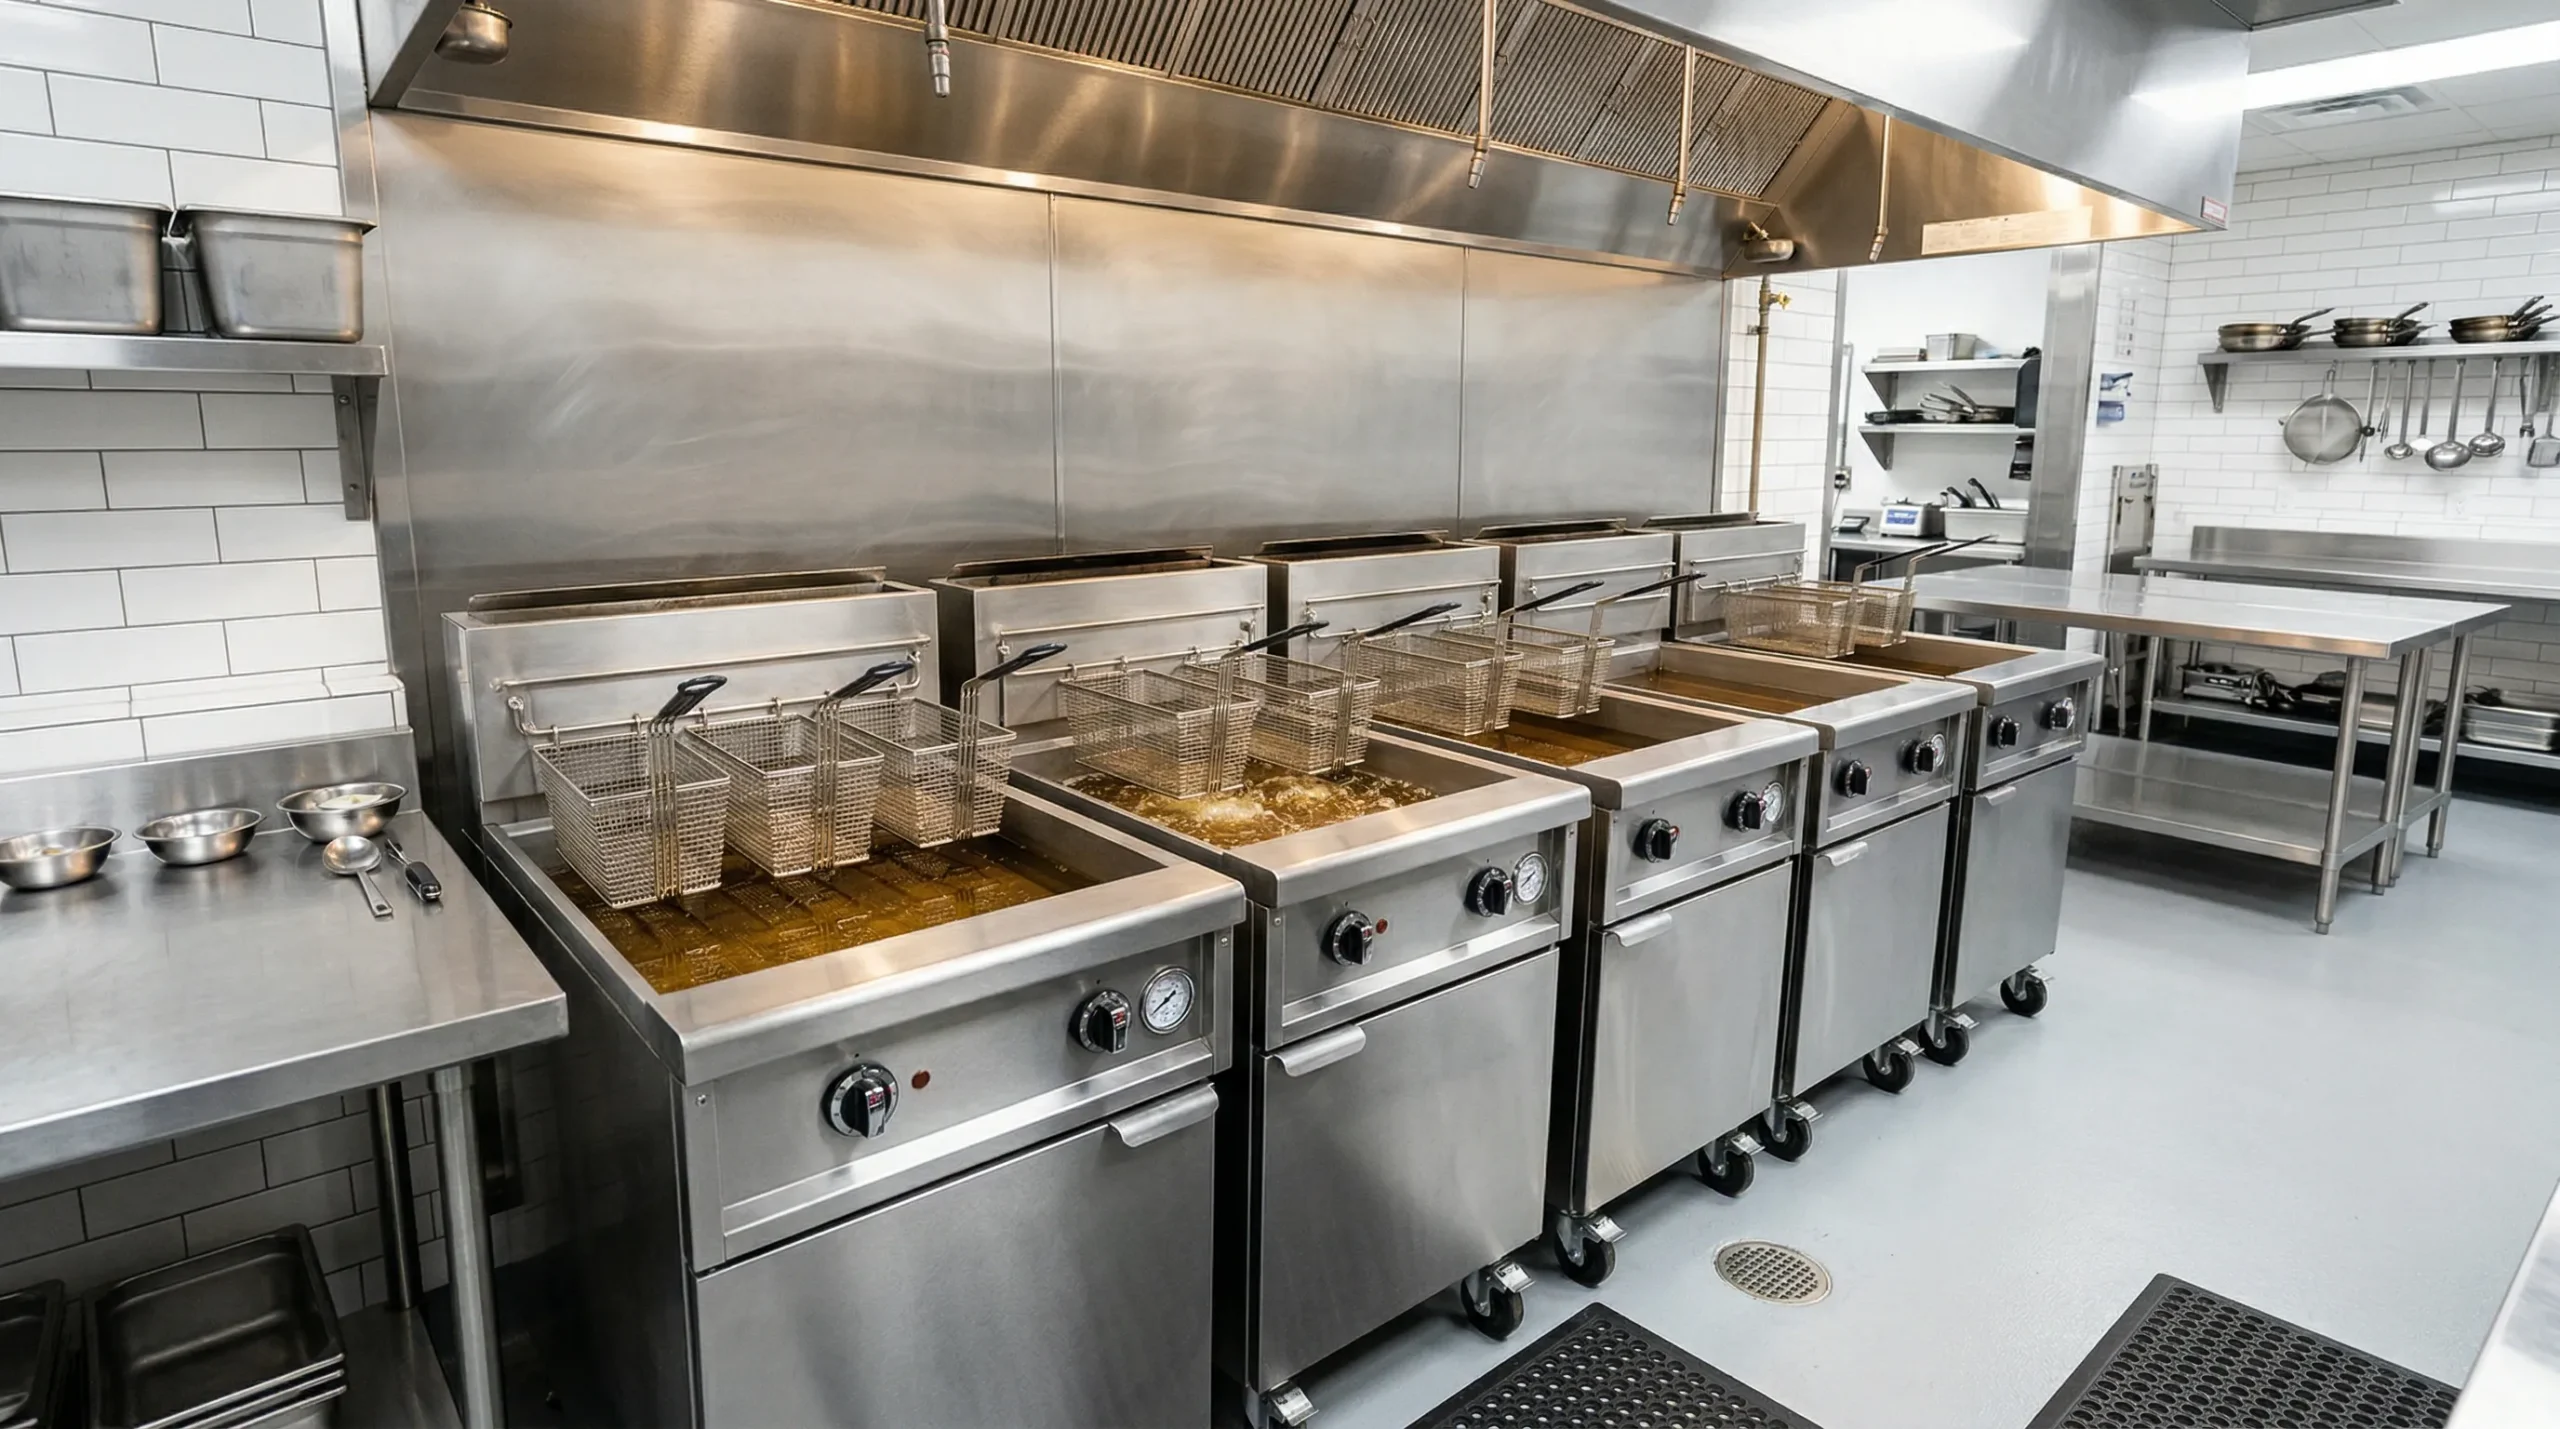
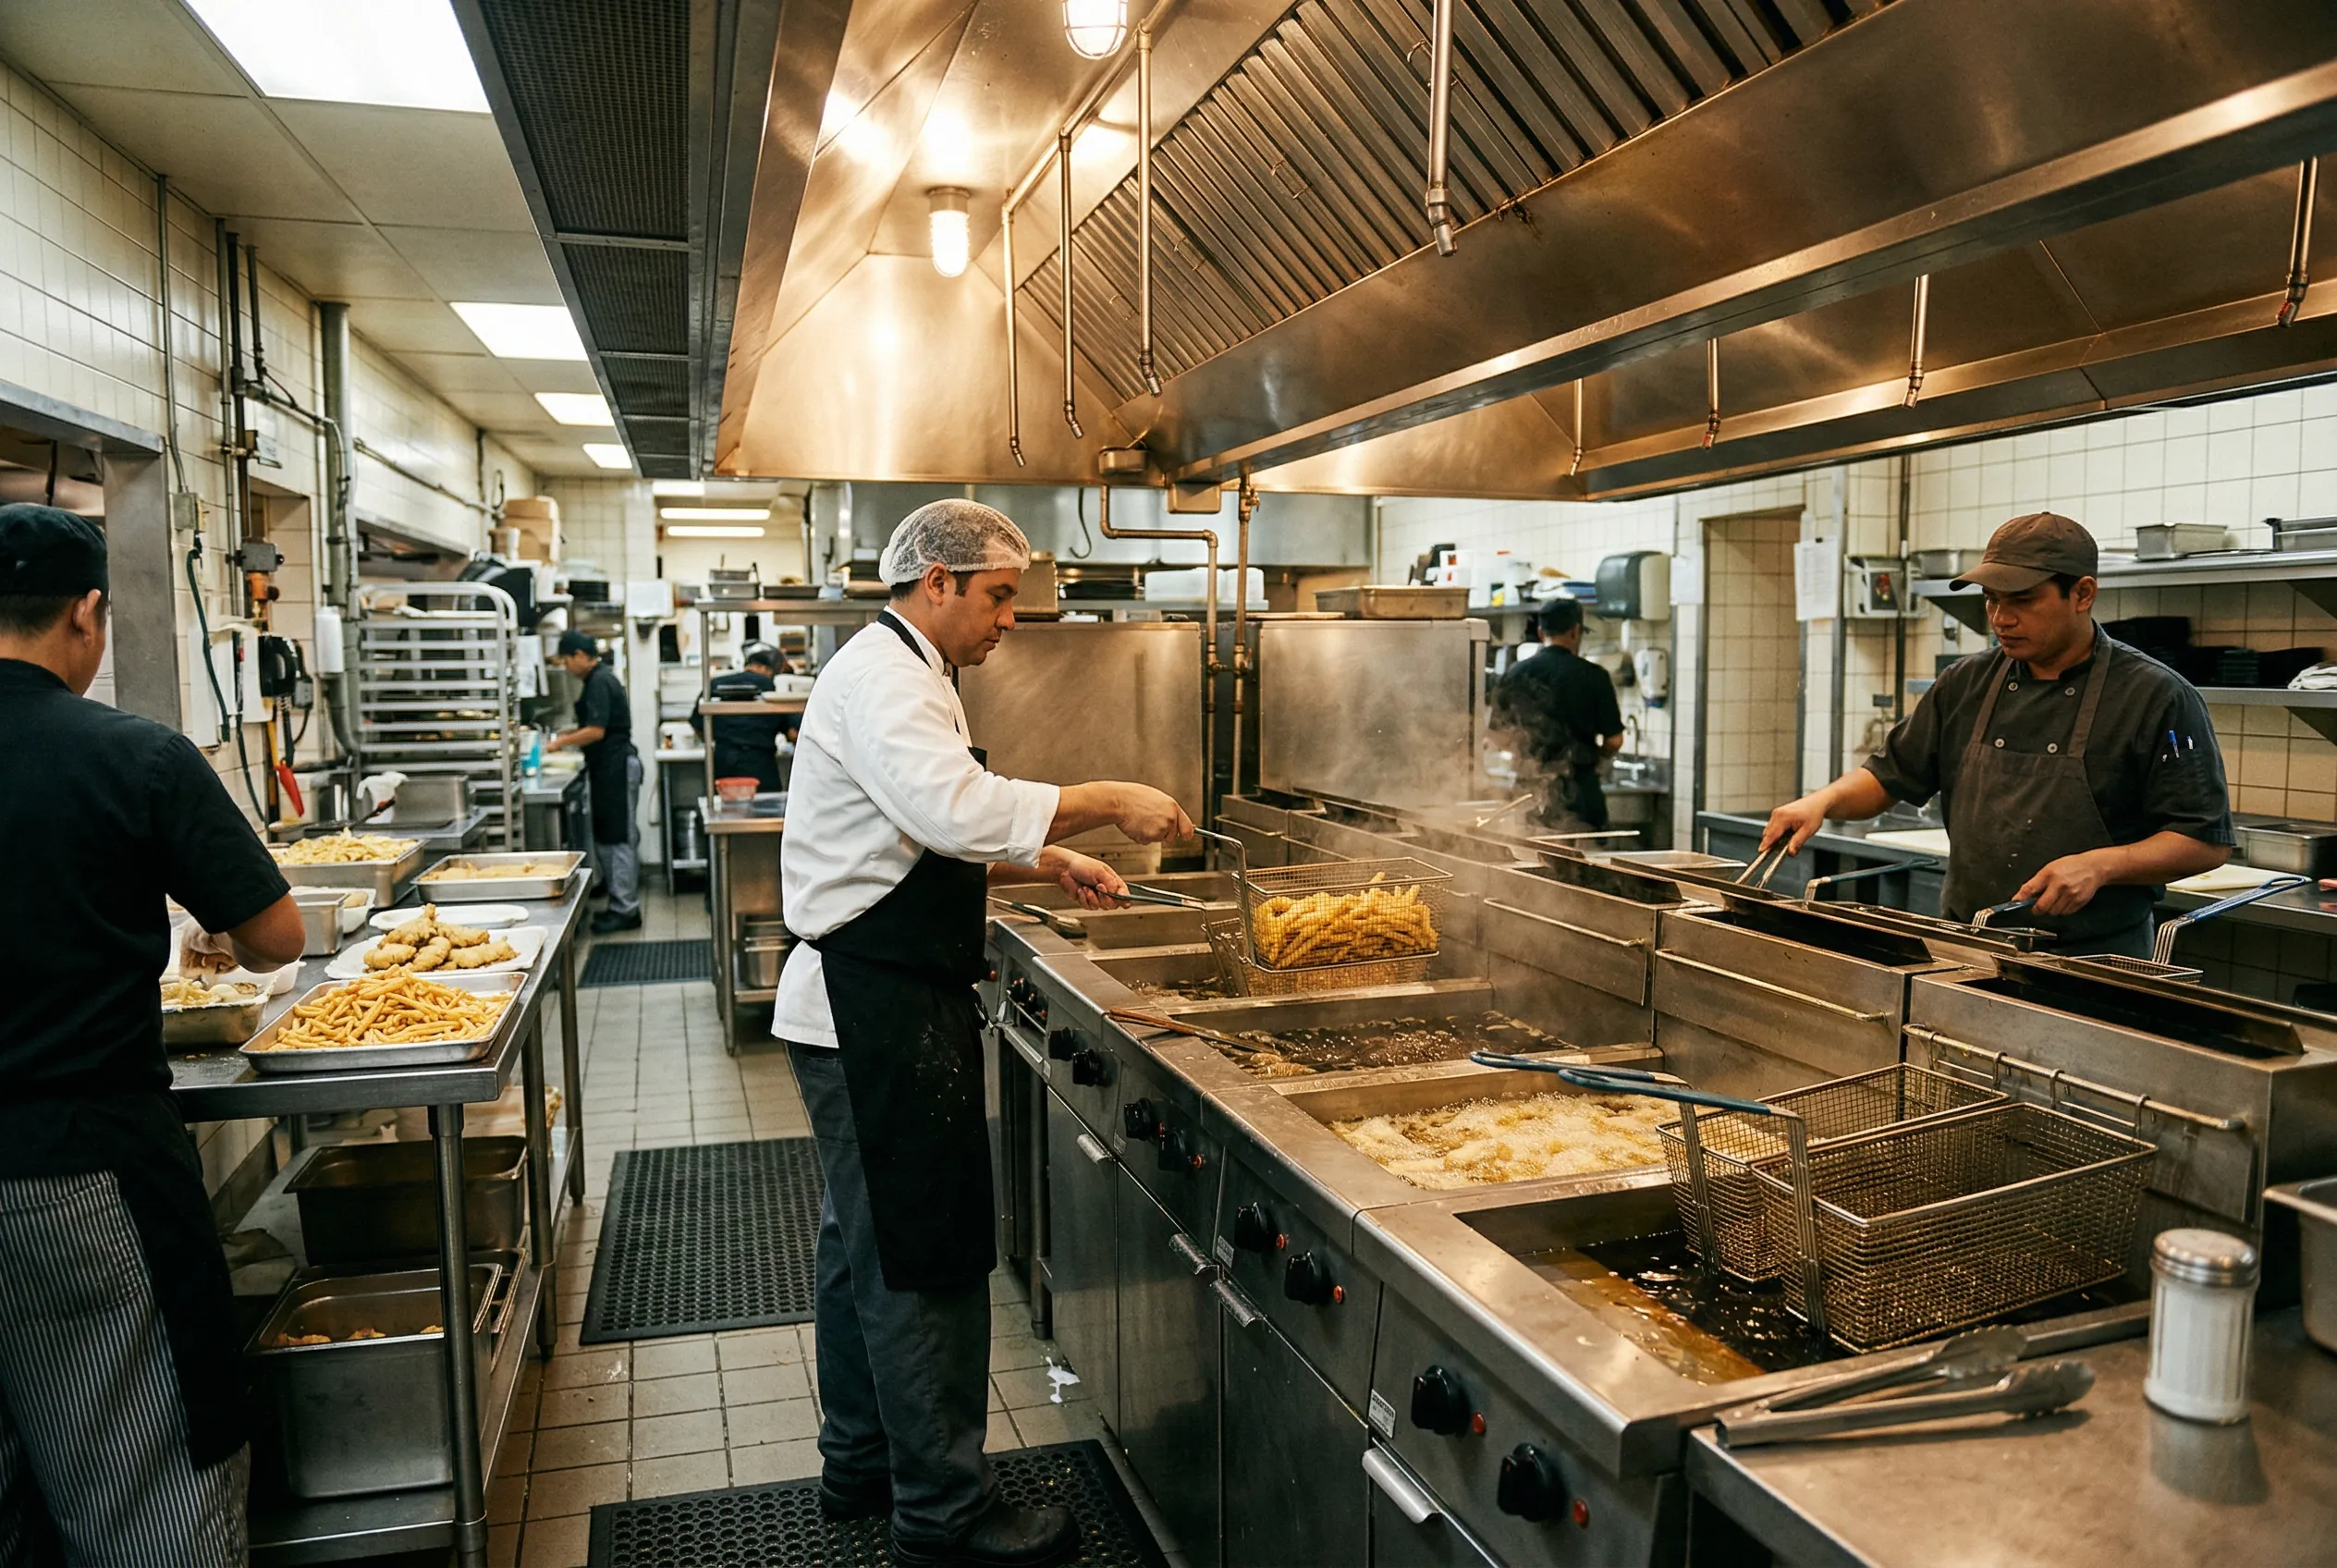
Restaurant fry station in operation with multiple commercial deep fryers and exhaust hood

Oil management: how to make your oil last longer

Oil is one of the largest variable costs in a frying operation. Managing it properly can reduce oil consumption by 30-50% compared to kitchens that change oil on a fixed calendar schedule regardless of actual condition.

The tools that actually help: a fryer oil test kit or electronic oil quality monitor. Test kits based on Free Fatty Acid (FFA) measurement or total polar compound (TPC) levels give you a measurable number to act on rather than guessing by colour. 3M’s Atago fryer oil test strips are widely used in professional kitchens and give a pass/fail reading in seconds.

Other practices that extend oil life significantly: keep a lid on the fryer during idle periods to reduce oxidation, avoid salting food directly over the fryer, use a filtration machine rather than just gravity filtering, keep frying temperatures at the minimum required for the food (excess heat accelerates degradation), and don’t mix different types of oil in the same fryer.

If your kitchen uses a fryer with a built-in filtration system, use it every day. The cost savings from extended oil life usually pays for the filtration system itself within the first year of operation.

Commercial deep fryer maintenance schedule infographic showing daily, weekly, and monthly tasks

FAQ: commercial fryer maintenance

How often should I change fryer oil in a restaurant?

There’s no fixed answer. Oil life depends on what you’re frying, at what temperature, and how consistently you filter. A high-volume kitchen frying breaded items may need to change oil every 3-5 days. A lower-volume operation frying plain potato products might get 10-14 days from a batch of oil with daily filtration. Use an oil test kit rather than a calendar to make the call.

What’s the difference between filtering and doing a boil-out?

Filtering removes food particles from the oil to extend its useful life. A boil-out cleans the tank itself, removing carbon and polymerized grease from the metal surfaces. You filter the oil after every shift. A boil-out is done weekly (or more often at high volume) and requires draining the oil first. They’re separate tasks that serve different purposes.

My fryer temperature seems off. What do I check first?

Use a calibrated digital probe thermometer to verify the actual oil temperature against the thermostat reading. If there’s a significant gap (more than 5-10 C), the thermostat may need calibration or replacement. Also check the hi-limit thermostat, which is a safety device that shuts off heating if the oil overheats. A faulty hi-limit can cause inconsistent heating. These are jobs for a certified service technician.

Can I use any commercial cleaner for a fryer boil-out?

No. Use only cleaners specifically formulated for fryer boil-out use. General-purpose degreasers can leave residues that are difficult to rinse completely and may damage certain metals. Fryer-specific cleaners are formulated to work at the temperatures involved and rinse clean from stainless steel and aluminium tank surfaces.

Is gas or electric better for a commercial deep fryer in Canada?

Gas fryers heat faster and recover temperature more quickly after adding food, which matters in high-volume frying. Electric fryers are easier to install (no gas line needed), run quietly, and are often more energy-efficient in low-to-moderate-volume kitchens. For most full-service Canadian restaurants doing heavy frying, gas is the standard. For smaller cafes or kitchens without gas hookups, electric is a practical choice.

A well-maintained fryer lasts 10-15 years and consistently produces better food than a neglected one. The maintenance itself takes less time than a typical shift-end cleanup. If your current fryer is failing despite good maintenance, or if you’re setting up a new kitchen, the team at Canada Food Equipment in Etobicoke can help you spec the right unit for your volume and fuel source. They carry Vulcan, Omcan, and other commercial fryer brands with local service support.

Watch: How to Clean a Commercial Kitchen Deep Fryer (Chef Triple Z, YouTube)

Download Maintenance Guide (PDF)

Commercial Refrigerator Buying Guide for Canadian Restaurants

Refrigeration is one of those purchases where the wrong decision costs you twice: once when you buy the wrong unit, and again every month in spoilage, energy bills, or service calls. If you’re outfitting a new kitchen in Toronto, Calgary, or anywhere in between, the options can feel overwhelming. Reach-ins, undercounters, prep tables, walk-ins, merchandisers. Each one fills a specific role, and none of them are interchangeable. This guide walks through the types, the specs that actually matter, and the questions worth asking your supplier before you sign anything. You can browse Canada Food Equipment’s full refrigeration catalogue to compare models side by side while you read.

The main types and what they’re actually for

Most commercial kitchens need more than one type of refrigeration. The categories below describe what each unit does and where it fits in a working kitchen.

Reach-in refrigerators are the upright units you see in nearly every commercial prep area. They come in one, two, and three-door configurations, from roughly 23 cubic feet for a single door up to 80-plus cubic feet for a three-door model. For most mid-size restaurants, a two-door reach-in handles daily mise en place without problems. The main variables are compressor location (top or bottom), door style (solid or glass), and whether you need a full door or half-door setup.

Undercounter refrigerators fit beneath prep tables and work surfaces. They’re useful in bar setups, pizza stations, and anywhere you need cold storage at arm’s reach without giving up wall space. Capacity is limited, typically 5 to 15 cubic feet, so these work as supplementary units rather than primary storage.

Refrigerated prep tables sit at the intersection of refrigeration and work surface. Sandwich, salad, and pizza prep tables keep ingredients cold in top-mounted railings while you work. If your kitchen runs high volume during lunch, these pay for themselves in reduced reach time.

Walk-in coolers are a different category entirely. They’re for bulk storage, not line access. Most restaurants don’t need a walk-in on day one, but as volume grows, the math usually shifts. Walk-ins also allow proper FIFO stock rotation because you can physically move around inside.

Merchandising refrigerators are glass-door units designed for customer-facing display. They keep beverages, prepared foods, or grab-and-go items at temperature while making them visible. These units prioritize lighting and aesthetics as much as cold storage performance.

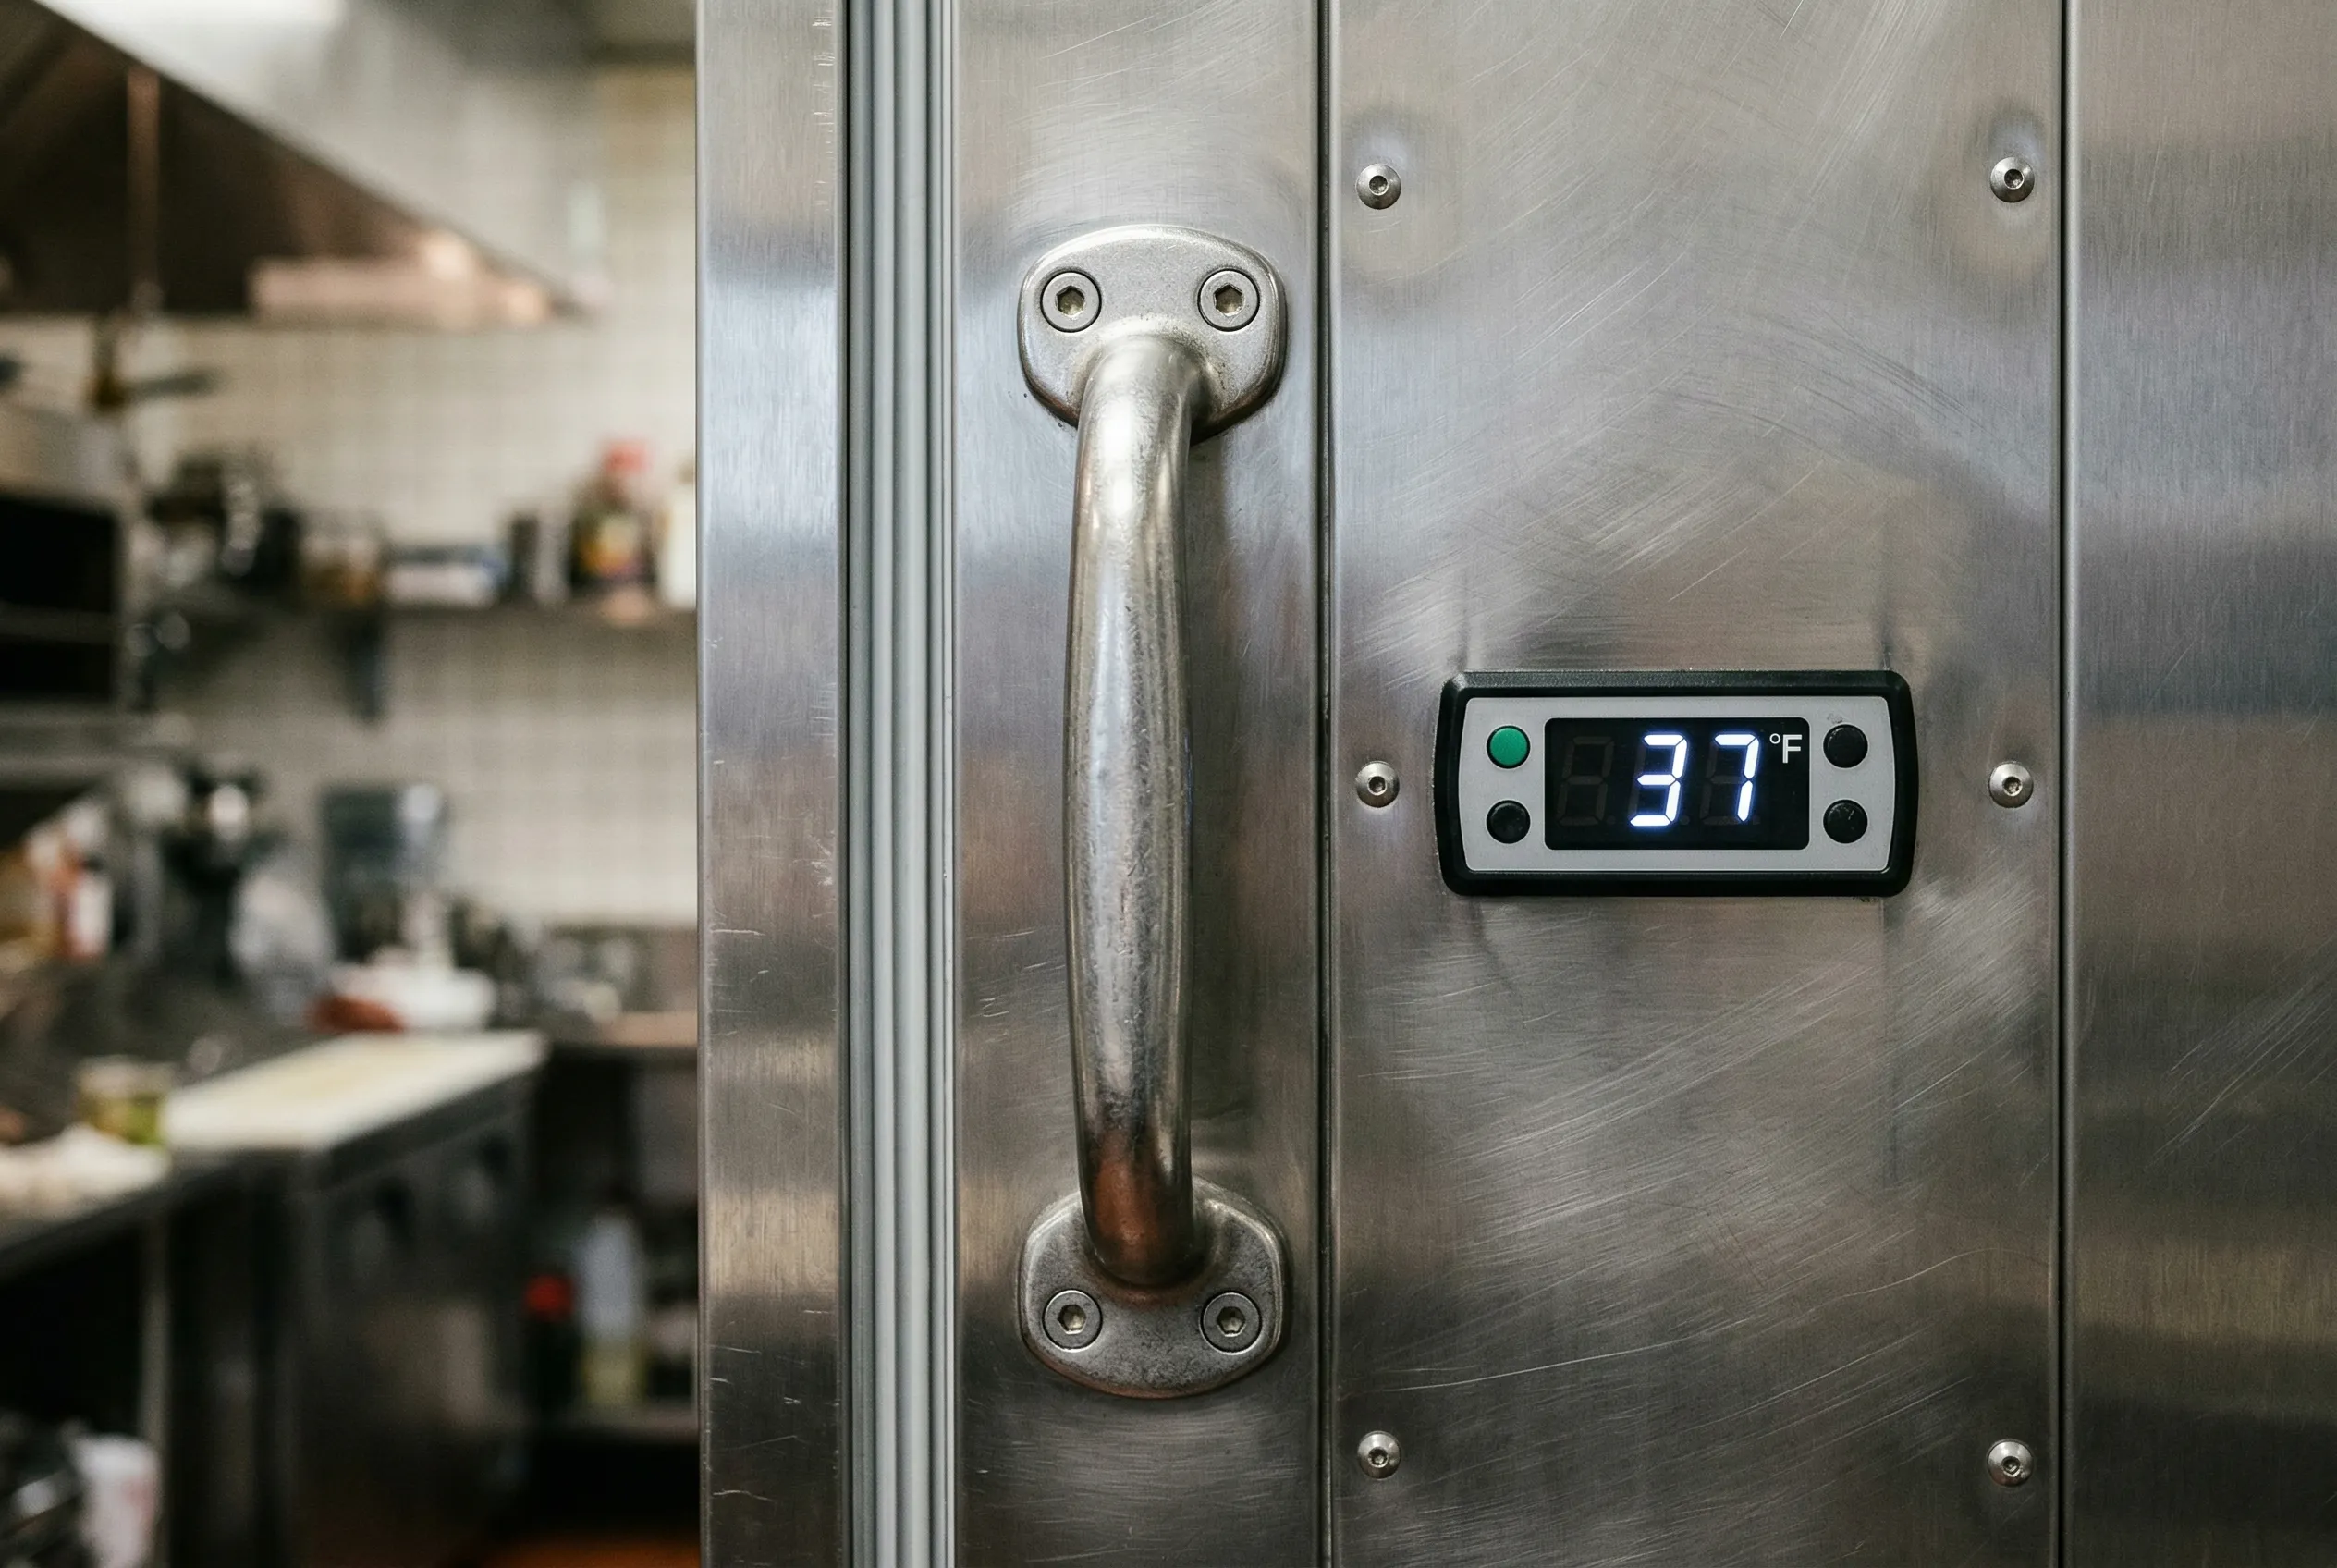
Close-up detail of a stainless steel commercial reach-in refrigerator door handle and temperature display

Specs that matter before you buy

Marketing language from equipment manufacturers tends to blur together. Here’s what to look at in the actual spec sheet.

Spec What to look for Why it matters
NSF/ANSI 7 certification Must have Required for commercial use in Canada; ensures sanitary design
Temperature range Holds 0-4 C (32-40 F) Food safety compliance with Health Canada guidelines
Energy Star certification Preferred Uses up to 20% less electricity; lowers operating costs
Compressor location Top-mount preferred Stays cooler in warm kitchens; easier service access
Refrigerant type R-290 or R-134a R-290 has lower environmental impact; increasingly required
Pull-down time Under 4 hours to reach 2 C Indicates unit can recover after repeated door openings
Door gaskets Replaceable magnetic Worn gaskets cause temperature drift; replaceable ones save cost
Interior material Stainless steel liner Easier to clean; resists corrosion longer than aluminium

One thing many buyers miss: the “rated capacity” in cubic feet is the total interior volume, not usable shelf space. A unit listed at 49 cubic feet might have effective storage of 35-38 cubic feet once you account for shelving, door hinges, and evaporator placement. Ask your supplier for shelf count and actual tray dimensions.

Canadian climate note: If your refrigeration unit sits near an exterior wall or loading dock door, check the ambient temperature rating. Most commercial refrigerators are rated for operation in 13-32 C (55-90 F) ambient. A walk-in compressor mounted outside in a Canadian winter needs a low-ambient kit or it will shut down on cold nights.

Chef working beside an open commercial reach-in refrigerator in a busy restaurant kitchen

Top-mount vs bottom-mount compressors: which to choose

This is one of those decisions where context decides everything. There’s no universally better option, but there is a better option for your specific situation.

Top-mounted compressors sit above the cabinet. They pull air from the top of the kitchen, which is typically cooler than floor level. That means the compressor runs in a more comfortable temperature range, which generally translates to longer compressor life. Access for service is straightforward without getting on the floor. The tradeoff: they add height to the unit, which matters if your kitchen has low ceilings or overhead racks.

Bottom-mounted compressors sit below the cabinet. They’re easier to reach for operators doing daily checks, and the lower profile suits some kitchen layouts better. The downside is that floor-level air in a busy kitchen is hotter and greasier. Bottom mounts require more frequent coil cleaning, especially in kitchens running fryers or grills nearby. If a bottom-mount coil gets clogged, the compressor works harder and fails earlier.

In most Canadian restaurant kitchens, top-mount units are the safer choice. The service history tends to be better, and the energy consumption is more predictable. Bottom-mount units make sense in counter-depth setups where height is constrained, or in front-of-house applications where noise and access patterns differ from a back-of-house prep line.

Commercial refrigerator buying guide infographic showing types, capacities, and NSF certification checklist

Brands worth knowing in Canada

The commercial refrigeration market has a lot of options. These are brands with strong track records for Canadian buyers and reasonably good parts availability.

True Refrigeration is the most commonly recommended brand in the industry. Their reach-in units hold temperature well in variable kitchen conditions, and the company has a long warranty programme. Parts are stocked widely across Canada.

Beverage-Air offers solid mid-range options at lower price points than True. The quality is dependable for kitchens running moderate volume. Their glass-door merchandisers are popular in convenience stores and cafes.

Atosa has grown significantly in the Canadian market as a value-focused option. The price is attractive and the build quality is acceptable for smaller operations. The main concern with any budget brand is parts availability in smaller markets, so check before buying.

Turbo Air makes strong refrigerated prep tables and sandwich units. Their M3 series reach-ins are popular in Toronto and Vancouver restaurant supply circles for the combination of price and reliability.

Watch: Commercial Kitchen Inspection: Types of Refrigeration (CCPIA, YouTube)

FAQ: commercial refrigerators for Canadian restaurants

What temperature should a commercial refrigerator run in Canada?

Health Canada requires refrigerators to hold food at 4 C (40 F) or below. In practice, most operators set their units to run at 1-3 C (34-37 F) to give a buffer above the 4 C limit. The food safety danger zone in Canada is 4 C to 60 C, where bacteria multiply rapidly.

Is NSF certification mandatory for commercial refrigerators in Canada?

NSF/ANSI 7 certification is required by most provincial health authorities for any refrigeration unit used in a commercial food operation. Some municipalities also reference NSF 3 for specific applications. Always confirm with your local public health inspector before purchasing.

How long should a commercial refrigerator last?

A well-maintained commercial refrigerator from a reputable manufacturer typically lasts 10-15 years. The compressor is usually the limiting component. Brands offering 5-year compressor warranties give you a reasonable indication of expected longevity. Regular coil cleaning and gasket replacement extend lifespan considerably.

Reach-in or undercounter: which do I need for my prep line?

If your prep cooks need frequent access to a variety of ingredients during service, a reach-in is almost always better. Undercounters work well for a single station that uses a small, defined set of ingredients. For sandwich or salad lines, a refrigerated prep table with a cutting board top and ingredient rail is often the most efficient option of all.

Can I use a residential refrigerator in my commercial kitchen?

No. Residential refrigerators are not rated for the temperature recovery demands of a commercial kitchen, and they won’t pass a health department inspection. They lack NSF certification and are not built for repeated door openings during service. Using one also voids the warranty and creates liability.

Choosing the right refrigeration comes down to being honest about your actual volume. Overbuy and you’re paying to refrigerate air. Underbuy and you’re constantly fighting temperature recovery or running out of space during prep. If you’re not sure which configuration fits your kitchen, the team at Canada Food Equipment can walk you through the options based on your menu, cover count, and floor plan. They carry True, Atosa, Turbo Air, and more at their Etobicoke location.

Download Buyer’s Guide (PDF)