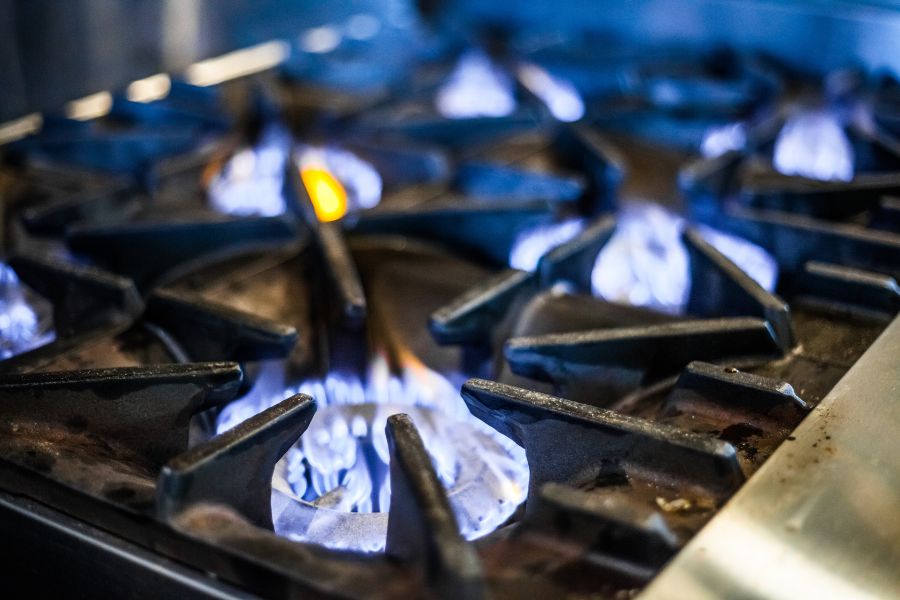
In the dynamic world of commercial kitchens, the right equipment can make all the difference. When it comes to griddling, the Vulcan MSA Griddle Series stands out as a pinnacle of performance, precision, and versatility. Let’s delve into the key features that have made these griddles revolutionary for various commercial culinary endeavours.
Vulcan’s Customizable Griddle Plate Options
Having the ability to customize your commercial kitchen equipment is a game-changer. This is where the Vulcan MSA Griddle truly shines, offering a range of griddle plate options to suit various culinary needs. Let’s explore the three available griddle plate materials.
1. Steel Griddle Plate
Industry-standard: The steel griddle plate sets the benchmark for durability and cost-effectiveness, making it a versatile choice for a wide range of applications.
Heat emission: It is known for emitting a significant amount of heat, ensuring it’s adaptable to various menu items and service times.
Best suited for: Operations that handle a diverse menu, including proteins, sandwiches, and vegetables, across different day parts of service.
2. Rapid Recovery™ Composite Griddle Plate
Exclusive innovation: This griddle plate is a breakthrough, crafted from a composite material with an aluminum core and a stainless steel surface, ensuring unparalleled, consistent heating.
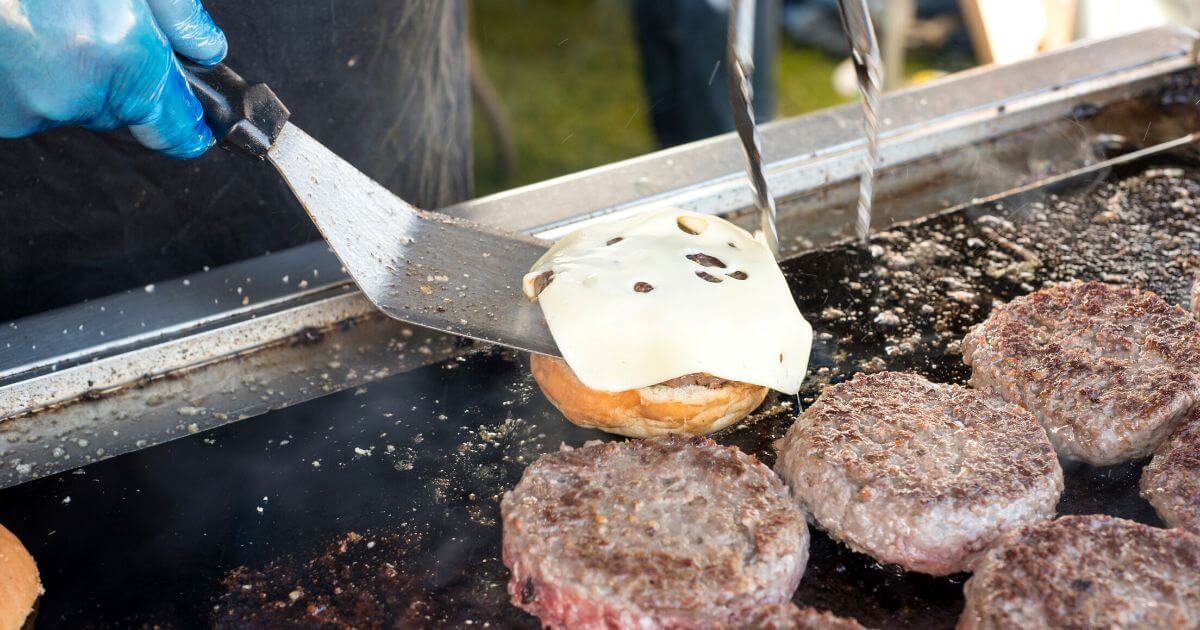
Faster cook times: It transfers heat a remarkable 5 times faster than steel, making it an ideal choice for high-volume operations, particularly those focused on cooking burgers and proteins.
Energy efficiency: In addition to swift heating, it significantly reduces radiant heat emission, leading to energy savings.
Best suited for: High-volume operations that prioritize efficiency and require reliable, consistent cooking.
3. Chrome Griddle Plate
Visual appeal: Chrome griddle plates are not only visually striking but are also a common choice for open kitchen concepts, enhancing the overall presentation.
Flavour integrity: They are less likely to transfer flavours, making them perfect for delicate menu items such as fish or eggs.
Energy efficiency: Chrome plates emit the least radiant heat into the kitchen environment, providing energy savings of up to 20%.
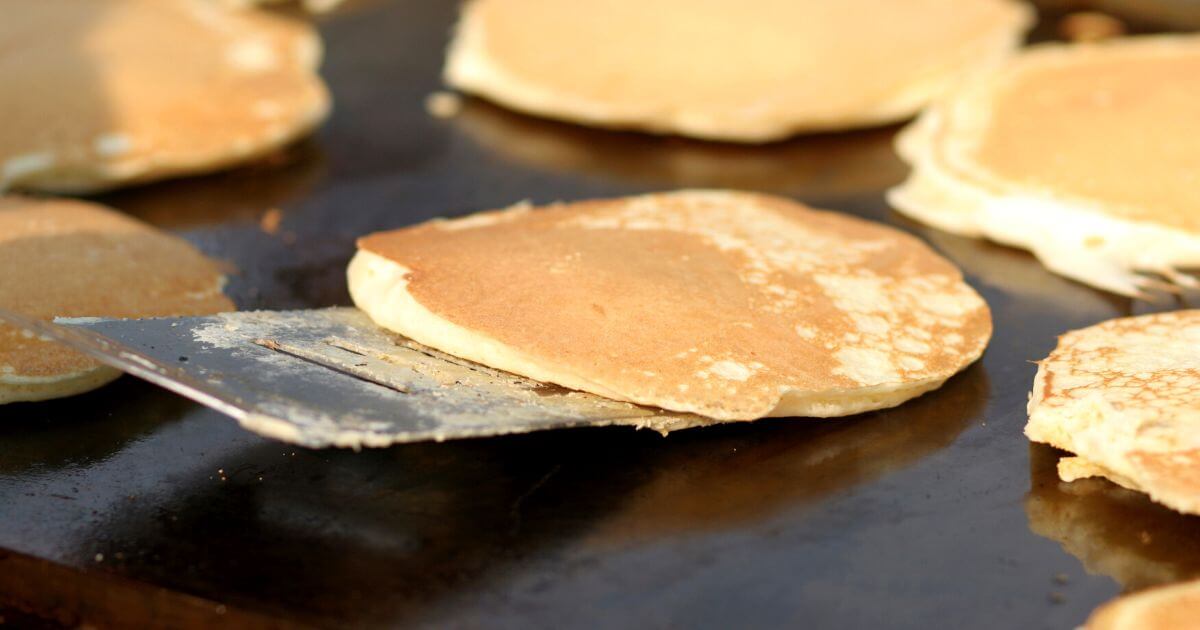
Best suited for: Open kitchens, burger operations, breakfast menus, and operations where aesthetics play a crucial role.
Choosing the right griddle plate is like selecting the heart of your kitchen. Each option offers distinct advantages tailored to specific operational needs and culinary styles. Whether you prioritize efficiency, visual appeal, or versatility, Vulcan MSA Griddles has a plate option for you.

Vulcan’s Griddle Sizing Options
When it comes to commercial kitchens, one size certainly doesn’t fit all. That’s why Vulcan MSA Griddles offers a range of sizing options, allowing you to create a workstation that perfectly aligns with your specific needs. The size you choose directly affects the number of burners and consequently, the amount of food you can prepare. Let’s explore the available sizing options and understand which type of commercial kitchen could benefit most from each.
1. Vulcan MSA 24’’ Griddle
Product link: Vulcan MSA24 Griddle
Burner configuration: This size typically features one or two burners, making it suitable for smaller kitchens or establishments with limited griddling needs.
Ideal for: Compact cafes, breakfast nooks, or establishments with lighter griddle usage, such as small bistros or specialty eateries.
2. Vulcan MSA 36’’ Griddle
Product link: Vuclan MSA36 Griddle
Burner configuration: The 36’’ griddle strikes a balance, offering two to three burners. It’s a versatile choice that suits a variety of kitchen sizes.
Ideal for: Restaurants with moderate griddling demand, from diners to mid-sized bistros, this size caters to a diverse range of culinary establishments.
3. Vulcan MSA 48’’ Griddle
Product link: Vulcan MSA48 Griddle
Burner configuration: With three to four burners, the 48’’ griddle is designed to handle high-volume operations with ease.
Ideal for: Bustling diners, breakfast joints, or any kitchen with a substantial griddling workload. It’s perfect for establishments that pride themselves on their griddled offerings.
4. Vulcan MSA 60’’ Griddle & Vulcan MSA 72’’ Griddle
Product link: Vulcan MSA60 Griddle & Vulcan MSA72 Griddle
Burner configuration: These larger griddles are equipped with four to six burners, providing immense capacity for high-demand kitchens.
Ideal for: Large-scale restaurants, hotel kitchens, and institutional dining facilities. These griddles are the backbone of establishments with a constant flurry of griddle-based activity.
The size you choose for your Vulcan MSA Griddle plays a crucial role in determining the capacity and efficiency of your griddling operations. Understanding the needs and demands of your kitchen is key to making the right selection. Whether you run a quaint cafe or a bustling diner, there’s a Vulcan MSA Griddle size that’s tailored just for you.
Remember, customization doesn’t stop at size. Combined with your choice of griddle plate material, burner configuration, and additional features, you have the power to craft a griddle workstation that’s uniquely suited to your culinary vision.
Vulcan’s Batch Cooking Abilities
The Vulcan MSA Griddle is engineered to not only meet but exceed the demands of a bustling commercial kitchen. When it comes to efficient cooking and boosting productivity, few tools can rival the capabilities of a Vulcan MSA Griddle.
Batch Cooking With Manual Clamshell
The manual clamshell feature on a Vulcan MSA Griddle is an excellent tool in commercial kitchens. It refers to a hinged top plate that can be closed over the cooking surface, allowing for simultaneous cooking on both sides of the food. This innovative design enables chefs to efficiently prepare multiple items at once, significantly reducing cooking times and ensuring consistent quality across all items. The clamshell design mimics the action of a clamshell closing, hence its name. This feature is particularly beneficial for batch cooking and is a key factor in enhancing productivity in the kitchen.
Recommended Vulcan Models For Batch Cooking
MSA36 & MSA48: These models, equipped with steel or Rapid Recovery™ composite griddle plates, are particularly well-suited for batch cooking. Their size and burner configuration provide an ideal platform for this technique.
MSA60 & MSA72: While these larger models offer ample cooking space, they may require a higher level of skill to effectively utilize batch cooking. The additional surface area allows for greater capacity, but it also demands precise timing and coordination.
Effortless Cleaning & Maintenance
Maintaining a clean and efficient kitchen is paramount in any commercial setting. The Vulcan MSA Griddle takes cleaning and maintenance to the next level with features designed for ease and convenience.
Steel Griddle Plate
Cleaning Requirements: While steel griddle plates are considered the industry standard, they may require more effort and specialized tools for cleaning, such as a griddle brick or special detergent. Daily seasoning is also recommended.
Rapid Recovery™ Composite Griddle Plate
Maintenance Marvel: The Rapid Recovery™ plate is a standout when it comes to cleaning ease. Its composite material with an aluminum core and stainless steel surface not only excels in even heating but also in hassle-free maintenance. Unlike steel or chrome plates, it requires only mild soapy detergent and a non-abrasive pad for cleaning. No special tools or polish are needed, and it cools down 5 times faster than steel, expediting the cleaning process at the end of a shift.
Chrome Griddle Plate
Cleaning Considerations: Chrome plates, while visually appealing, require special tools like food-safe polish, a razor-bladed scraper, and a Palmetto brush for cleaning. They may require less physical force to clean compared to steel plates, but caution must be taken to avoid using a griddle brick.
Maintaining a clean griddle is not only essential for hygiene but also for prolonging the life and performance of the equipment. With the Vulcan MSA Griddle, you have a range of plate options, each with its own cleaning requirements. The Rapid Recovery™ plate, in particular, stands out for its efficiency and convenience, making it a top choice for kitchens aiming to optimize their cleaning processes.
The Vulcan MSA Griddle series stands at the forefront of culinary innovation. With customizable griddle plate options, a range of sizes tailored to various kitchen setups, and features like batch cooking with manual clamshell and easy maintenance, these griddles empower chefs to elevate their efficiency and creativity. Whether you’re running a cozy cafe or a bustling diner, there’s a Vulcan MSA Griddle perfectly suited to your needs.
Trust Canada Food Equipment to provide you with top-quality griddles that transform your kitchen into a realm of culinary excellence. Elevate your cooking experience with Vulcan MSA Griddles, where innovation meets tradition in the heart of your kitchen.