
In this article
A backed-up kitchen on a Friday night is almost always a grease problem that someone put off. The fix is unglamorous and cheap compared to the alternative: a simple, written maintenance routine for your commercial grease trap. Keep it clean on a schedule and it does its job silently for years. Ignore it and it will eventually flood your floor, foul your drains, and hand you a bylaw fine.
This guide keeps it practical. We cover why the trap matters, how it works, how to set a cleaning schedule that actually sticks, the step-by-step for cleaning a small unit yourself, and the warning signs that mean it is time to act. No jargon, just the routine that keeps your kitchen running and your inspections boring.
Why a grease trap is not optional
Fats, oils, and grease are the enemy of every drain in a commercial kitchen. Pour them down a sink and they cool, harden, and cling to pipe walls until the line chokes. That is the problem cities are trying to prevent, which is why most municipalities require food businesses to install and maintain a trap. The City of Toronto, for example, mandates a working grease interceptor for any food service establishment and backs it with fines that can reach into the tens of thousands.
It is not just a local concern. Keeping grease out of the sewer is the whole point of programs like the US EPA National Pretreatment Program, and Canadian cities run their own versions. The takeaway for an operator is simple: the trap is the law, and keeping it clean is your responsibility, not the city’s.
Did you know?
Hardened restaurant grease is the main ingredient in the sewer blockages cities call fatbergs, some of them the size of a bus. A single neglected kitchen trap will not build one alone, but every trap that overflows feeds the problem, which is exactly why municipal bylaws come with real penalties attached.

How a grease trap actually works
The mechanism is refreshingly simple, which makes the maintenance simple too once you picture it. Wastewater from your sinks and dishwasher flows into the trap. Inside, the flow slows down, and physics does the sorting. Grease and oil are lighter than water, so they float and collect at the top. Food solids are heavier, so they sink to the bottom. The cleaner water in the middle passes out to the sewer.
Over a few weeks that top layer of grease and bottom layer of solids both grow. The trap keeps working until those layers get thick enough to reach the outlet, and then grease starts slipping through into your drain lines. That is the moment your maintenance window closes. The entire job of a cleaning routine is to scoop those two layers out before they ever get that far.
People often ask: do dishwasher detergents make it worse?
They can. Harsh degreasers and very hot water can emulsify grease, breaking it into tiny droplets that float less and slip through the trap into the sewer. Using the right cleaning products and not overloading the system helps the trap do its job. It is one more reason to pair good equipment with the right consumables.

Building a cleaning schedule that holds
Here is the rule almost every program comes back to: clean the trap before the grease and solids reach 25 percent of its depth. The City of Toronto grease interceptor maintenance guidance and most municipal codes use that 25 percent line, sometimes with a fixed maximum interval on top of it.
How often that lands for you depends on your kitchen. A small under-sink trap in a busy fryer-heavy kitchen might hit 25 percent in a week or two. A larger interceptor on a moderate menu might run a month or more. The smart move is to measure, not guess.
- Measure for the first few cycles. Open the trap weekly and note how deep the grease and solids have built up.
- Find your 25 percent point. See how long it takes to reach a quarter of the trap depth.
- Set the schedule with a margin. Clean a little before that point so a busy week never pushes you over.
- Write it down and assign it. A named person, a fixed day, and a log. Routines that live in someone’s head get skipped.
- Keep your records. Note the date, who cleaned it, and where the waste went. Inspectors ask.
Pro tip from the maintenance side
Tape a simple log sheet to the wall right above the trap, not in an office binder. Date, initials, and a tick. When the record lives where the work happens, it actually gets filled in, and you have instant proof for an inspector. The cheapest compliance tool in the kitchen is a printed sheet and a pen.

How to clean an under-sink trap, step by step
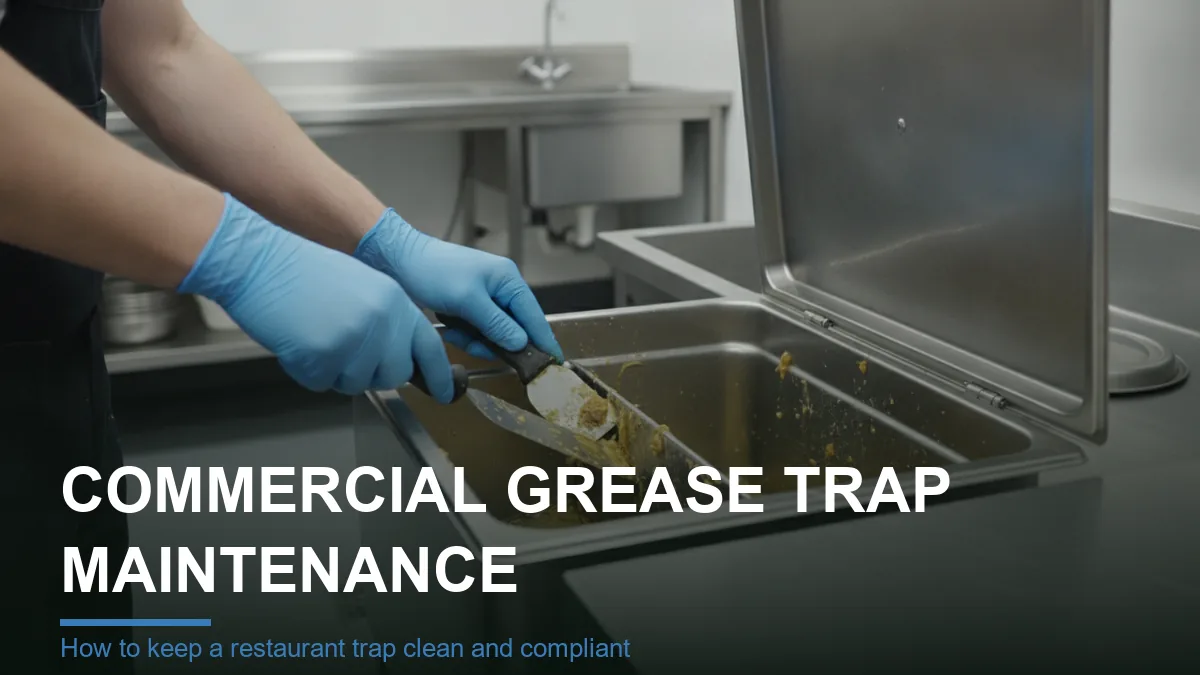
For a small under-sink unit, an in-house clean is realistic with a trained, gloved team. Larger in-ground interceptors usually need a licensed hauler with a pump truck. For the small ones, the routine looks like this.
- Gear up. Gloves, apron, a scraper or scoop, a heavy-duty bag or bucket for the waste, and rags.
- Stop the flow. Make sure no one is running water into the trap. Remove the lid carefully, expect an odour.
- Note the levels. Quickly check the grease and solid depth for your log before you disturb them.
- Scoop the grease and solids. Remove the floating grease, then the settled solids, into your waste container.
- Scrape and wipe. Clean the lid, baffles, and walls so buildup does not get a head start next cycle.
- Reassemble and check the gasket. Reseat the lid properly so it seals and does not leak odour into the kitchen.
- Dispose properly and log it. Send the waste to a licensed facility, keep the receipt, and fill in the sheet.
Stock the right consumables and the job goes faster and cleaner. Keep equipment cleaning supplies, sanitation products, and the correct dishwashing detergents on hand so your team is never improvising. A clean trap is part of the same routine that keeps your whole dishwashing area sanitary.
Common problems and how to fix them
Most trap trouble announces itself before it becomes a disaster. Catch these early and you avoid the mid-service flood.
- Slow drains at the sinks. Usually the trap is full or grease has reached the outlet. Clean it now, do not wait for the schedule.
- Foul, sewage-like smell. Often a trap overdue for cleaning or a lid that is not sealing. Clean it and check the gasket.
- Gurgling or backups. Grease may have moved past the trap into the drain line. You may need a plumber to clear the line.
- Grease in the outflow. The trap is undersized or overdue, or detergents are emulsifying the grease. Review sizing and products.
- Leaking lid. A worn or misseated gasket. Replace it and reseat the lid so it seals fully.
If problems keep coming back even with a clean trap, the unit may be the wrong size for your kitchen, and that is worth fixing properly. Browse grease traps and interceptors or the wider equipment shop, and size the new unit against your fixtures and local code before you buy.
Please note: This article is general information only and is not plumbing, engineering, or legal advice. Grease trap sizing, cleaning intervals, waste disposal, and record-keeping rules are set by your local municipality and provincial code and vary by location. Always confirm current requirements with your municipality and use a licensed professional where required. Canada Food Equipment is not liable for outcomes from actions taken based on this content.
Download the free quick guide
Save this as a PDF to keep on hand.
Grease Trap Maintenance Routine (PDF)Frequently asked questions
Sources and references
- City of Toronto – Mandatory grease interceptors for food service establishments
- City of Toronto – Grease interceptor maintenance
- US Environmental Protection Agency – National Pretreatment Program
Your next step: find your trap’s 25 percent point, set a written schedule with a margin, and put a log sheet on the wall above it. That one routine prevents almost every grease emergency. If your trap keeps causing trouble or you are not sure it is sized right, talk to Canada Food Equipment and we will help you sort the equipment side out.

Written by
Erin T.
Commercial Kitchen Maintenance Writer, 10 years in the trade
Erin T. came up through equipment service and preventive maintenance for commercial kitchens before turning to writing. She covers the upkeep side of foodservice gear, the cleaning schedules, part inspections, and seasonal checks that quietly add years to a fryer, range, or cooler. Her guides are designed to be printed, posted by the equipment, and used by whoever is on shift that day.