
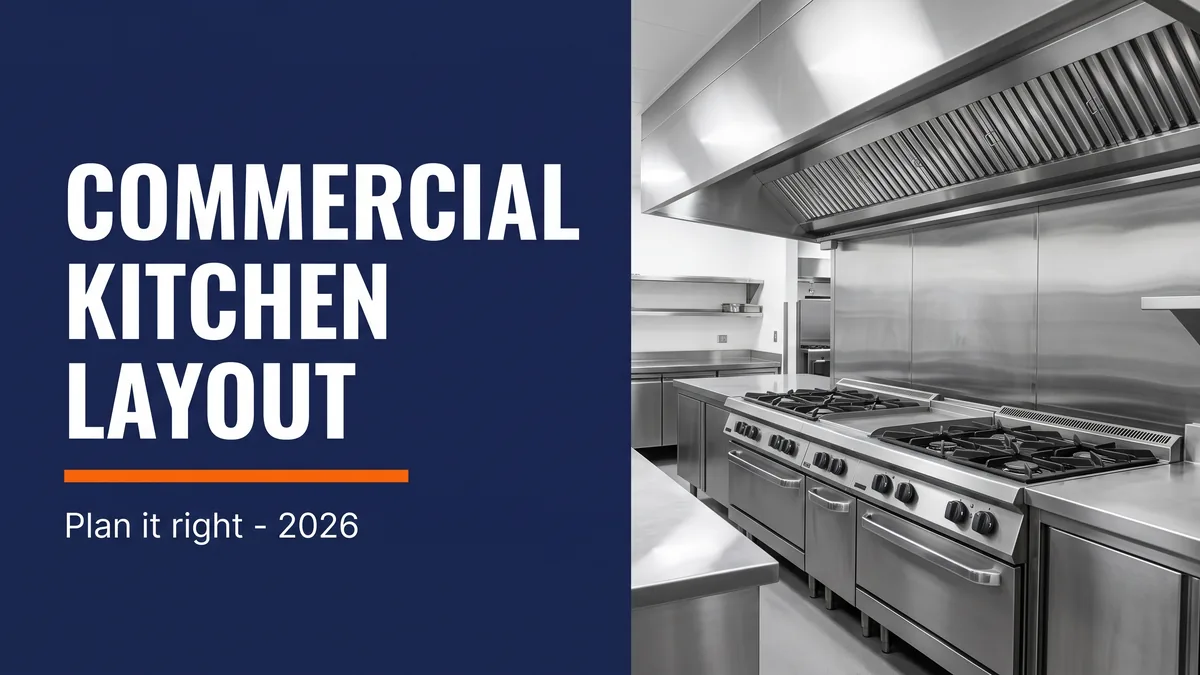
Here is the mistake that costs new restaurants the most money: they start by picking the biggest, flashiest equipment they can afford, then try to cram it into the room they have. A great kitchen is not about the biggest ranges or the most burners. It is about flow. The best commercial kitchen layout moves food and people in one smooth direction, from the back door to the pass, with no crossing paths and no wasted steps. Get the arrangement right and a modest lineup of commercial kitchen equipment will out-cook a crowded room full of premium gear.
This guide walks through planning a fixed, bricks-and-mortar kitchen the way a designer would: menu first, then zones, then flow, then the equipment sizing, ventilation, and code clearances that make it all legal and safe. Work through it in order and you will end up with a room that runs a service without anyone bumping elbows over a hot fryer.
Start with your menu, not your equipment list
Your menu is the blueprint. Every piece of equipment, every zone, and every square foot should trace back to a dish you plan to sell. Before you price a single range, write out your full menu and mark what each item needs: fryer, flat-top, oven, cold prep, or a combination.
- List every dish and its cooking method. Grill, fry, saute, bake, cold assembly. Count how many items lean on each.
- Find your bottleneck stations. If two thirds of the menu goes through the fryer, one fryer will not survive a Friday rush.
- Separate hot from cold. Salads and desserts need their own cold prep space away from the heat of the line.
- Plan for prep volume. A scratch kitchen needs far more prep bench and storage than a reheat-and-plate concept.
Once the menu tells you which cooking methods dominate, you know which zone carries the load and where to spend your budget. Skip this step and you end up buying equipment you rarely use while your busiest station chokes.
The five zones of a commercial kitchen layout
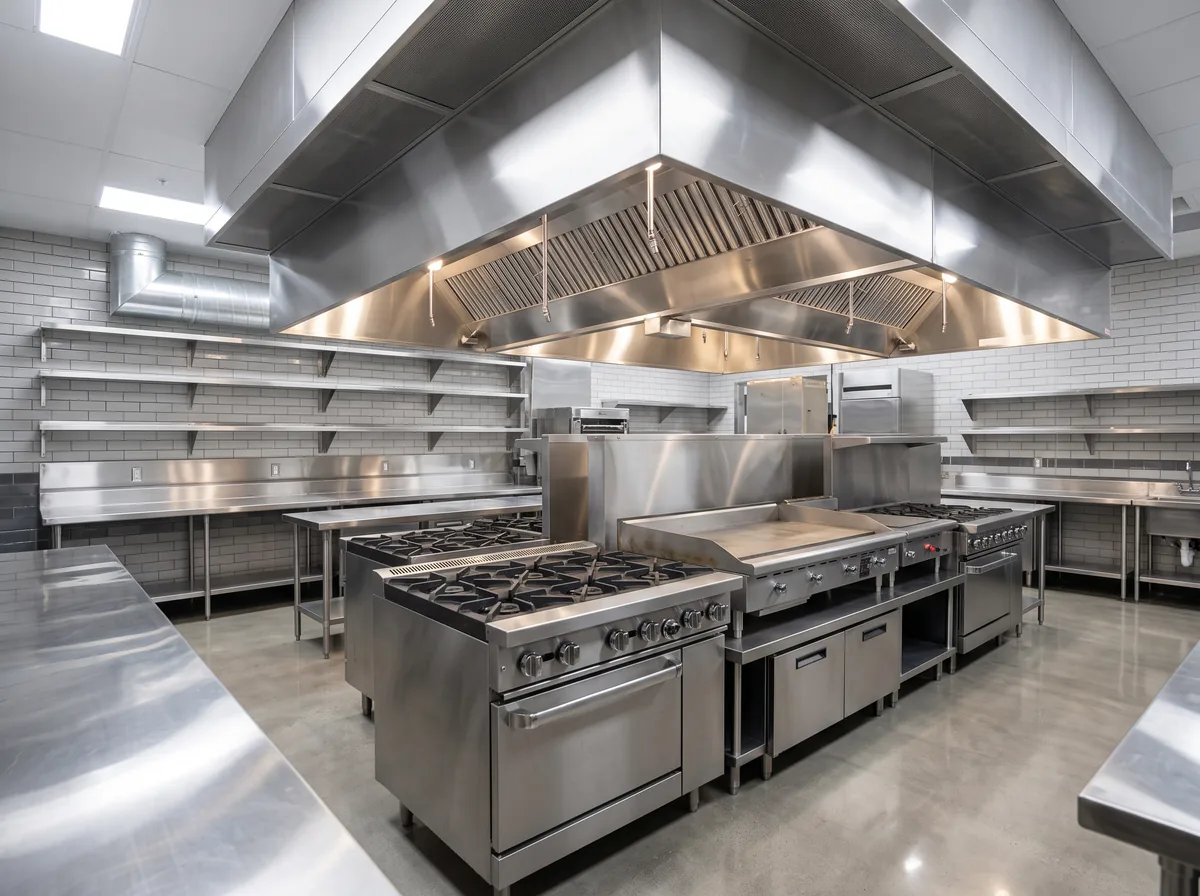
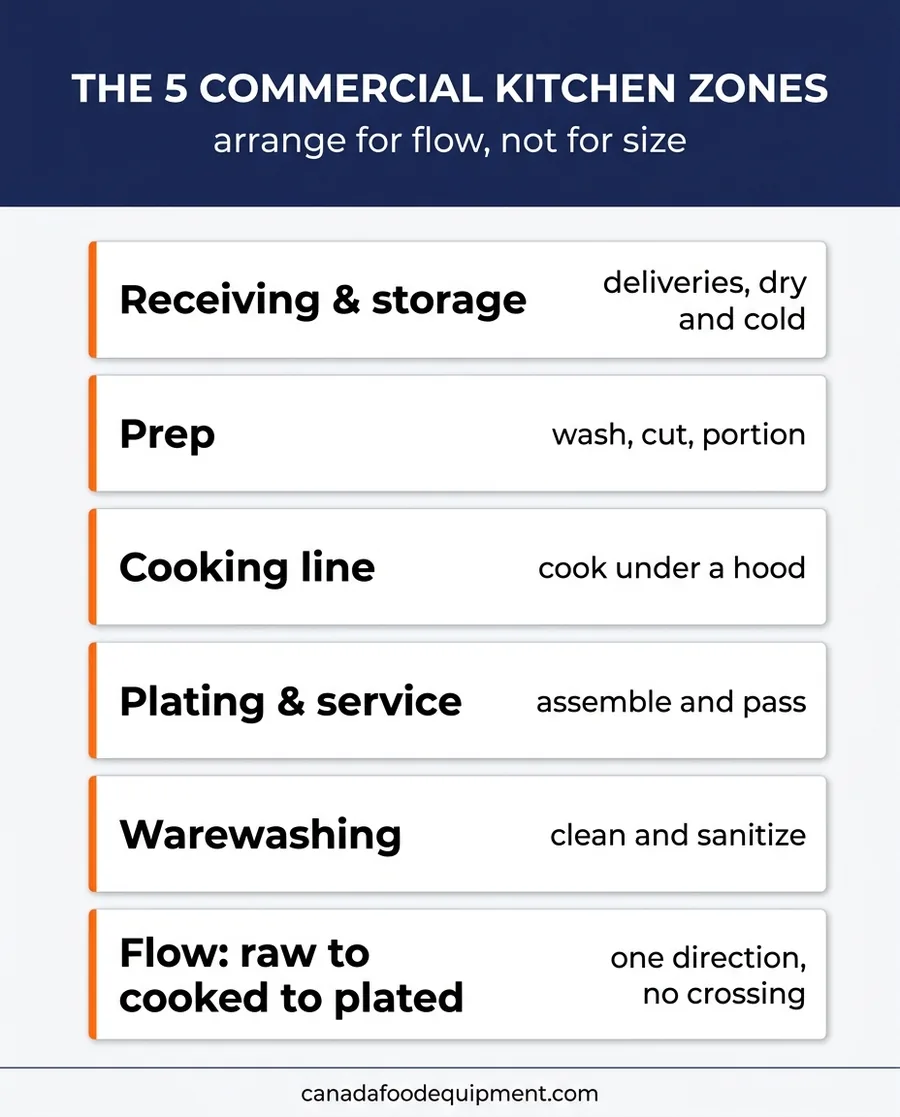
Almost every professional kitchen, from a small cafe to a full restaurant, is built from the same five work zones. Define them on paper first, then decide where each one sits in your actual room. The goal is to keep each zone self-contained so a cook never has to leave their station mid-task.
| Zone | Purpose | Key equipment |
|---|---|---|
| Receiving & storage | Take deliveries, store dry/cold | Shelving, walk-in cooler, freezer |
| Prep | Wash, cut, portion | Prep tables, sinks, slicers, food processors |
| Cooking line | Cook to order | Ranges, fryers, ovens, griddles under a hood |
| Plating & service | Assemble and pass | Heated wells, pass shelf, expo counter |
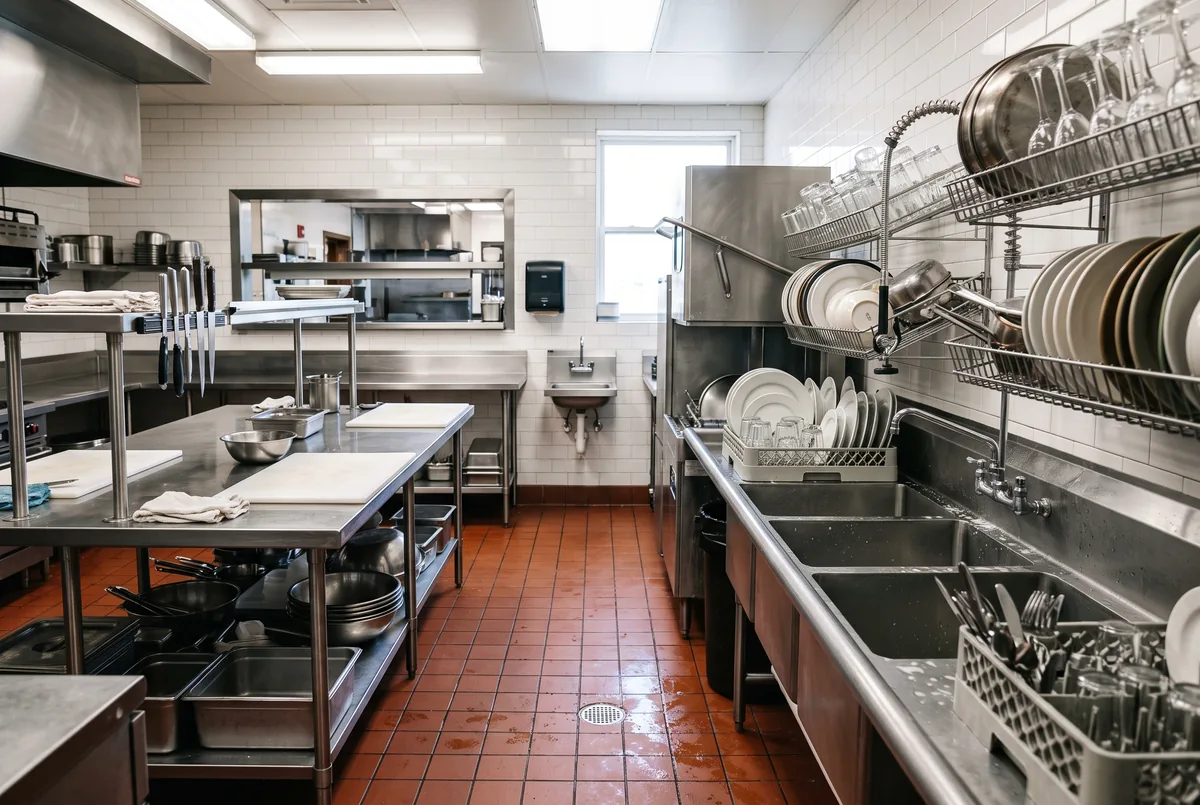
| Warewashing | Clean and sanitize | Dishwasher, 3-compartment sink, drying racks |
Notice the order. It mirrors the path a single ingredient takes through the building: it arrives at receiving, moves to prep, hits the cooking line, gets plated at the pass, and the dirty dishes come back to warewashing. Lay the zones out in that sequence and the flow almost designs itself.
Pro tip
Give warewashing its own corner near the exit path, not next to your cold prep. Splashing, steam, and dirty-dish traffic are the enemy of a clean prep station. A short run of dishwashing tucked by the back door keeps contamination and clutter away from where food is handled.
Plan the flow: raw to cooked to plated
Workflow is the difference between a kitchen that hums and one that jams. The principle is simple: food should move in one direction and never double back. Raw goods come in the back, get prepped, get cooked, get plated, and go out to the dining room. Clean and dirty should never cross.
- Trace one dish end to end. Walk your busiest plate from the walk-in to the pass and mark every stop. Each hand-off should be a step forward, not a lap around the room.
- Keep the line tight. A cook on the hot line should reach the fridge, the range, and the plate-up shelf without walking. Steps per plate add up fast over a service.
- Protect the aisles. Leave at least a metre of clear aisle behind the cooking line so staff can pass a working cook without a collision or a burn.
- Separate the dirty return. Route used dishes back to warewashing along a path that does not run through prep or plating.
Did you know?
The classic layouts each solve flow a different way. An assembly-line setup suits high-volume, repeatable menus like pizza or burgers. An island layout puts cooking in the centre for a bigger, varied menu. A zone layout, the five zones above, works for most full-service restaurants. Pick the shape that matches how your menu actually moves, not the one that looks best on a floor plan.
Size your equipment to real volume
Now the equipment. The trap here is buying for a fantasy rush you will not see for two years, or buying too small and stranding your line on opening night. Size to the covers you realistically expect in your first year, with a little headroom, not to your dream numbers.
- Match capacity to peak covers. Count how many plates leave each station at your busiest hour, not your daily average.
- Right-size cold storage. A walk-in cooler that is slightly too big costs a bit more to run; one that is too small forces daily deliveries and risks spoilage.
- Think in footprints. Every unit needs its own space plus clearance for doors, drawers, and service access. Measure the room before you buy, not after.
- Leave room to grow. Plan one open slot on the line for the piece you will add when the menu expands.
If cash flow is tight, financing the core line lets you buy the right-sized equipment now instead of undersized gear you will replace in a year. Canada Food Equipment offers equipment financing options so a new kitchen can open fully kitted out. Not sure which range or fryer fits your volume? Our team can spec it against your menu at the Ottawa supply store.
Ventilation, utilities, and the exhaust hood
Ventilation is where do-it-yourself layouts fall apart, because the hood is not optional and it is not cheap to move later. Any equipment that produces grease-laden vapour, ranges, fryers, griddles, char-broilers, has to sit under a Type I exhaust hood. Plan the hood and the cooking line together, as one block, from the very start.
- Group heat under one hood. Cluster the ranges, fryers, and griddles so a single hood covers them. Scattered cooking equipment means multiple hoods and multiple headaches.
- Balance exhaust with make-up air. A hood that pulls air out needs fresh air coming back in, or your kitchen goes negative and doors slam.
- Map your utilities early. Gas lines, 208/240V circuits, hot water, and floor drains all have to reach the right zone. Rough them in before the equipment lands.
- Build in fire suppression. Commercial hoods need a suppression system, and the standards for kitchen exhaust are set out by fire authorities.
Kitchen exhaust and fire-suppression standards in Canada follow the guidance published by the fire protection association, and your local authority will inspect against them. Do not treat ventilation as an afterthought; it drives where your entire cooking line can go.
Code clearances and food-safety rules
A layout that flows beautifully is worthless if it fails inspection. Health and fire codes set hard rules on spacing, sinks, and surfaces, and they vary by province and municipality. Confirm the specifics for your location before you commit a floor plan.
- Hand sinks within reach. Every food-handling zone needs a dedicated hand-wash sink, separate from prep and warewashing sinks.
- The right sinks for the job. Most kitchens need a three-compartment warewashing sink plus a separate prep sink and hand sink.
- Clearances around equipment. Codes and manufacturers require minimum gaps for cleaning, airflow, and combustion. Do not push units wall to wall.
- Cleanable surfaces everywhere. Floors, walls, and ceilings in food zones must be smooth, non-porous, and washable.
Provincial food-premises regulations spell out the sink, surface, and layout requirements in detail. In Ontario, for example, the rules live in the provincial food premises regulation. Read the version for your province, and have your local public health and fire inspectors review the plan before construction, not after.
Budget ranges and what to do next
Equipment is one of the biggest line items in any build-out, and the range is wide because it depends entirely on your menu, volume, and whether you buy new or used. Use these figures as a starting frame, not a quote.
| Kitchen type | Rough equipment fit-out (2026) |
|---|---|
| Small cafe or coffee shop | $25,000 to $60,000 |
| Quick-service or takeout kitchen | $50,000 to $120,000 |
| Full-service restaurant line | $100,000 to $250,000 |
| Large or high-volume kitchen | $250,000 and up |
These ranges are broad estimates for equipment only, based on typical 2026 Canadian market rates, and exclude construction, ventilation installation, permits, and smallwares. Your actual cost depends on menu, kitchen size, new versus used equipment, and local pricing. Always get a written quote before buying. Canada Food Equipment does not guarantee any specific price.
Save your money
You do not have to buy every zone brand new. Stainless steel work tables, shelving, and sinks barely wear out, so buying them used frees up budget for the equipment that matters, your cooking line and refrigeration. Put your money where the heat and the food safety are, and browse the rest at the online equipment store.
When your layout is drawn and your budget is set, here is what to do next:
- Get a professional review. Have a kitchen designer or your equipment supplier sanity-check the plan against your menu and local codes.
- Confirm with your inspectors. Book your health and fire authorities to approve the floor plan before anything is built or bought.
- Spec the equipment to fit. talk to our team to match ranges, refrigeration, and prep gear to your zones and volume.
Download the free quick guide
Save this as a PDF and keep it handy.
Kitchen Layout Planner – Free PDFFrequently asked questions
A kitchen that flows starts with the right equipment sized to the right zones. Canada Food Equipment supplies commercial kitchens across the country, with a full online store, financing, and showrooms in cities like Vancouver and Hamilton. Browse the equipment catalogue or tell us your menu and we will help you build a layout that works from day one.