
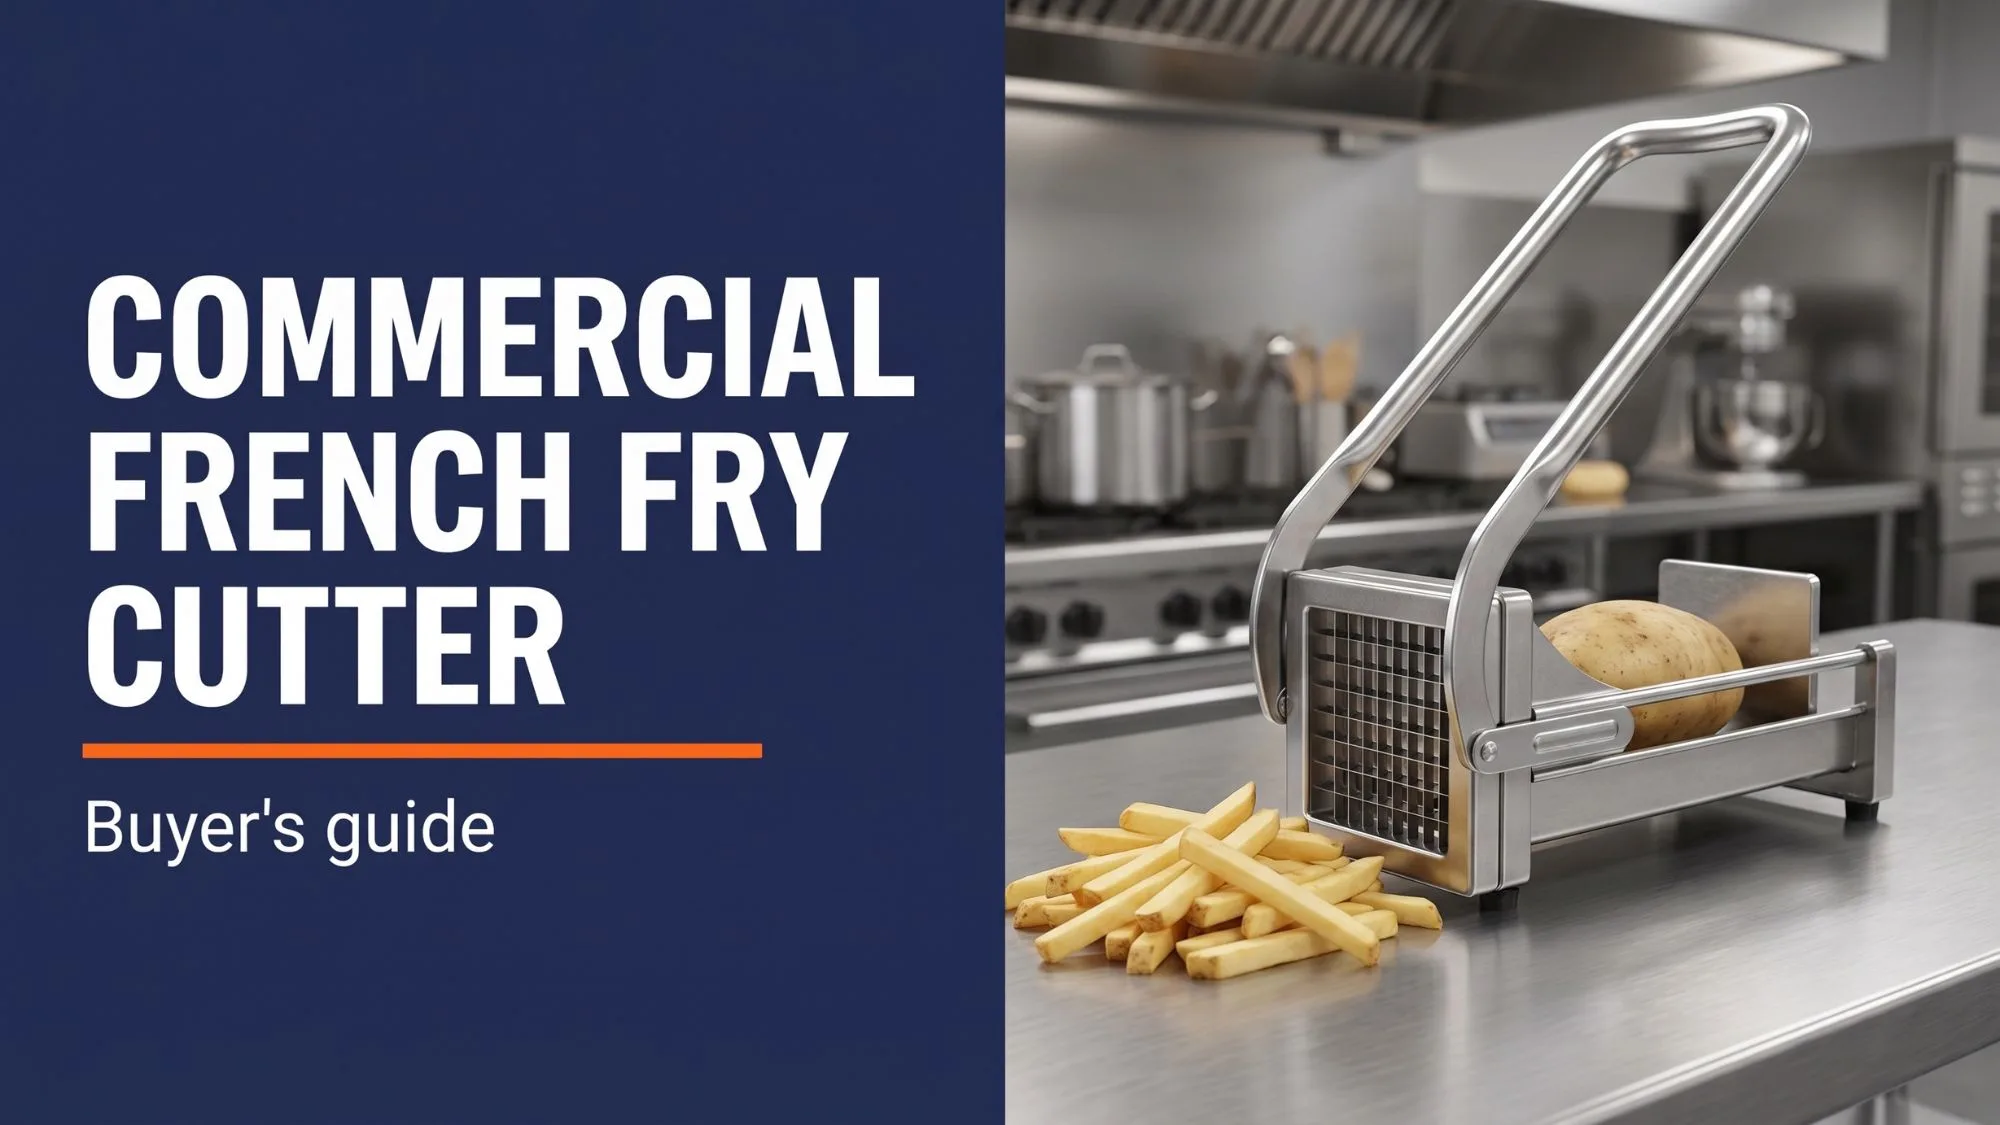
Which commercial french fry cutter is right for my kitchen? That is the real question behind every one of these purchases, and the honest answer is that it depends on two things: how many potatoes you cut in a day, and the cut you want on the plate. A burger joint pushing crates of fries through a lunch rush needs a very different machine than a pub that cuts a few orders a night. This guide sorts the options so you can browse commercial fry cutters knowing exactly what fits.
We will walk through the four main cutter types, the blade sizes that decide your cut, how to match a machine to your volume, the build details that separate a two-year tool from a ten-year one, and how to keep it clean. No fluff, just the things that matter when you are spending real money on prep equipment.
Types of commercial french fry cutters
Nearly every fry cutter on the market falls into one of four families. They differ in how the potato is pushed through the blade and how much muscle or power that takes.
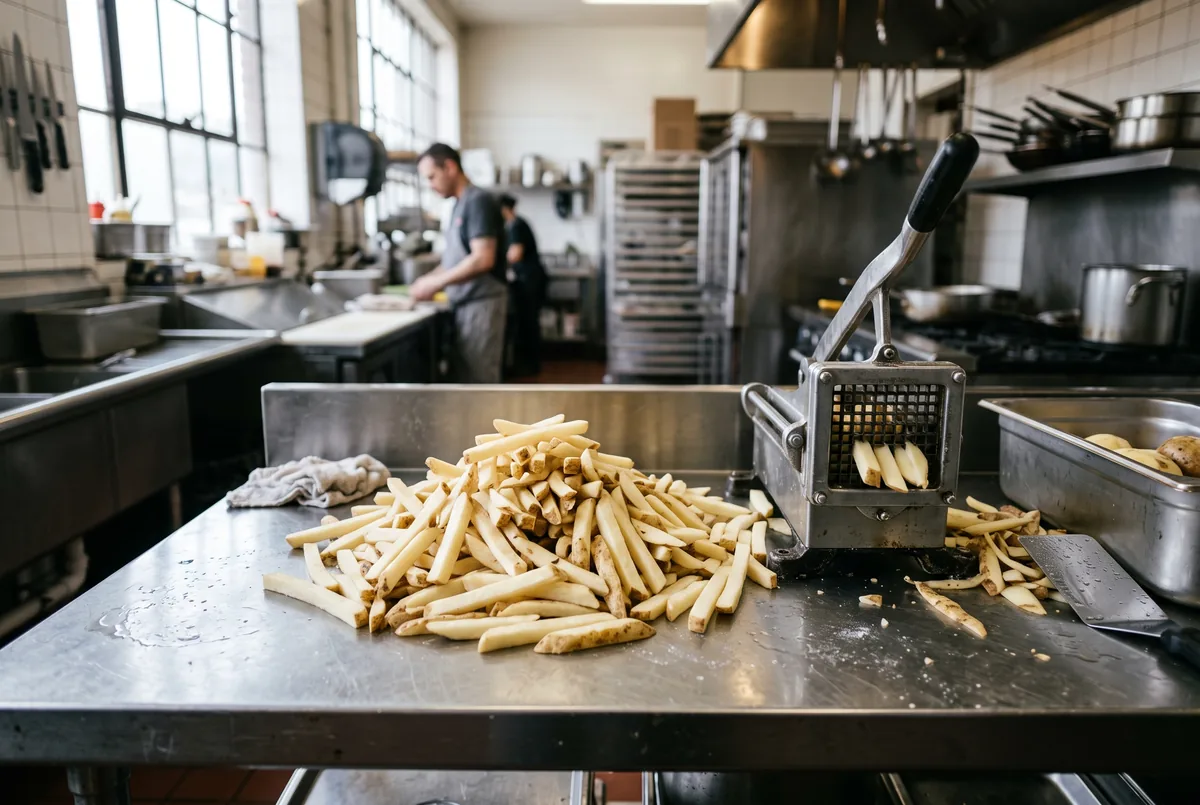
- Wall-mount lever cutters. The classic. You bolt it to a wall or a heavy bracket, load a potato, and pull the long handle to press it through the blade. Simple, cheap, and repairable. A cast-iron wall-mount model handles low to medium volume without complaint.
- Bench or countertop heavy-duty cutters. Same lever idea, but built as a freestanding block with a longer handle and more leverage, so it cuts faster with less effort. Good for a kitchen that is picking up pace but not yet at high volume.
- Vertical or pneumatic cutters. Air-assisted units that use a cylinder to drive the potato through the blade. You feed and trigger; the machine does the pushing. Built for steady high-volume prep without wearing out your arm.
- Electric fry cutters. Motor-driven machines, often part of a food processor with a fry-cut attachment, that cut continuously as you feed them. This is the tier for very high output where someone is cutting fries as a full task.
People often ask: do I really need a powered cutter?
For most independent restaurants, a heavy-duty bench or a good wall-mount lever cutter is the sweet spot. Pneumatic and electric machines are worth it once fry prep is a real bottleneck or a dedicated station, not before. Buy for the volume you actually run, not the volume you hope to run someday.

Blade sizes and the cut you want
The blade grid is what actually shapes your fry, and most cutters take interchangeable blades so one machine can serve more than one cut. Three sizes cover the vast majority of menus.
- 1/4 inch – shoestring. Thin, fast-cooking fries with lots of crispy surface. Popular for diner-style and loaded fries.
- 3/8 inch – standard. The default restaurant fry. A balanced crisp-to-fluffy ratio and the size most frozen-fry replacements aim for.
- 1/2 inch – steak fries. Thick, hearty cuts with a soft interior. Great for pubs, gastropubs, and anywhere a chunkier fry suits the plate.
If you serve one signature fry, match the blade to it and move on. If you run more than one cut, buy a cutter that accepts spare blade cartridges so you can swap in seconds. A heavy-duty bench cutter that takes multiple grids is the flexible choice for a varied menu.
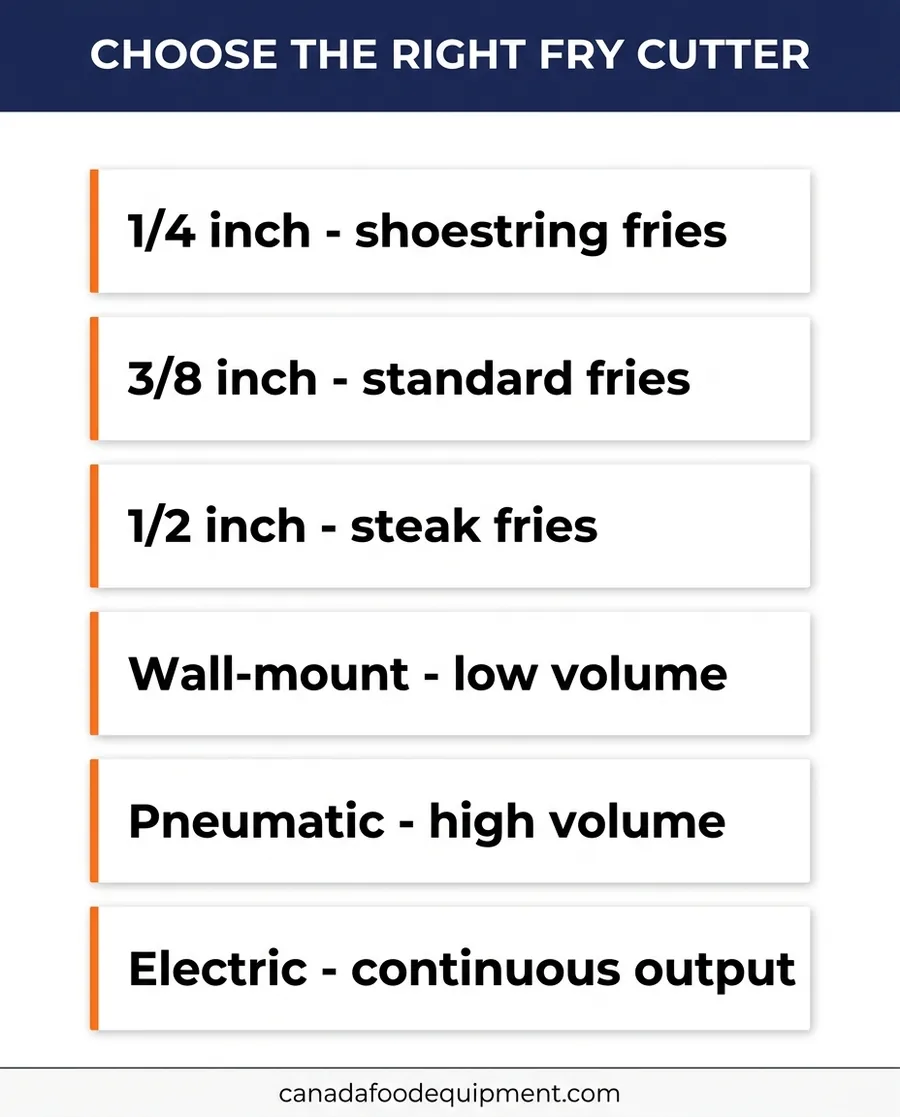
| Blade size | Fry style | Best suited to |
|---|---|---|
| 1/4 inch | Shoestring | Diner fries, loaded fries, fast fry |
| 3/8 inch | Standard | Everyday restaurant fry, most menus |
| 1/2 inch | Steak fry | Pubs, thick-cut and chunky fries |
Did you know a fry cutter is not just for fries?
The same cutter and blades that cut fries will also handle wedges, and many kitchens use them for firm vegetables like carrots, cucumbers, and zucchini. It quietly becomes a general prep tool. Blade grids are the cheap part of the system, so keeping a couple of spare sizes on hand costs little and adds real menu flexibility. Browse the full food prep equipment range to see what pairs with your cutter.
Match the cutter to your volume
This is the decision that saves or wastes money. Underbuy and your prep crew fights the machine every shift; overbuy and you have parked capital on a counter. Estimate how many pounds of potatoes you cut on a busy day, then read across.
| Cutter type | Best for | Speed / volume | Typical price (CAD) |
|---|---|---|---|
| Wall-mount lever | Low to medium volume | Manual, steady | $60 to $200 |
| Bench / countertop heavy-duty | Medium volume | Faster manual | $150 to $450 |
| Vertical / pneumatic | High volume | Fast, less effort | $400 to $1,200 |
| Electric fry cutter | Very high volume | Continuous | $1,500 to $4,000 |
These ranges are estimates based on typical Canadian market pricing in 2026 for new equipment. Actual prices vary by brand, build, blade set, whether the unit is new or used, and current availability. Used and refurbished cutters can land well below these figures. Always confirm the current price and specs before you buy. Canada Food Equipment does not guarantee any specific price.
One rule of thumb: if a single person spends more than about fifteen minutes straight cutting fries during prep, you have outgrown a basic lever cutter and a bench or pneumatic unit will pay for itself in labour. If you want help weighing the jump to a powered machine against the cost, our team can walk you through equipment financing options so a bigger cutter is not a one-time cash hit.
Build quality and materials that last
Two cutters can look identical and last very different lives. The difference is in the frame, the blade steel, and the pusher block. Here is what to actually check before you commit.
- Frame material. Cast iron and heavy stainless steel take the strain of thousands of pulls. Lightweight aluminum or plastic frames flex and crack under real volume.
- Blade steel. Look for stainless blades. They resist rust from wet potatoes and hold an edge longer, which means cleaner cuts and fewer crushed ends.
- The pusher block. This is the part that presses the potato through, and it wears. A replaceable pusher on a common size means a cheap fix instead of a new machine years down the road.
- Mounting and stability. A wall-mount must anchor into something solid; a bench unit needs suction feet or bolt holes so it does not walk across the counter mid-cut.
- Certification. Commercial kitchens face health-inspection standards, so choose equipment built to recognized food-equipment sanitation standards and easy to clean down to the blade.
On certification, food-contact equipment in Canada is expected to be safe and cleanable under the rules the Canadian Food Inspection Agency enforces. A cutter with smooth, corrosion-resistant surfaces and blades you can fully remove is far easier to keep inspection-ready than one with hidden crevices that trap starch.
Cleaning and maintenance
A fry cutter is a starch magnet, and dried potato is both a sanitation problem and the fastest way to dull a blade. Clean it like it matters, because health inspectors think it does.
- Break it down after each use. Remove the blade grid and pusher and rinse away starch before it dries and glues itself into the corners.
- Wash, do not just wipe. Warm soapy water, a brush for the grid squares, then a food-safe sanitizer. Let parts air-dry fully so stainless does not spot.
- Dry the blades. Standing water is what starts rust even on stainless. A quick dry after washing adds years to a blade set.
- Check the pivot and bolts. A drop of food-grade lubricant on the lever pivot keeps the pull smooth; snug the mounting bolts so nothing loosens under load.
- Inspect the edge. When cuts start crushing or tearing instead of slicing clean, the blade grid is due for replacement. It is a cheap part, not a reason to replace the cutter.
Pro tip
Keep one spare blade grid per cut size on the shelf. When a grid dulls or a square bends, you swap in seconds and clean the old one later instead of shutting the fry station down mid-service. Treat blade grids as a consumable, like you would a knife that needs sharpening.
Download the free quick guide
Save this as a PDF and keep it handy.
Fry Cutter Buyer’s Checklist – Free PDFHow to choose the right commercial fry cutter
Put it together and the decision is five quick calls. Work through them in order and the right machine usually picks itself.
- Estimate your daily potato volume. Roughly how many pounds do you cut on a busy day? Low, medium, high, or a dedicated station?
- Pick the cut size. Shoestring, standard, or steak fry, and note if you need more than one.
- Choose manual, pneumatic, or electric. Low to medium volume stays manual; high volume moves to pneumatic; a full fry station goes electric.
- Check build materials and mounting. Cast iron or heavy stainless frame, stainless blades, replaceable pusher, and a mount that suits your bench or wall.
- Confirm cleaning and maintenance needs. Removable blades and pusher, smooth surfaces, and blade grids you can source easily for spares.
The quick verdict
Low to medium volume: a cast-iron wall-mount lever cutter. Cheap, tough, and repairable.
Medium volume: a heavy-duty bench cutter with swappable blades for a varied menu.
High volume: a vertical or pneumatic cutter to spare your crew the effort.
Very high volume or a dedicated station: an electric fry cutter that runs continuously.
Match the blade to your signature fry, buy stainless where it counts, and keep a spare grid on the shelf.
Frequently asked questions
Ready to pick a cutter? Canada Food Equipment stocks manual, pneumatic, and electric fry cutters plus spare blade grids, and ships across Canada. Shop commercial fry cutters or talk to our equipment team for a recommendation matched to your volume and menu.