
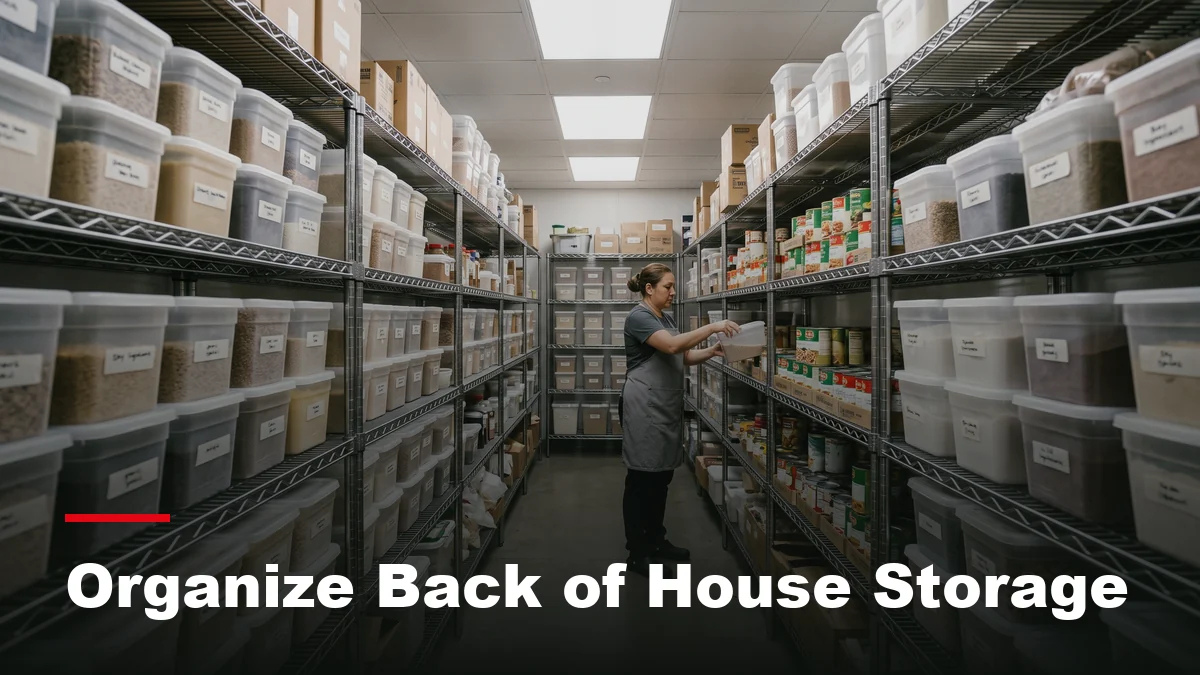
You do not need a bigger back room to fix a messy one. Most commercial kitchens struggling with storage have plenty of space; it is simply arranged around whatever was convenient on delivery day. Learning to organize back of house storage properly is less about buying extra shelving and more about assigning every supply a permanent home. Start with airtight, labeled storage containers and a clear zoning strategy, and the rest will fall into place.
Key Takeaway / Direct Answer
To organize back of house storage in a commercial kitchen: divide the room into non-overlapping zones (dry storage, cold storage, a dedicated chemical area, and disposables), place high-frequency items at chest height, label both shelf positions and individual containers with the ingredient name and preparation/opening date, and enforce FIFO stock rotation.
This is a practical walkthrough for organizing your commercial kitchen supplies. Work through it zone by zone, and you can complete the entire space in a single afternoon.
Why Disorganized Storage Costs You More Than Space
A back room without designated supply spots creates hidden costs: line cooks grabbing wrong ingredients during peak hours, double-ordered inventory buried behind paper products, and extended prep times. While these inefficiencies do not show up as line items on invoices, they directly impact labor costs and health inspection scores.
Knowing how to organize back of house storage ensures seamless stock rotation. When every shelf has a specific purpose and older items sit at the front, First-In, First-Out (FIFO) rotation becomes automatic rather than reliant on memory.
The Checklist to Organize Back of House Storage
Follow these steps sequentially. Establishing your zones before labeling prevents rework. The most efficient way to organize back of house storage is by tackling one area at a time.
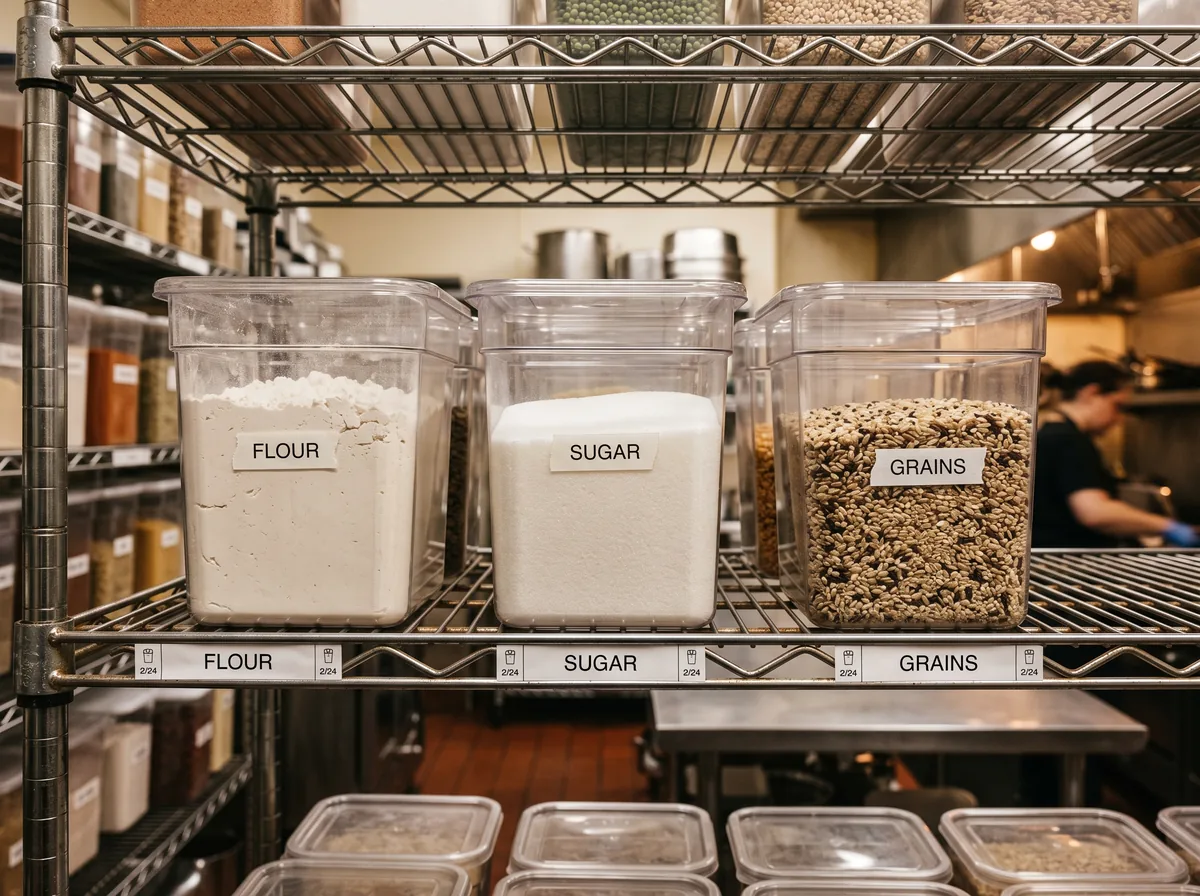
- Map your zones: Establish distinct, non-overlapping zones for dry goods, walk-in cold storage, freezer inventory, dedicated chemical containment, and single-use disposables.
- Clear and sort: Empty one zone completely and sort contents into three categories: keep, discard, or relocate.
- Group like supplies: Consolidate identical and related items within each zone (e.g., baking ingredients, canned goods, paper products).
- Optimize height placement: Store bulk items on lower shelves and place high-frequency ingredients at waist-to-chest height.
- Label shelves and containers: Label both shelf positions and individual containers with the ingredient name and preparation/opening date where applicable to identify decanted ingredients and enforce consistent restocking.
- Enforce chemical safety: Store all sanitation chemicals in a dedicated, labelled, dry, and ventilated chemical-storage area completely separate from food and packaging.
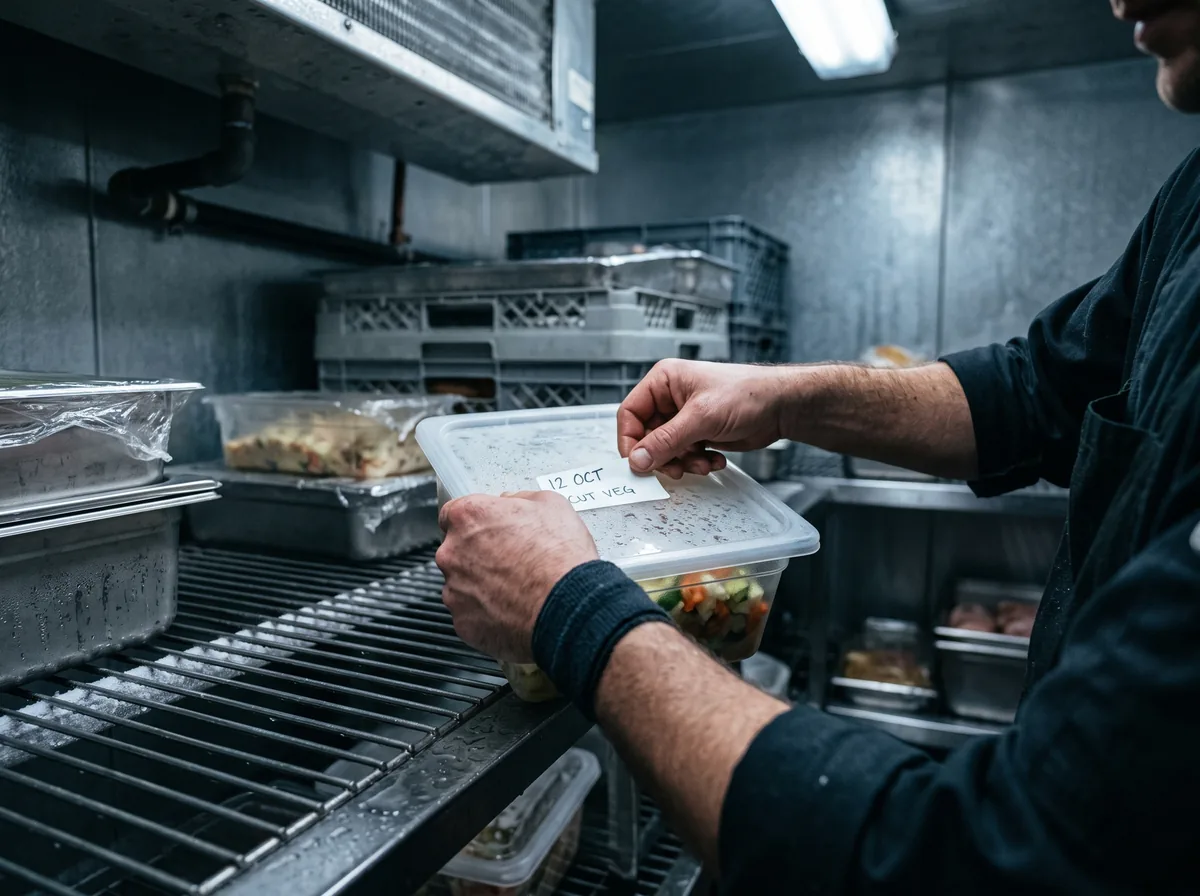
- Enforce rotation and dating: Place older items at the front of shelves and clearly date any ingredients decanted into storage tubs.
- Proceed systematically: Complete one full zone before moving on to the next.
Pro Tip
Photograph each organized zone and attach a small printed copy to the shelf frame. This serves as an immediate visual guide for new employees and maintains organizational standards across all shifts.
Getting Shelving and Zones Right
Selecting appropriate shelving material and enforcing zone safety are critical for food safety and maintenance. CFIA guidance on regulatory requirements for preventive control plans outlines strict standards for keeping food contact surfaces clean, maintaining hygienic storage areas, and preventing cross-contamination from chemicals or sanitation compounds. Ensure you select non-porous, corrosion-resistant shelving that cleans easily and prevents moisture accumulation.
Cold storage requires targeted maintenance alongside physical organization. Maintaining walk-in coolers and freezers protects your stored ingredients, while following a walk-in cooler maintenance checklist prevents equipment failures from compromising your stock. With proper commercial shelving in place, your storage system will remain functional for the long term.
Cost Savings
Investing in standardized shelving and container systems, such as Cambro storage solutions, maximizes usable square footage and prevents product damage caused by irregular stacking.

Download the Free Quick Guide
A printable zone-by-zone checklist covering dry storage, cold storage, and chemical containment.
Frequently Asked Questions
How often should you re-organize back of house storage areas? ▼
A full re-organization is generally only necessary once or twice per year if your shelf labels and zone rules are enforced. Performing a brief weekly audit ensures items remain in designated spots. Establishing strict unloading protocols during delivery shifts prevents clutter from building up.
What is the correct protocol for chemical supply storage? ▼
Cleaning chemicals and sanitation supplies must never be stored near or on shelves below food products or single-use packaging. Per CFIA guidance, food safety standards require a dedicated, labelled, dry, and ventilated chemical-storage area completely separate from food and packaging supplies to prevent accidental chemical contamination.
Do walk-in coolers require specialized shelving units? ▼
Yes. Walk-in cooler shelving must withstand high humidity and frequent washdowns without rusting. Epoxy-coated wire shelving or heavy-duty plastic units are designed specifically for moist environments and resist corrosion far better than standard dry-storage shelving.
How do you ensure kitchen staff maintain the storage layout? ▼
Staff adhere to systems that simplify their workflow. Label both shelf positions and individual containers with the ingredient name and preparation/opening date where applicable so decanted ingredients remain identifiable, place items near their point of use, and post photographic reference guides in storage zones.
Is FIFO stock rotation necessary for non-perishable dry goods? ▼
Yes. Dry goods experience quality degradation and pest risks over time if left stagnant. Rotating dry ingredients so older stock moves to the front prevents waste and ensures ingredient freshness across the kitchen.
When you plan to organize back of house storage, focus on three core principles: establish dedicated zones, label shelf edges and containers clearly, and rotate stock consistently.
- Zone logically: Maintain strict segregation between dry foods, cold storage, single-use packaging, and dedicated chemical storage areas.
- Label explicitly: Label both shelf positions and individual containers with ingredient names and preparation/opening dates.
- Rotate consistently: Move older stock forward during every restocking cycle.
- Standardize containers: Use uniform storage systems to maximize available space.
If you need to upgrade your commercial shelving or food storage containers, contact our commercial kitchen equipment specialists to find the ideal storage layout for your space.